
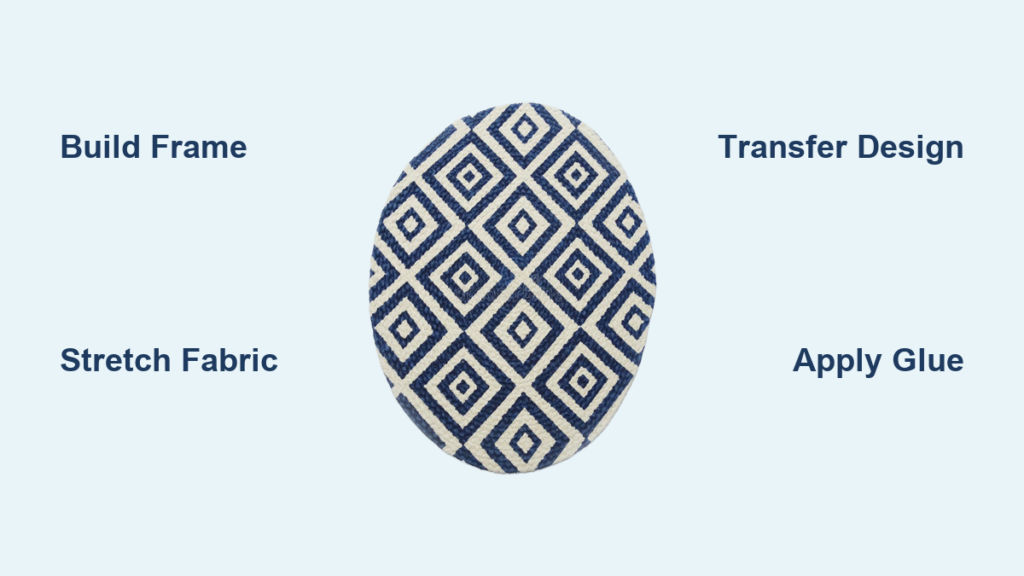
Creating a tufted rug is one of the most satisfying DIY crafts you can tackle. With modern electric tufting guns and accessible materials, learning how to make a tufted rug has become achievable for crafters at any skill level. Whether you want a cozy floor rug for your living room, a bold wall hanging, or a custom ottoman cover, tufting lets you transform simple yarn into a textured masterpiece that lasts for years.
This guide walks you through every stage of the tufting process. You will learn how to build a proper frame, stretch your backing fabric, operate the tufting gun correctly, and finish with professional results. By the end, you will know exactly how to make a tufted rug that looks store-bought and stands up to daily use.
Build a Sturdy Tufting Frame
A rigid frame holds your fabric taut during tufting, which is essential for clean stitches and even pile height throughout the rug.
Choose 2-Inch Thick Lumber
Select 2-inch thick wood for your frame to prevent warping under tension. One-inch boards may bend or twist, leading to sagging fabric and misaligned designs. Pine or poplar works well for DIY builds and is readily available at hardware stores.
Install Carpet-Holding Strips
Attach tack strips to all four sides of the frame. These sharp-edged strips grip the backing fabric and allow you to re-tension the material mid-project if needed. Secure them with nails or screws, ensuring the teeth face inward toward the center of the frame.
Reinforce Corners with L-Brackets
Strengthen each corner using metal L-brackets. This prevents the frame from racking, which means shifting out of square when you stretch the fabric tightly. Secure the brackets on both the interior and exterior sides of each corner for maximum stability.
Pro Tip: Test tension by flicking the fabric. It should snap back with a crisp drum-like sound, not ripple or sag.
Safety First: Wear gloves when handling tack strips. They are extremely sharp and can cause cuts.
Stretch the Primary Backing Fabric
The backing fabric is the foundation where your yarn gets punched through. Proper tension ensures smooth tufting and prevents skipped stitches or fabric tears.
Choose the Right Fabric Type
Select monk’s cloth for beginners and small projects. Use polyester grid fabric like Tough Stuff for precision work and complex designs. The gray grid fabric is ideal because it has visible lines every quarter inch, helping you align stitches and scale designs accurately.
Stretch in the Correct Sequence
Start with the bottom half of the frame, pulling the fabric snug. Then stretch the top, followed by the sides, alternating side-to-side. Fold and secure the final corners like wrapping a gift. Leave 1 to 2 inches of excess fabric on each side for re-tensioning later if needed.
Verify Tension with the Flick Test
Never skip the flick test. If the fabric does not rebound sharply, re-stretch immediately. Loose fabric leads to patchy stitches and can cause the canvas to tear during tufting.
Transfer Your Design Using a Projector

Accurate design transfer is crucial, especially for custom logos, portraits, or text. A projector helps you trace intricate details directly onto the stretched fabric.
Flip the Image Horizontally
Since you will be tufting from the back of the fabric, any non-symmetrical design must be mirrored before projection. On Mac, use Preview and select Tools then Flip Horizontal. On Windows, use Paint 3D or free online tools to reverse the image.
Position and Focus the Projector
Mount the projector on a tripod 4 to 5 feet from the frame. Connect via HDMI and power only to reduce cable clutter. Adjust the zoom, height, and focus until the image is sharp and properly sized for your canvas. Confirm the sizing matches your intended rug dimensions.
Trace Key Reference Points
Use a permanent marker to draw corner dots, centerlines both vertical and horizontal, and an imaginary box using guide lines. Then trace the full design, labeling each color zone as you go such as “blue,” “fur,” or “background.” This prevents confusion when you start tufting.
Expert Tip: Always reverse text. Otherwise, it will appear backwards on the finished rug.
Thread and Operate the Tufting Gun
An electric tufting gun dramatically speeds up the process, turning hours of handwork into minutes. Proper threading and operation are essential for consistent results.
Choose the Right Gun Type
The AK-1 produces cut pile for soft, plush rugs. The AK-II creates loop pile for durable, high-traffic rugs. For small projects or budget starts, a manual punch needle works for cut or loop pile.
Lubricate Before Use
Apply oil to the four designated points on the gun, two per side. Rotate the wheel slightly to distribute the oil evenly. This reduces friction and extends the motor life significantly.
Thread the Yarn Correctly
Create a small loop at the yarn end using a loopy tool. Insert the loop through the top hole near the tip of the gun. Guide it through the internal mechanism. Pull the yarn tail back through the loop to form a lark’s head knot. Feed the yarn into the feeding system and you are ready to tuft.
Pull Yarn from the Inner Strand
Always pull from the center of the skein or cake to prevent tangles. Pulling from the outer end causes knots and snags mid-project, which interrupts your workflow and damages the fabric.
Tuft with Consistent Pressure
How you move the gun determines stitch quality and pile uniformity. Mastering proper technique takes practice but produces professional results.
Hold the Gun Correctly
Grip the black handle firmly with both hands. Do not push up or down while gliding across the fabric. This causes the yarn to spread and results in skipped stitches.
Use Short Bursts for Detail
On curves, corners, or fine lines, use quick trigger taps instead of continuous motion. This gives you better control and prevents mistakes that are difficult to fix later.
Insert the Needle Fully Before Triggering
Ensure the needle is fully embedded in the fabric before pulling the trigger. Partial insertion leads to patchy stitches that weaken the rug structure.
Critical Mistake: Re-poking the same spot weakens the fabric and can cause permanent tears that cannot be repaired.
Skill Tip: Build muscle memory by starting with simple shapes like circles, stars, or zigzags before attempting portraits or complex designs.
Switch Colors Smoothly
Multi-color rugs require organized transitions to avoid confusion and wasted yarn. Working methodically produces the best results.
Cut Yarn at the Back
When finishing a color section, cut the yarn on the backside of the fabric. Do not pull it through because this loosens surrounding stitches and damages your work.
Load the Next Color
Thread the new yarn using the same lark’s head method. Begin tufting in the next designated zone immediately to maintain momentum.
Work in Sections
Complete one shape or color block before moving on. This keeps the design clean and minimizes errors that require fixing later.
Efficiency Hack: Trim edges of a completed color block before adding adjacent colors. This enhances definition and makes color transitions sharper.
Apply Adhesive to Lock Fibers
Without proper backing, your rug will unravel. Glue secures every tufted strand and creates a durable, long-lasting piece.
Choose the Right Adhesive
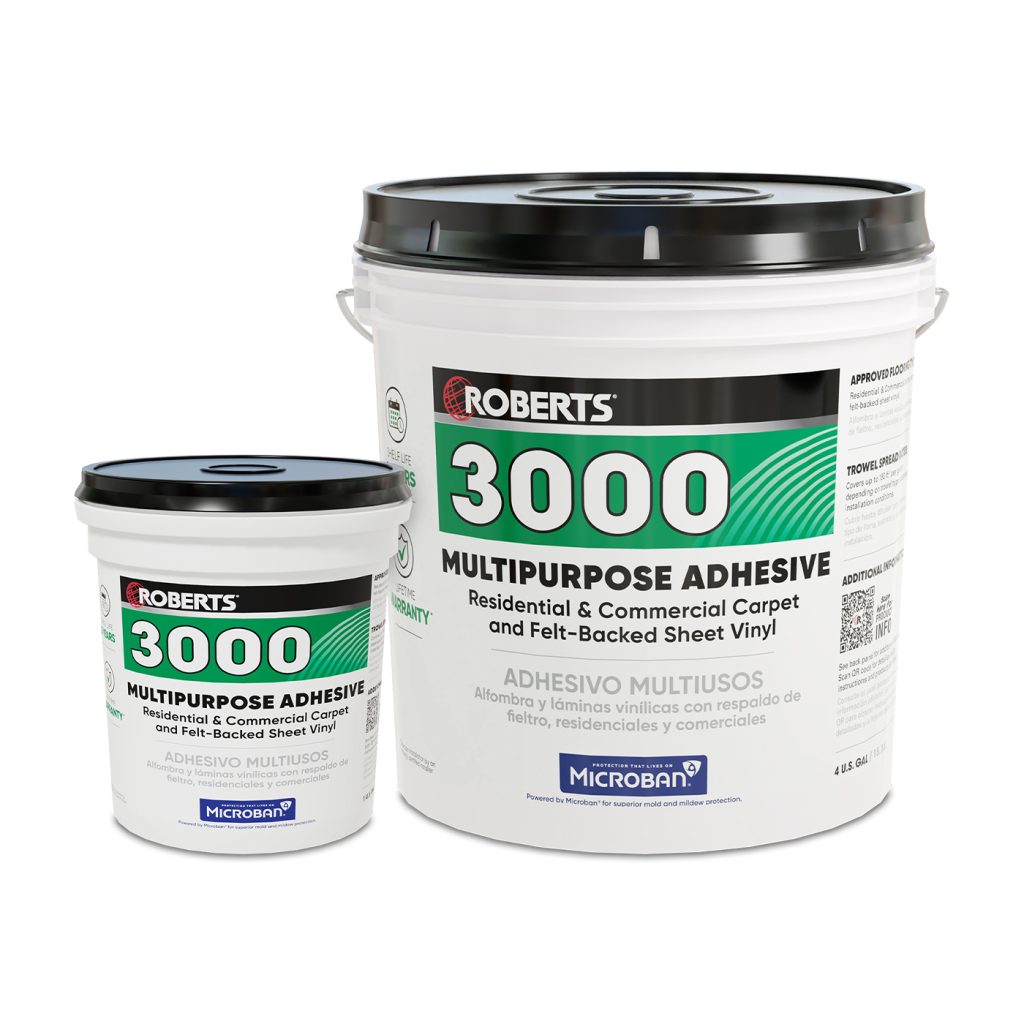
Robert’s 3000 from Lowe’s or Home Depot provides high-strength adhesion for indoor and outdoor use. Roberts 3095 from Amazon works well for indoor use with easy cleanup. Avoid thin or watery glues because they do not hold fibers securely.
Apply a Thick, Even Layer
Stir the glue thoroughly to remove lumps. Use a scraper to spread a peanut butter thick layer over the entire back. Cover all tufted areas completely with no bare spots. A second coat on top is optional and rarely needed.
Warning: Over-application adds unnecessary weight and extends drying time significantly.
Dry on the Frame
Leave the rug mounted while drying, which takes 12 to 48 hours depending on humidity. This maintains tension and prevents warping. Use a fan blowing on the back to cut drying time by up to 50 percent.
Finish the Edges Professionally
Clean edges make your rug look store-bought rather than homemade. Take time on this step for polished results.
Remove and Trim Excess Fabric
Take the rug off the frame carefully. Trim the primary fabric, leaving 1 to 2 inches around the perimeter for folding.
Fold and Glue Straight Edges
For square or rectangular rugs, fold the excess inward evenly. Secure with hot glue using Gorilla sticks applied every 2 to 3 inches along the edge.
Handle Curves with Tabs
For round or irregular shapes, make half-inch to one-inch perpendicular cuts every inch around the edge. Fold each tab inward and glue down individually to prevent puckering.
Alternative: Use bias tape or fabric binding for a sewn look that adds durability.
Attach a Non-Slip Backing
A final backing adds safety, structure, and polish to your finished rug.
Cut Backing Slightly Smaller
Use felt, latex, or non-slip rug pad cut one-quarter inch smaller than the tufted rug. This prevents lifting at the edges and creates a smooth transition to the floor.
Use Spray Adhesive
Apply 3M Super 77 to both the glued back of the rug and the top of the backing. Wait 30 seconds for it to become tacky. Carefully align and press together, smoothing out any air bubbles.
Function First: Non-slip backing is essential for hardwood or tile floors to prevent sliding and falls.
Trim and Shape the Pile
The final shearing gives your rug a professional, plush finish that looks like commercial carpeting.
Use a Guide-Mounted Shaver
Attach a plexiglass or wood guide to your electric shaver to ensure uniform pile height. Without a guide, you risk cutting too short in spots, which cannot be fixed.
Trim Incrementally
Start with a higher setting and make multiple light passes. Vacuum up fuzz between trims to see your progress clearly.
Best Practice: It is easier to cut more later than to fix a patch that is too short. Be conservative.
Detail Edges and Corners
Use duck-bill scissors for precise edge shaping. For sharp 90-degree corners, make a small incision, gently peel back the fabric, then trim for a crisp edge.
Creative Option: Try sculptural shearing by varying pile height to create 3D texture and visual depth.
Add Final Touches
One last polish turns a good rug into a great one that you can be proud of.
Label as One-of-a-Kind
Write “Handmade” or “Custom Tufted Art” on the back, especially for gifts or pieces you plan to sell. This adds value and authenticity.
Attach Velcro for Wall Hangings
For tapestries or wall decor, glue Velcro strips to the back for easy mounting and removal.
Inspect and Clean Up
Check for loose threads, glue spots, uneven areas, and missed tufts. Trim or re-glue as needed before considering the project complete.
Maintain Your Tufted Rug
Proper care extends the life of your handmade piece significantly.
Vacuum Regularly
Use a suction-only setting without a beater bar. Aggressive brushes can pull out fibers over time and damage the pile.
Spot Clean Gently
Blot spills with a damp cloth and mild detergent. Never rub because this can distort the pile and create bald spots.
Rotate in High-Traffic Areas
Even out wear by rotating the rug every few months. This prevents uneven fading and traffic patterns.
Avoid Direct Sunlight
UV rays fade synthetic fibers like acrylic quickly. Place rugs away from south-facing windows or use curtains to block harsh light.
Professional Clean Wool Rugs
Every 1 to 2 years, have wool rugs professionally cleaned to preserve softness and structure.
Troubleshoot Common Issues
Knowing how to fix problems saves time and materials.
Patchy Stitches
Partial needle insertion or low fabric tension causes this issue. Insert the needle fully before triggering and re-stretch the canvas if needed.
Skipped Stitches
Gun speed too high or a worn motor leads to skipped stitches. Lower the speed setting. Replace the gun if a high-pitched whine persists.
Canvas Tearing
Re-poking the same spot or loose fabric causes tearing. Work in new areas and maintain even tension throughout.
Yarn Tangles
Pulling from the outer skein causes knots. Always use the inner strand to prevent tangling.
Uneven Pile
Inconsistent pressure or a dull blade creates uneven heights. Use a guide during shaving and maintain steady hand pressure.
Design Misalignment
The image was not flipped before projection. Always mirror the design before tracing.
Scale Into a Business
Tufting can evolve from hobby to income with the right approach.
Sell on Etsy or at Craft Fairs
Small rugs in the 2 by 2 foot range sell for $100 to $250. Custom or large rugs command $300 to $800 or more. Wall art sells for $75 to $200 and has high demand on TikTok and Instagram.
Offer Custom Commissions
Create pet portraits, logos, or themed rugs like retro gaming or nature designs. Custom work commands premium pricing.
Cut Costs Strategically
Buy yarn by the bolt for lower per-unit cost. Build your own frame instead of buying pre-made. Use free design software like Preview, Canva, or Adobe Capture.
Market Edge: Highlight handmade quality, customization, and eco-materials like wool to stand out from competitors.
Frequently Asked Questions About Making Tufted Rugs
How long does it take to make a tufted rug?
A small 1 by 1 foot rug takes 2 to 4 hours. Medium 2 by 2 foot rugs take 4 to 8 hours. Large or intricate pieces measuring 3 by 5 feet or larger require 10 to 20 plus hours, often across multiple sessions.
What is the best yarn for beginners?
Acrylic yarn like Red Heart is best for beginners because it is affordable, widely available, and forgiving to work with. Wool offers superior durability and a premium feel but costs more and requires more skill to handle properly.
Do I need a tufting gun or can I use a punch needle?
Electric tufting guns dramatically speed up the process and are ideal for projects larger than one square foot. Manual punch needles work for small projects and are budget-friendly but require significantly more time and effort.
Why does my rug have patchy stitches?
Patchy stitches result from partial needle insertion or loose fabric tension. Always insert the needle fully into the fabric before pulling the trigger. Re-stretch the canvas if it feels loose.
Can I use my tufted rug on hardwood floors?
Yes, but you must attach a non-slip backing. Spray adhesive bonds felt, latex, or rug pad to the back of your tufted rug to prevent sliding and ensure safety on hard surfaces.
Key Takeaways for Making Your Own Tufted Rug
Learning how to make a tufted rug opens creative and financial possibilities. With the right frame, fabric, gun, and technique, you can produce durable, beautiful pieces in hours rather than months. Start small with simple geometric patterns, master fabric tension and color transitions, and finish with clean edges and proper backing.
Avoid common pitfalls by flipping your design before projection, pulling yarn from the inner strand, and allowing glue to dry fully on the frame. Use consistent pressure when tufting and trim incrementally during the finishing stage.
As your skills grow, experiment with wool for professional quality, try sculptural shearing for artistic depth, or offer custom commissions for extra income. The craft is as forgiving as it is rewarding, perfect for beginners yet deep enough for professionals. Every tufted rug you make is a statement of creativity, patience, and pride. Now gather your materials and start tufting.







