
Tired of overpriced, mass-produced rugs that do not fit your space? Making a sisal rug yourself is a smart, sustainable solution. With just $20 in materials and 6 to 8 hours of work, you can create a custom, durable floor covering tailored to your doorway, living room, or bedroom. The process uses natural sisal rope, simple tools, and proven techniques like coiling or crocheting to build a rug that is both functional and beautiful. Whether you are a seasoned crafter or a beginner, this guide walks you through every step from selecting materials to adding a non-slip base so you end up with a rug that stands up to daily foot traffic and looks like it came from a boutique.
You will learn how to prevent fraying, maintain even tension, reinforce edges, and finish with a professional touch. Plus, real user insights reveal common pitfalls to avoid like hand fatigue and curling edges. By the end, you will have a handmade rug you can keep, gift, or even sell.
Choose Your Method: Coil or Crochet
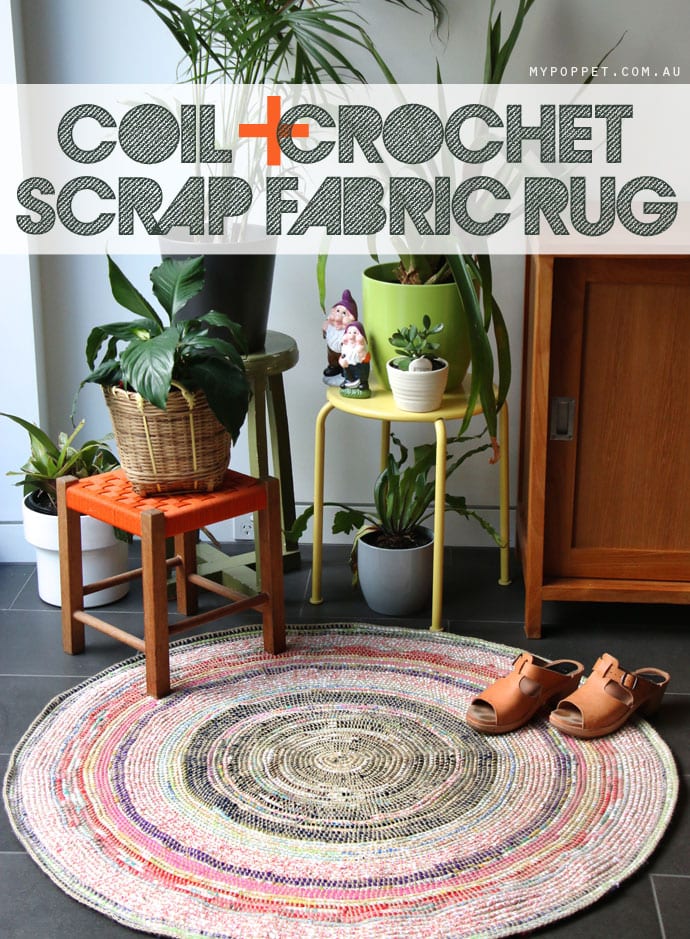
The first decision in making a sisal rug is choosing your construction technique. Two methods dominate: coiling with adhesive and crocheting. Each delivers a different look, feel, and durability level.
Coiling for Shape Flexibility
Coiling works best for circular, oval, or runner style rugs. It uses sisal rope wound tightly in a spiral and bonded with glue. This method allows freeform shaping and tight corners, ideal for narrow hallways or curved spaces.
Start by sealing the end of your sisal rope with a dab of hot glue to prevent fraying. Form a small center coil, the nucleus, and begin spiraling outward. Apply hot glue to the underside of each new loop before pressing it against the previous one. Keep tension consistent to avoid gaps or bulges.
For curves or corners, cut smaller rope segments to maintain control. Use doughnut shaped coils, smaller ones for tighter areas, larger for open sections. This modular approach lets you adjust fit on the fly.
Crocheting for Flat, Woven Texture
Crocheting produces a flat, even rug with a traditional woven appearance. It is ideal for high traffic areas where a smooth surface is preferred.
Use a 15mm crochet hook and begin with a slip knot. Chain stitch to your desired width, 24 inches works well for entryways. Insert the hook into the second chain from the end, wrap the rope twice, and pull through to form the first stitch.
Maintain even tension. One crafter noted it “feels like balancing yarn on a tightrope.” Uneven tension leads to warping or weak spots. Add a chain stitch when turning rows to prevent edge curling.
Gather Materials and Tools

You do not need a craft studio to make a sisal rug. Just a few key supplies and basic tools will get you started.
Essential Materials List
- Sisal rope with 3/16 inch diameter: two rolls totaling about 100 feet for a medium rug
- Hot glue sticks for temporary bonding during assembly
- E6000 or Liquid Nails for permanent adhesion in high traffic zones
- Non-slip backing such as Gorilla Grip drawer liner with waffle weave rubber
- Contrasting jute twine for decorative borders
Must Have Tools
- Hot glue gun with high temperature for strong adhesion
- 15mm crochet hook for stitching rows
- Long upholstery needle to reinforce backing
- Small scissors for trimming rope and fringes
- Chalk or fabric marker to trace outlines
- Measuring tape for accurate sizing
- Cardboard template to test fit before finalizing
Protect Your Hands
Sisal is rough. One crafter reported raw palms after just one hour of work. Prevent injury by wearing gardening gloves or wrapping your palms with athletic tape. This simple step lets you work longer without discomfort.
Build the Rug Body
Now that you have chosen your method and gathered supplies, it is time to build the rug is core structure.
Start the Center Coil
For coiled rugs, begin with a tight center. Apply hot glue to the end of the rope and wind it into a small circle about 2 to 3 inches wide. Press firmly to secure.
As you spiral outward, apply glue every 2 to 3 inches along the underside. Do not over glue because excess seeps through and looks messy. Press each new loop tightly against the last, maintaining even spacing.
For rectangular rugs, focus on keeping edges straight. Align perimeter coils carefully and alternate their orientation for stability.
Chain the Foundation Row
If crocheting, your foundation chain sets the width. Measure the space first and use a cardboard template to test fit. Chain stitch until you reach the desired length.
Insert your hook into the second chain from the end. Wrap the rope around twice, pull through, and repeat. This creates a solid base for the first row.
Add Rows with Consistent Tension
Work row by row, maintaining steady pull on the rope. Choose your stitch style:
- Traditional stitch: work through both loops for a smooth, flat finish
- Ridge effect: work through front loop only for textured ridges
Alternate every third row for a hybrid look, two traditional rows followed by one ridge row. This boosts durability while adding visual interest.
Re-tighten any loose sections immediately. Fibers expand with use, so catching weak spots early prevents future unraveling.
Customize Size and Shape
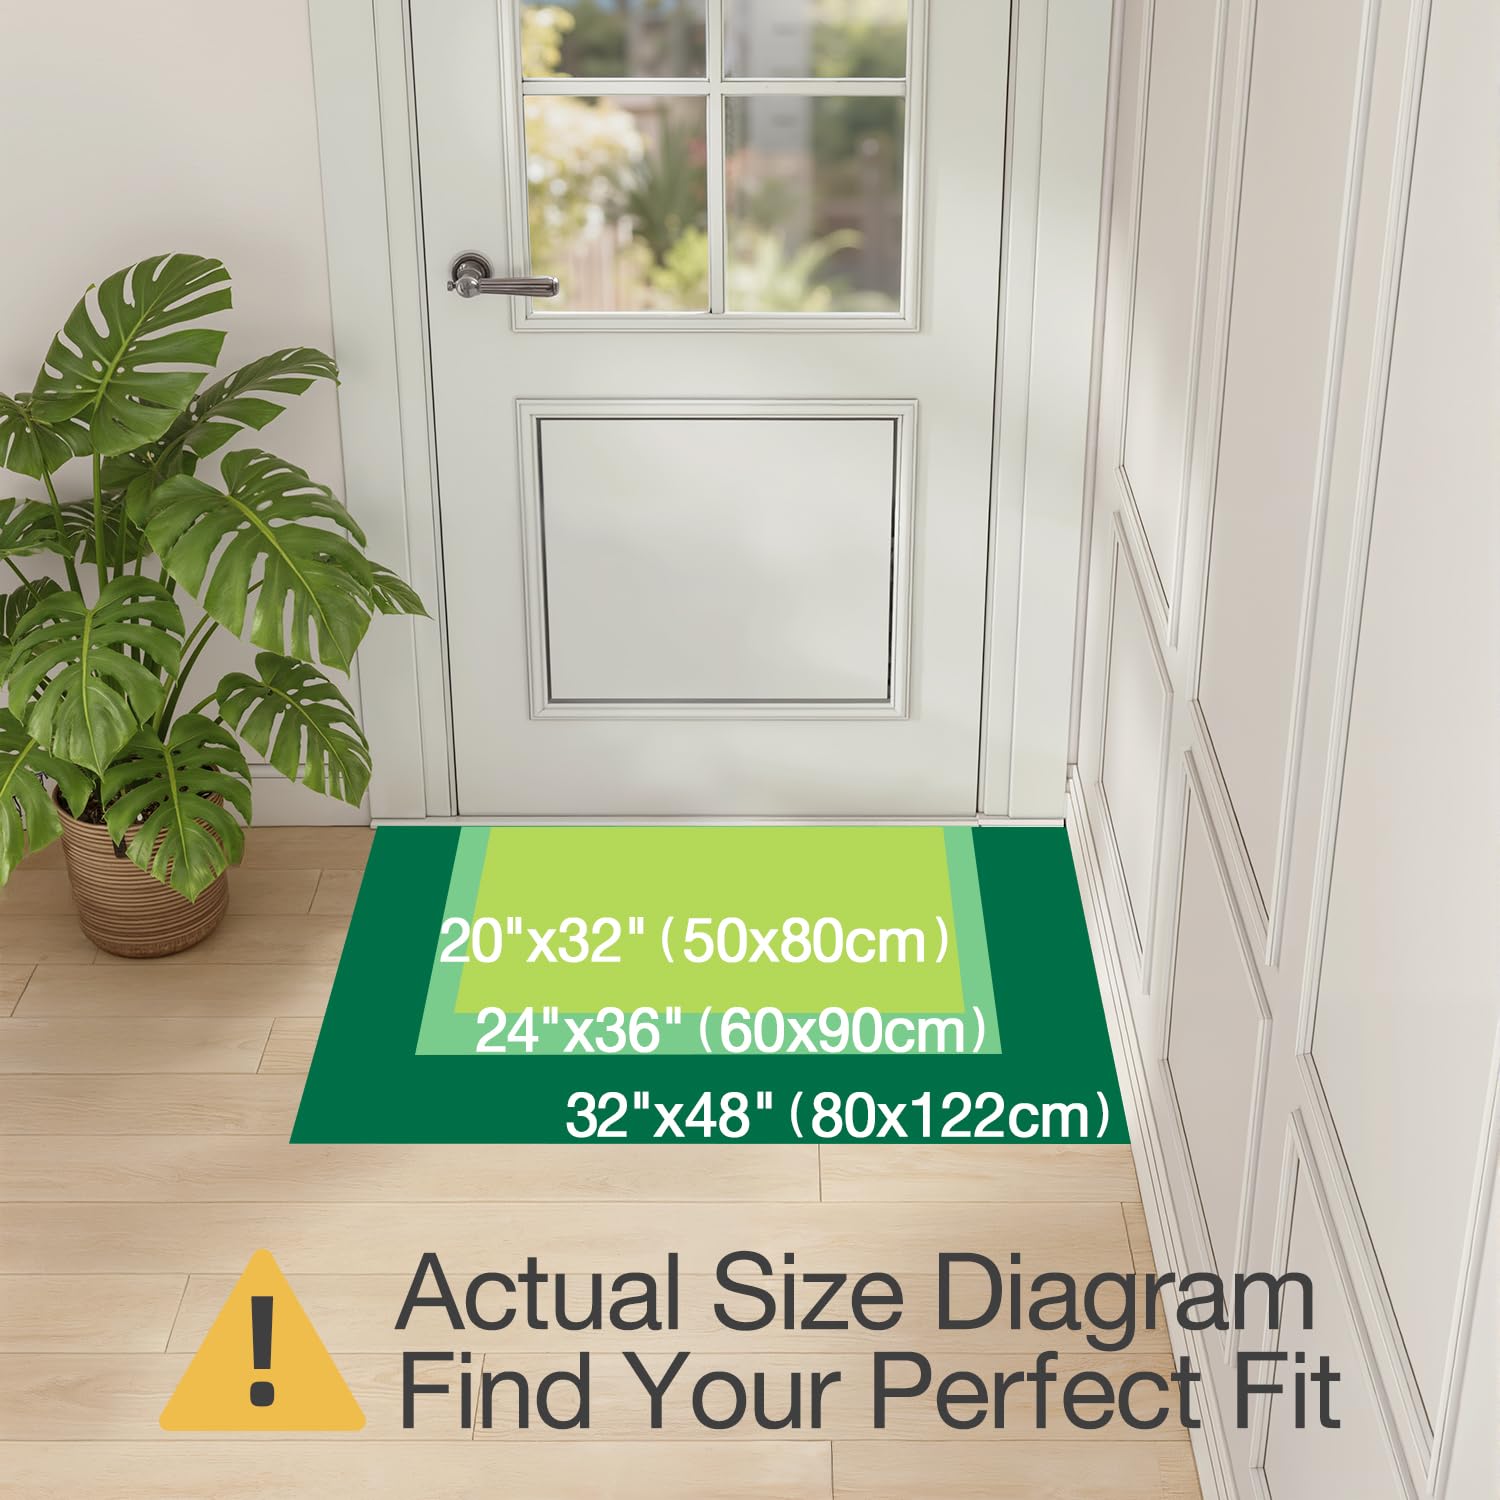
One of the biggest advantages of DIY is full control over dimensions.
Fit Narrow Doorways
For tight spaces, reduce the number of rows early. Ensure the rug does not overlap the threshold when the door opens. Use a cardboard cutout to test placement before finalizing.
Fill Large Rooms
In spacious areas, add extra rows to cover more floor. Extend the foundation chain or continue coiling outward until the rug fills the space visually.
Adjust Border Rows
- Small rugs need 2 border rows
- Large rugs need 3 to 4 border rows
More borders increase durability and give a finished look. They also help anchor the structure, especially in high traffic zones.
Add Decorative Borders
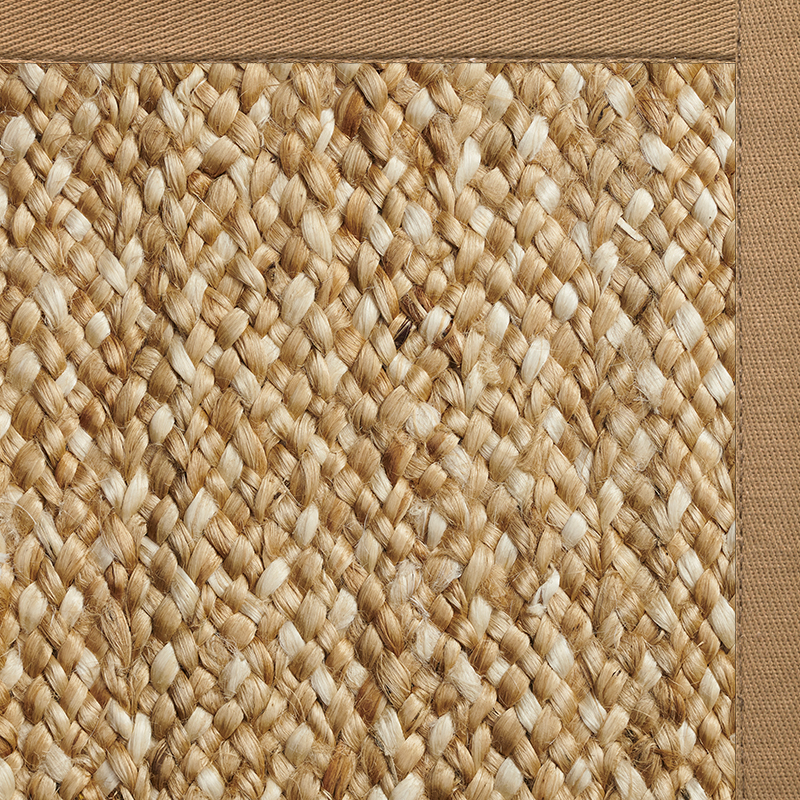
A border transforms a rough coil into a polished piece.
Use Slip Stitches with Contrast Twine
Thread a contrasting jute twine through a yarn needle. Work slip stitches around the entire edge for a clean frame.
At corners, use triple stitches to prevent puckering. This maintains sharp geometry and keeps the rug lying flat.
Enhance with Braids or Wraps
For a bolder look, consider these options:
- Wrap the edge with thicker sisal strands
- Create a braid from leftover rope and stitch it on
These touches add texture and turn your rug into a statement piece.
Manage Fringe and Finish Edges
Fringe adds character but can unravel if not secured properly.
Lock in Curly Strands
Observe the original pattern: alternating curly and straight strands. Use the straight strand as an anchor.
To knot, follow these steps:
- Form a loop with the straight strand
- Thread its end front to back through the loop
- Pull both curly strands through
- Tighten to secure
This locks the fringe in place and prevents tangling.
Flatten Curled Ends
If fringe curls up, lightly steam it to relax the fibers. Hold a steamer 6 inches away, do not soak the sisal. Press flat and let dry under a book.
Install Non-Slip Backing
A rug that slides is a safety hazard. Adding a non-slip base is essential.
Cut the Liner to Size
Use Gorilla Grip drawer liner with its waffle weave rubber that grips hardwood and tile effectively. Lay the rug face down, place the liner underneath, and trace the outline with chalk.
Cut along the line. Fold the liner like a taco for easier handling during application.
Glue and Press
Apply a generous layer of hot glue to the rug is underside. Work in sections to prevent cooling. Press the liner firmly onto the glue.
A thin seepage is normal. If the rubber melts, your glue gun is too hot so reduce the temperature.
Reinforce for Durability
In high traffic areas, add E6000 adhesive over the glued surface. It dries clear and bonds stronger than hot glue alone.
Use a long upholstery needle to stitch the liner to the rug where glue is weak. This dual method, glue plus stitches, ensures no shifting.
Reinforce and Finalize
The last steps ensure long term durability.
Fix Common Issues
| Problem | Solution |
|---|---|
| Loose knots | Re-tie using the anchor strand method |
| Frayed ends | Apply clear fabric glue to the base |
| Curling edges | Weight down with books for 2 to 4 hours |
| Unraveling loops | Add a dab of fabric glue to knot bases |
Boost Doorway Durability
Use double half hitch knots at transition points. These resist wear from frequent foot traffic. Pair with non-slip backing to minimize shifting.
Maintain Your Sisal Rug
A well-made rug lasts years with proper care.
Clean Without Damage
- Spot clean only using mild detergent and a damp cloth
- Never soak or machine wash because sisal absorbs water and can warp
- Air dry completely if cleaned
Store Properly
- Roll, do not fold to prevent creases and fiber breakage
- Store in a dry, cool place away from direct sunlight
Extend Lifespan
- Reapply E6000 to worn areas annually
- Tighten loose border stitches every year
- Rotate the rug every few months for even wear
Real Results and User Insights
Crafters report high satisfaction with their DIY sisal rugs.
One said, “Borders turned my coiled rope into something worthy of display.” Another emphasized, “Testing fit with a cardboard template saved me hours of rework.” Many prefer E6000 over hot glue in high use areas for stronger hold.
Hand fatigue is common so always protect your palms. Break the project into 1 to 2 hour sessions to avoid strain.
Cost and Eco Benefits
- DIY cost averages about $20
- Store-bought equivalent costs $100 or more
- Customization offers full control over size, shape, texture
- Eco impact uses natural fibers, no synthetics, and repurposed materials
You are not just saving money, you are reducing waste and creating sustainable home decor.
Frequently Asked Questions About Making a Sisal Rug
How do I adjust the rug size for a specific room or door area?
Measure the space first. Modify the foundation chain length for crocheted rugs. For coiled rugs, add or reduce rows early. Always test fit with a cardboard template before finalizing construction.
What is the best way to secure the end of a sisal rope when starting?
Create a slip knot at the rope is end. For coiling, apply a dab of hot glue to seal the cut end. For crocheting, wrap the tail around the initial chain stitch twice, then tighten to prevent unraveling.
Can I add a decorative border without advanced tools?
Yes. Use slip stitches with contrasting jute twine. For bolder looks, wrap the border with thicker sisal strands or create a braid from leftover rope pieces.
How do I prevent loops from unraveling over time?
Apply a small dab of fabric glue to knot bases. In high traffic zones, reinforce with double knot technique and trim fringes close to the stitch for a cleaner finish.
What is the ideal knot technique for durability near doorways?
Use a double half hitch knot at transition points. Combine with non-slip backing to minimize shifting and wear. This combination handles frequent foot traffic effectively.
How long does a medium sized DIY sisal rug typically take?
A 4×6 foot rug takes 6 to 8 hours, spread across sessions. Duration depends on knotting consistency and design complexity. Take breaks every hour to avoid hand strain.
Key Takeaways for Your DIY Sisal Rug Project
Making a sisal rug is a rewarding project that blends craftsmanship with practicality. With the right materials, technique, and attention to detail, you can create a floor covering that is durable, eco-friendly, and uniquely yours. Whether coiled or crocheted, every stitch adds value.
Remember to protect your hands with gloves or tape, maintain consistent tension throughout, and test fit with cardboard templates before committing to final assembly. Use E6000 adhesive in high traffic areas and always add non-slip backing for safety.
Once complete, your rug will stand the test of time. You can keep it for personal use, sell it as a handmade item, raffle it for charity, or gift it to someone special. The skills you develop with this project open doors to future crafting endeavors.







