
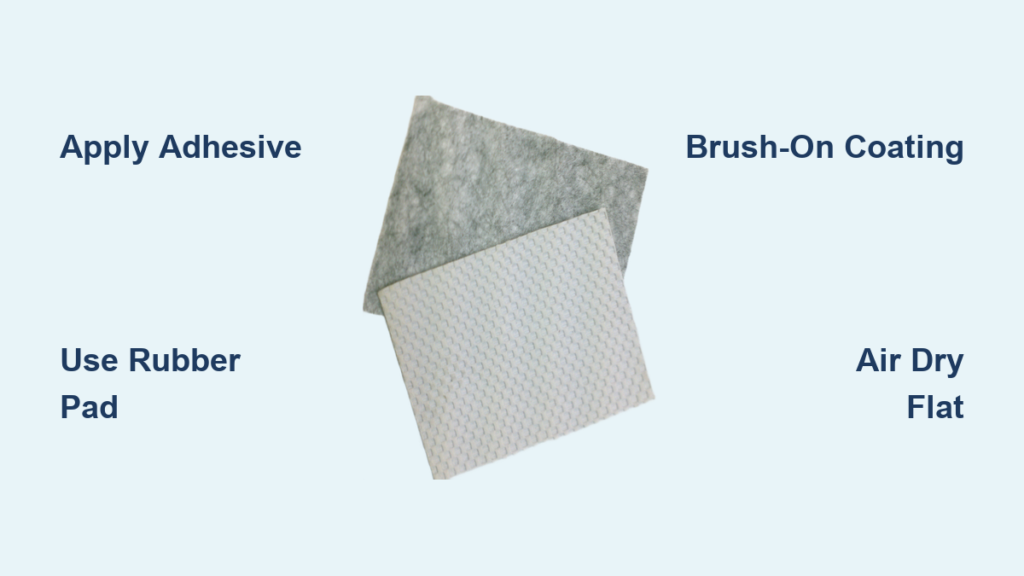
A loose, sliding rug isn’t just annoying. It’s dangerous. Every year, unsecured rugs cause thousands of slips and falls, especially in homes with seniors or young children. Whether you’re restoring a cherished handmade rug or fixing a peeling bathroom mat, adding rubber backing improves safety, prevents floor damage, and extends your rug’s life. This guide walks you through proven, step-by-step methods to apply rubber backing at home using accessible tools and materials.
From brush-on coatings to adhesive pads and DIY fixes, you’ll learn how to choose the best method for your rug type, apply it correctly, and maintain it for long-term grip.
Why Add Rubber Backing to Your Rug
Rugs without secure backing shift underfoot, creating serious hazards. Adding rubber backing solves these problems by:
Rugs without secure backing shift underfoot, creating tripping hazards and accelerating wear. Rubber backing solves these problems by:
• Preventing slips and falls on hard floors
• Protecting flooring from scratches and scuff marks
• Reducing fiber fraying caused by constant movement
• Stabilizing edges that curl or fold in high-traffic areas
Even small scatter rugs benefit from added grip. A few minutes of application can prevent years of damage and potential injury.
Rug Types That Need Rubber Backing
Not all rugs come with reliable non-slip properties. These types most commonly require added rubber backing.
Handmade Rugs
Hooked, tufted, and crocheted rugs often lack commercial backing. Fibers loosen when moved frequently. These are ideal for the latex adhesive plus rubber pad method.
Bathroom Mats and Shower Rugs
Original rubber disintegrates from moisture and washing. These are best repaired with silicone caulk or InPlaise coating.
Flatweave and Area Rugs
These slide easily on tile, wood, or laminate. They respond well to anti-slip sprays or rug pads with tape.
Rugs with Peeling or Missing Backing
Delamination is common in older or pet-damaged rugs. These can be restored using brush-on rubber or Fiber-Lok.
Pro Tip: Test any method on a small area first, especially with natural fibers like wool or cotton.
Brush-On Rubber Coating Method
This professional-grade method creates a durable, flexible non-slip surface using two-part urethane rubber.
Gather Your Supplies
• Brush-On 40 (Parts A and B)
• Mixing cup and stir stick
• Chip brush
• Masking tape
• Silicone spray (optional, for storage)
Mix the Rubber Correctly
- Dispense equal volumes of Part A and Part B.
- Scrape flat to remove air pockets.
- Pour into a clean container and mix thoroughly for two to three minutes.
- Optionally, spray mixing tools with silicone before sealing leftovers.
Warning: Inaccurate ratios prevent curing. Measure by volume, not weight.
Apply with Clean Edges
- Lay rug face-up so the back is exposed.
- Use masking tape to create a one-inch border around all edges.
- Create an X across the center to guide even coverage.
- Brush on rubber within the taped zones.
- One three-quarter trial unit covers a six foot by four foot rug.
Cure and Finish
- Wait twenty minutes, then peel off tape while rubber is still tacky.
- Let cure for sixteen hours before use.
- Result: A high-friction, invisible layer that resists sliding underfoot.
Best For: Large area rugs, wool hooked rugs, and long-term durability.
Adhesive Rubber Pad Installation

Ideal for rugs with deteriorated backing, this method bonds a pre-cut rubber pad to the rug using latex adhesive.
Prepare the Rug
- Remove old binding by opening the single stitch along the edge.
- Clean the back thoroughly. Dust or oil blocks adhesion.
Apply Latex Adhesive
- Use a roller or brush to spread rubber-based latex on both rug back and pad.
- Let it tackify for five to ten minutes. It should be sticky but not wet.
Bond the Pad
- Align one edge carefully.
- Roll down slowly to avoid air bubbles.
- Use a carpet seam roller over the entire surface.
- Add weights like books or bricks and let sit overnight.
Finish the Edges
- Fold original binding back over the perimeter.
- Apply a thin line of adhesive to secure it.
- Press firmly for a clean, professional look.
Perfect For: Heirloom rugs, tufted wool, and pet-damaged pieces needing structural repair.
InPlaise Anti-Slip Coating
A ready-to-use, wash-proof liquid that dries clear and stays effective through multiple cleanings.
Ventilate First
The product has an ammonia odor. Open windows or work outdoors.
Apply Two Thin Coats
- Flip rug to expose clean, dry underside.
- Brush on first coat evenly with a paintbrush.
- Wait one to two hours until fully translucent.
- Apply second coat within twelve hours for maximum grip.
Cleanup: Wash brush immediately with cold water.
Why It Works
• Remains flexible and invisible
• Survives machine washing on gentle cycle
• Safe for rugs, mats, slippers, and crafts
User Verified: B&B owners use it on frequently washed bathroom rugs.
Silicone Caulk for Bathroom Mats

A low-cost fix for mats with crumbling rubber, common after repeated washing.
Remove Old Backing
- Cut away all loose or stringy rubber.
- Wash and air dry completely. No moisture allowed.
Apply Silicone
- Load clear or white silicone caulk into a caulking gun.
- Cut nozzle at a 45-degree angle for fine control.
- Squeeze in a snake pattern across the back.
- Ensure full coverage near edges and corners.
Let It Cure
- Wait twenty-four hours before using.
- Avoid machine drying. Heat destroys silicone.
Wash Safely
• Use gentle cycle only
• Always air dry flat
Cost-Effective: One tube costs under five dollars and lasts for multiple repairs.
Alternative DIY Methods
When professional products are not available, these creative solutions work in a pinch.
Acrylic Latex Caulk
Apply in thin lines across the back. Dab wet finger to press into fibers for better grip. Dries clear and is ideal for doily-style crochet rugs.
Puff Paint
Squeeze in beads along the underside. Grips well but may need reapplication after washing. Great for lightweight decorative rugs.
Plastic Dip or Rubber Coating Spray
Spray or brush on back. Forms tough, flexible layer. The black version shows on light rugs. Use the clear online version instead.
Anti-Slip Spray
Found in hardware stores. Spray directly onto rug back. May require reapplication every few washes.
Rug Fasteners and Grippers
Small plastic clips pressed into rug or floor. Invisible and reusable. No residue, ideal for delicate or lacy fabrics.
Rug Pad Plus Double-Sided Tape
Cut pad one inch smaller than rug to hide edges. Stick tape to rug back, press onto pad. Allows easy removal and washing.
Avoid Carpet Tape: Leaves sticky residue on hardwood. Use rug tape (rubber-backed) instead.
Product Comparison at a Glance
| Method | Washable | Dryer Safe | Best Use Case |
|---|---|---|---|
| Brush-On 40 | Yes | No | Large, high-traffic rugs |
| Latex plus Rubber Pad | Yes | No | Restoration, thick rugs |
| InPlaise Coating | Yes | No | Frequently cleaned rugs |
| Silicone Caulk | Yes (gentle) | No | Bathroom mat repair |
| Acrylic Caulk | Yes | No | Lacy or open-weave rugs |
| Puff Paint | Limited | No | Decorative, hand-washed |
| Anti-Slip Spray | Reapply after wash | No | Light-duty, temporary fix |
| Plastic Dip | Yes | No | Heavy-duty grip |
| Fiber-Lok | Yes | No | Machine-washable rugs |
| Rug Fasteners | Yes | Yes | No-mess, repositionable |
Key Rule: Never machine dry any rug with rubber backing. Heat causes cracking and failure.
Best Practices for Success
Prep the Surface
Clean and dry the rug back completely. Vacuum or wipe with a damp cloth. Let air dry twenty-four hours if needed.
Work in Ideal Conditions
Temperature should be sixty to eighty degrees Fahrenheit. Low humidity is best. High moisture slows curing.
Test First
Apply a small amount to an inconspicuous corner. Check for fiber stiffness or discoloration after twenty-four hours.
Avoid Common Mistakes
• Skipping the tacking step with latex adhesive
• Applying thick coats. Thin layers cure better
• Using heat to speed drying. This causes bubbling or peeling
Maintain Longevity
Wash only when necessary. Air dry flat. Never wring or tumble dry. Reapply sprays or paints every three to six months with heavy use.
Real-World Tips from Users
• Crafters: I use acrylic caulk on my crocheted rugs. It is invisible and grips my tile floor perfectly.
• B&B Owners: Silicone caulk saves us hundreds a year replacing cheap mats. One application lasts six months or more.
• Rug Restorers: Latex and rubber pad is the only way to fix old hooked rugs without damaging fibers.
• Seniors and Caregivers: InPlaise spray keeps hallway rugs from sliding. No more fear of falling at night.
Where to Buy the Right Products
• Brush-On 40: Smooth-On.com or industrial suppliers
• InPlaise Coating: Official website or fine home retailers
• Latex Adhesive and Rubber Pads: Home Depot, Lowe’s, or flooring stores
• Silicone Caulk, Acrylic Caulk: Hardware stores
• Puff Paint, Fiber-Lok: Michaels, Joann, craft sections
• Rug Fasteners, Tape, Pads: Amazon, Walmart, Target
• Plastic Dip (Clear): Online (search clear rubber coating spray)
Frequently Asked Questions About Putting Rubber Backing on a Rug
What is the best method for adding rubber backing to a handmade wool rug?
The brush-on urethane method or latex adhesive plus rubber pad provides the most durable results for handmade wool rugs. Brush-On 40 creates a flexible, invisible coating that lasts for years. The latex pad method offers excellent stability and works well for restoration projects.
Can I wash a rug after applying rubber backing?
Yes, but with restrictions. Most rubber-backed rugs are hand washable or machine washable on gentle cycle. Always air dry flat. Never use a machine dryer because heat destroys rubber and causes cracking or peeling.
How long does rubber backing take to cure?
Cure times vary by product. Brush-On 40 requires sixteen hours for full cure. Silicone caulk needs twenty-four hours. InPlaise coating dries to translucency in one to two hours but achieves maximum grip with a second coat applied within twelve hours.
What is the cheapest way to add non-slip backing to a rug?
Silicone caulk is the most affordable option. One tube costs under five dollars and can repair multiple bathroom mats. Acrylic latex caulk is another low-cost alternative, especially effective for lacy or open-weave rugs.
Will rubber backing work on a rug placed on hardwood floors?
Yes, rubber backing provides excellent grip on hardwood floors. It prevents scratching while stabilizing the rug. Just avoid carpet tape, which leaves sticky residue. Use rug tape (rubber-backed) instead for temporary applications.
How often do I need to reapply rubber backing?
Reapplication depends on the method and usage. Anti-slip sprays and puff paint may need reapplication every three to six months with heavy use. Brush-on coatings and latex adhesives typically last for several years before needing refreshment.
Key Takeaways for Adding Rubber Backing to Your Rug
Putting rubber backing on a rug is a simple upgrade with significant rewards. Whether you use professional urethane coatings, adhesive pads, or DIY silicone, the goal remains the same: a stable, safe floor covering that stays put. The right method depends on your rug type, washing needs, and durability goals.
Always prepare the surface properly by cleaning and drying the rug back completely before application. Test any product on a small, inconspicuous area first. Allow full cure time as specified by the product instructions, and always air dry your rug after washing.
Follow the steps above, and you will enjoy a non-slip rug that lasts for years. Do not wait for a fall to fix a loose rug. Secure it today.







