
Tired of fraying carpet scraps or leftover remnants that will not lie flat? You are not alone. Thousands of homeowners throw away perfectly good carpet pieces simply because they lack a clean, finished edge. The good news is that learning how to bind a rug edge transforms any raw carpet piece into a polished, durable area rug without sewing or expensive tools.
In this guide, you will discover foolproof methods, essential materials, pro tips for seamless corners, and the critical step that 90% of beginners skip, which ruins their results.
Choose Your Binding Method
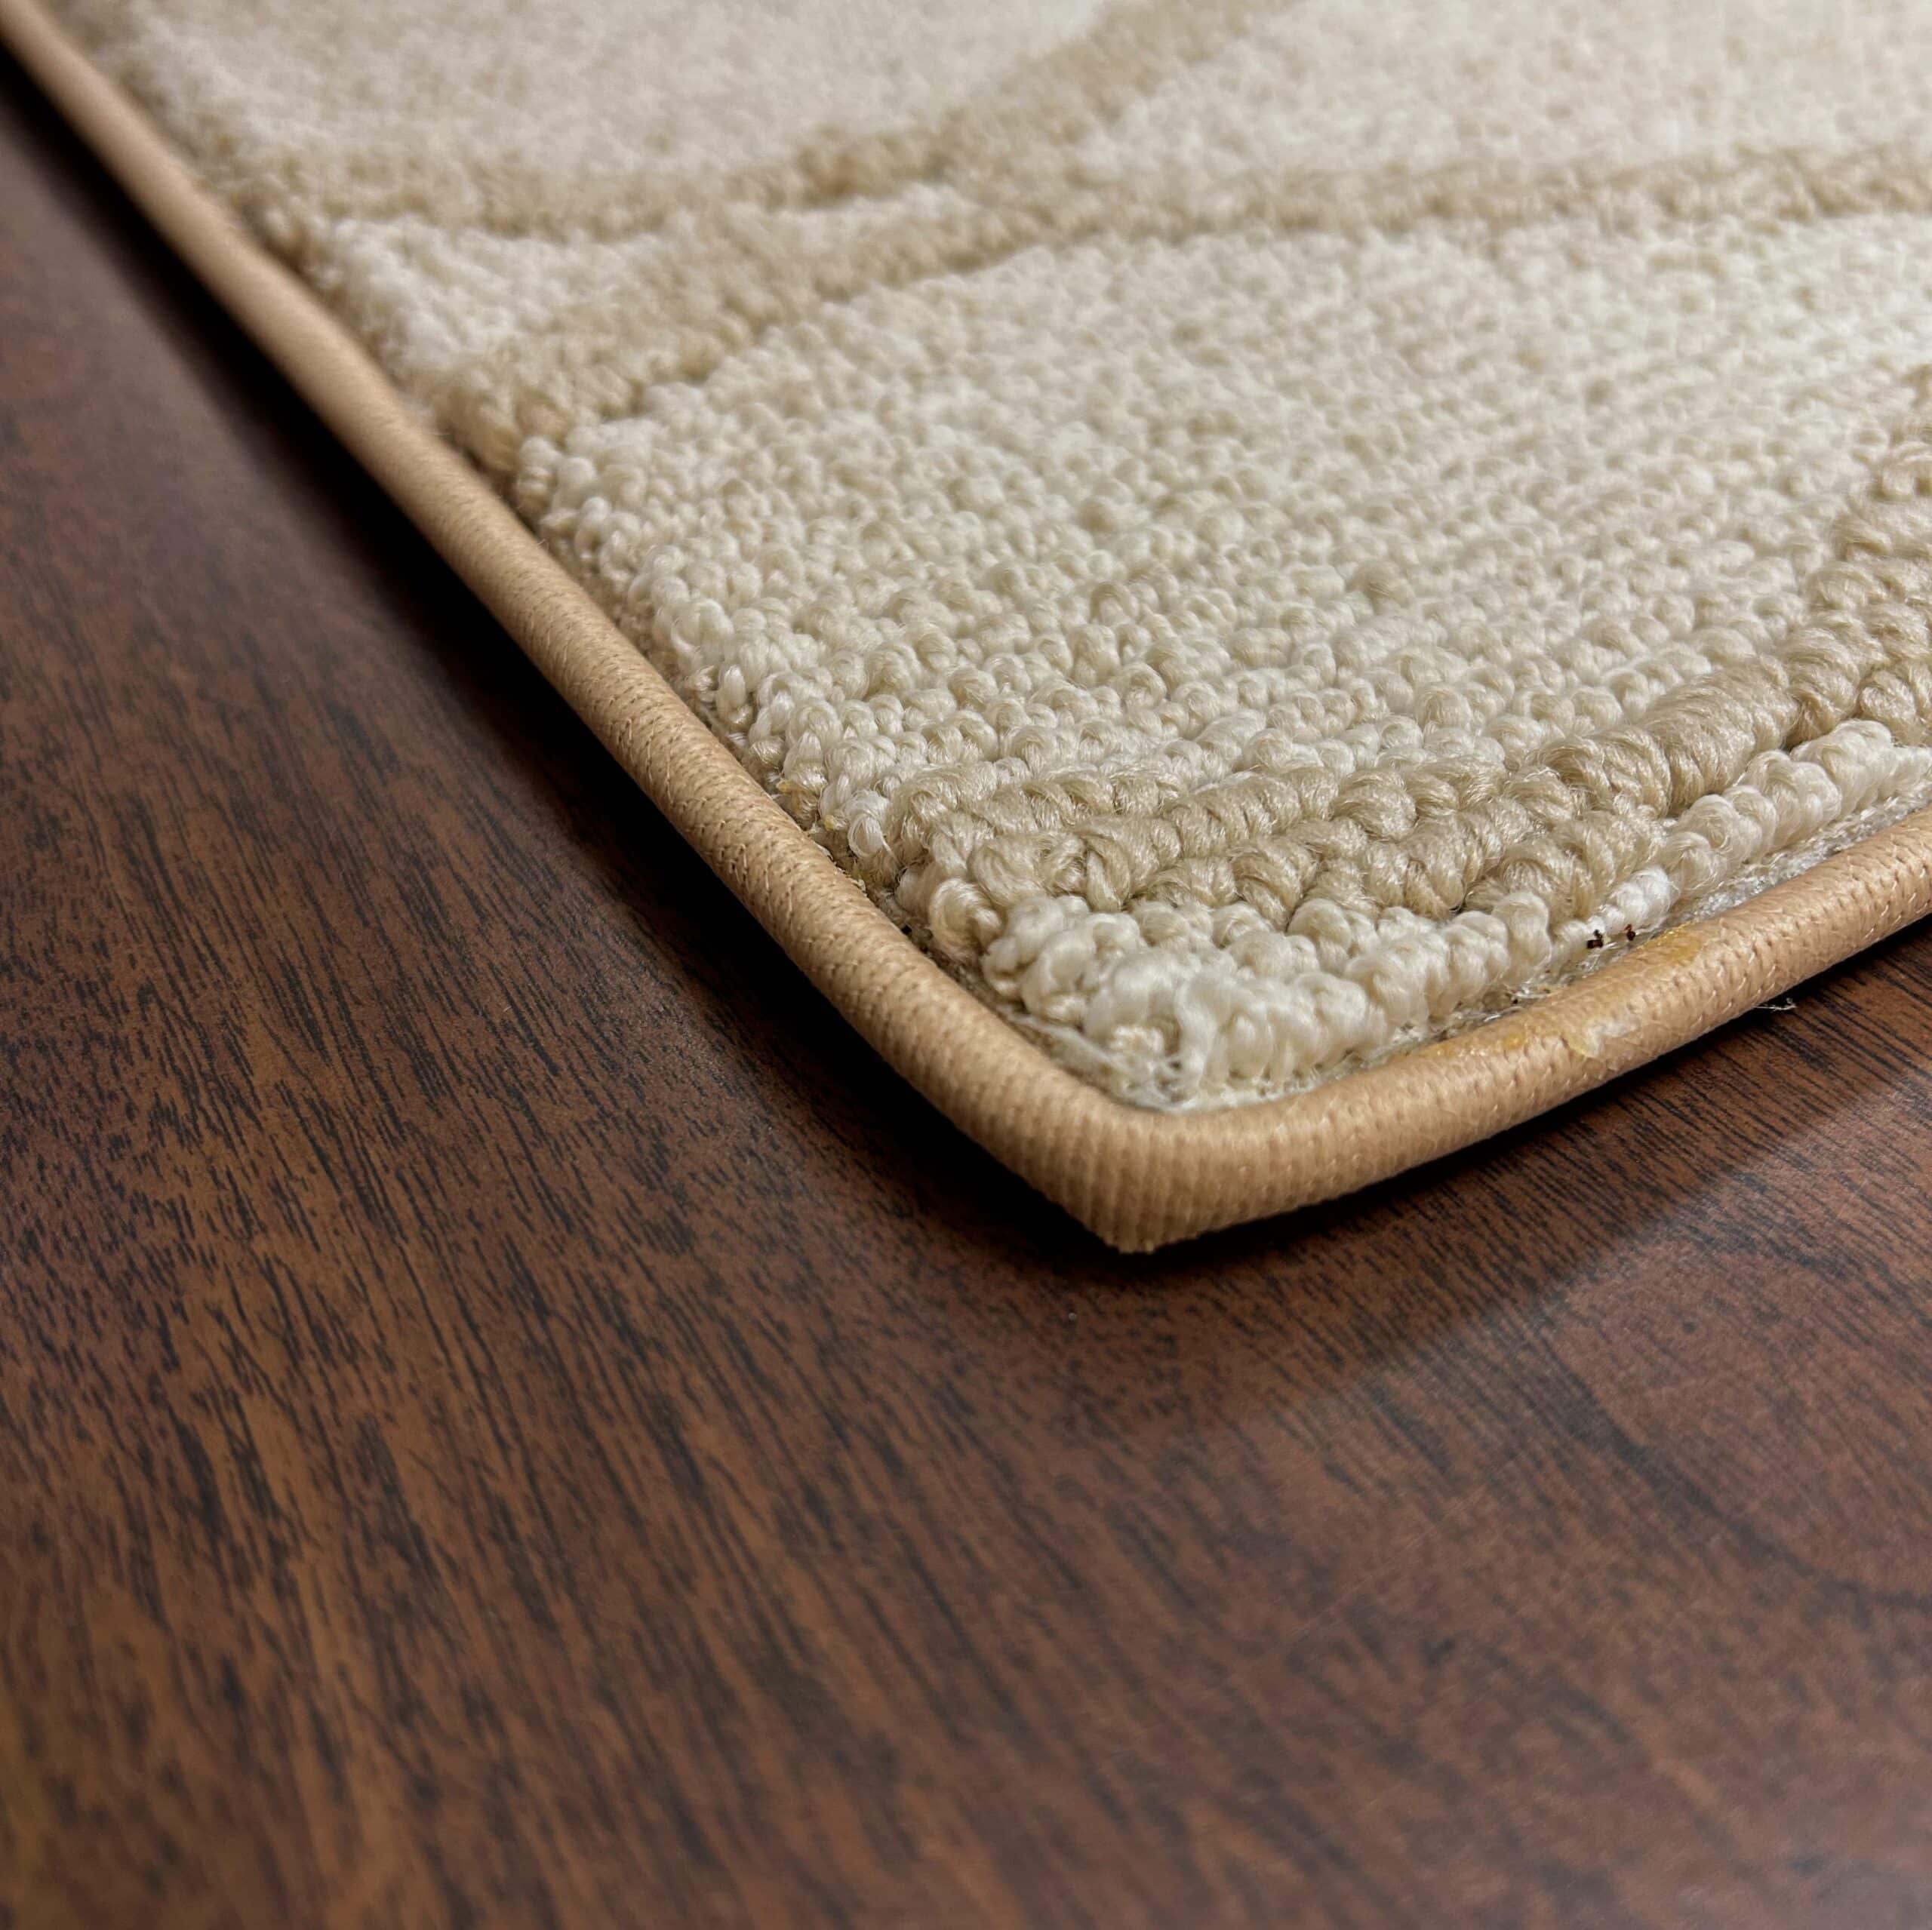
Two proven techniques dominate DIY rug binding. Peel-and-stick strips and traditional hand-binding with surge tape both deliver professional results, but your project size, timeline, and desired finish determine the best fit.
Peel-and-Stick vs Hand-Binding
Peel-and-stick binding like Instabind is ideal for fast, no-sew projects. It uses double-sided adhesive tape with a fabric-covered edge and internal tubing for flexible cornering. You position it first, then seal with hot glue for permanence. This method allows repositioning before final adhesion, perfect for beginners.
Traditional hand-binding uses 1-inch surge tape applied manually. It is often stapled temporarily before being folded under and glued. This method is preferred for stair treads and Oriental rug repairs because it offers maximum durability, though it requires more precision.
Match Method to Project Type
Use peel-and-stick for area rugs, bath mats, or car mats under 10 feet in length. Its speed and clean finish make it the top choice for most DIYers. Save hand-binding with surge tape for high-traffic zones like stair runners or when repairing vintage rugs where structural integrity is critical.
Gather Essential Tools and Materials
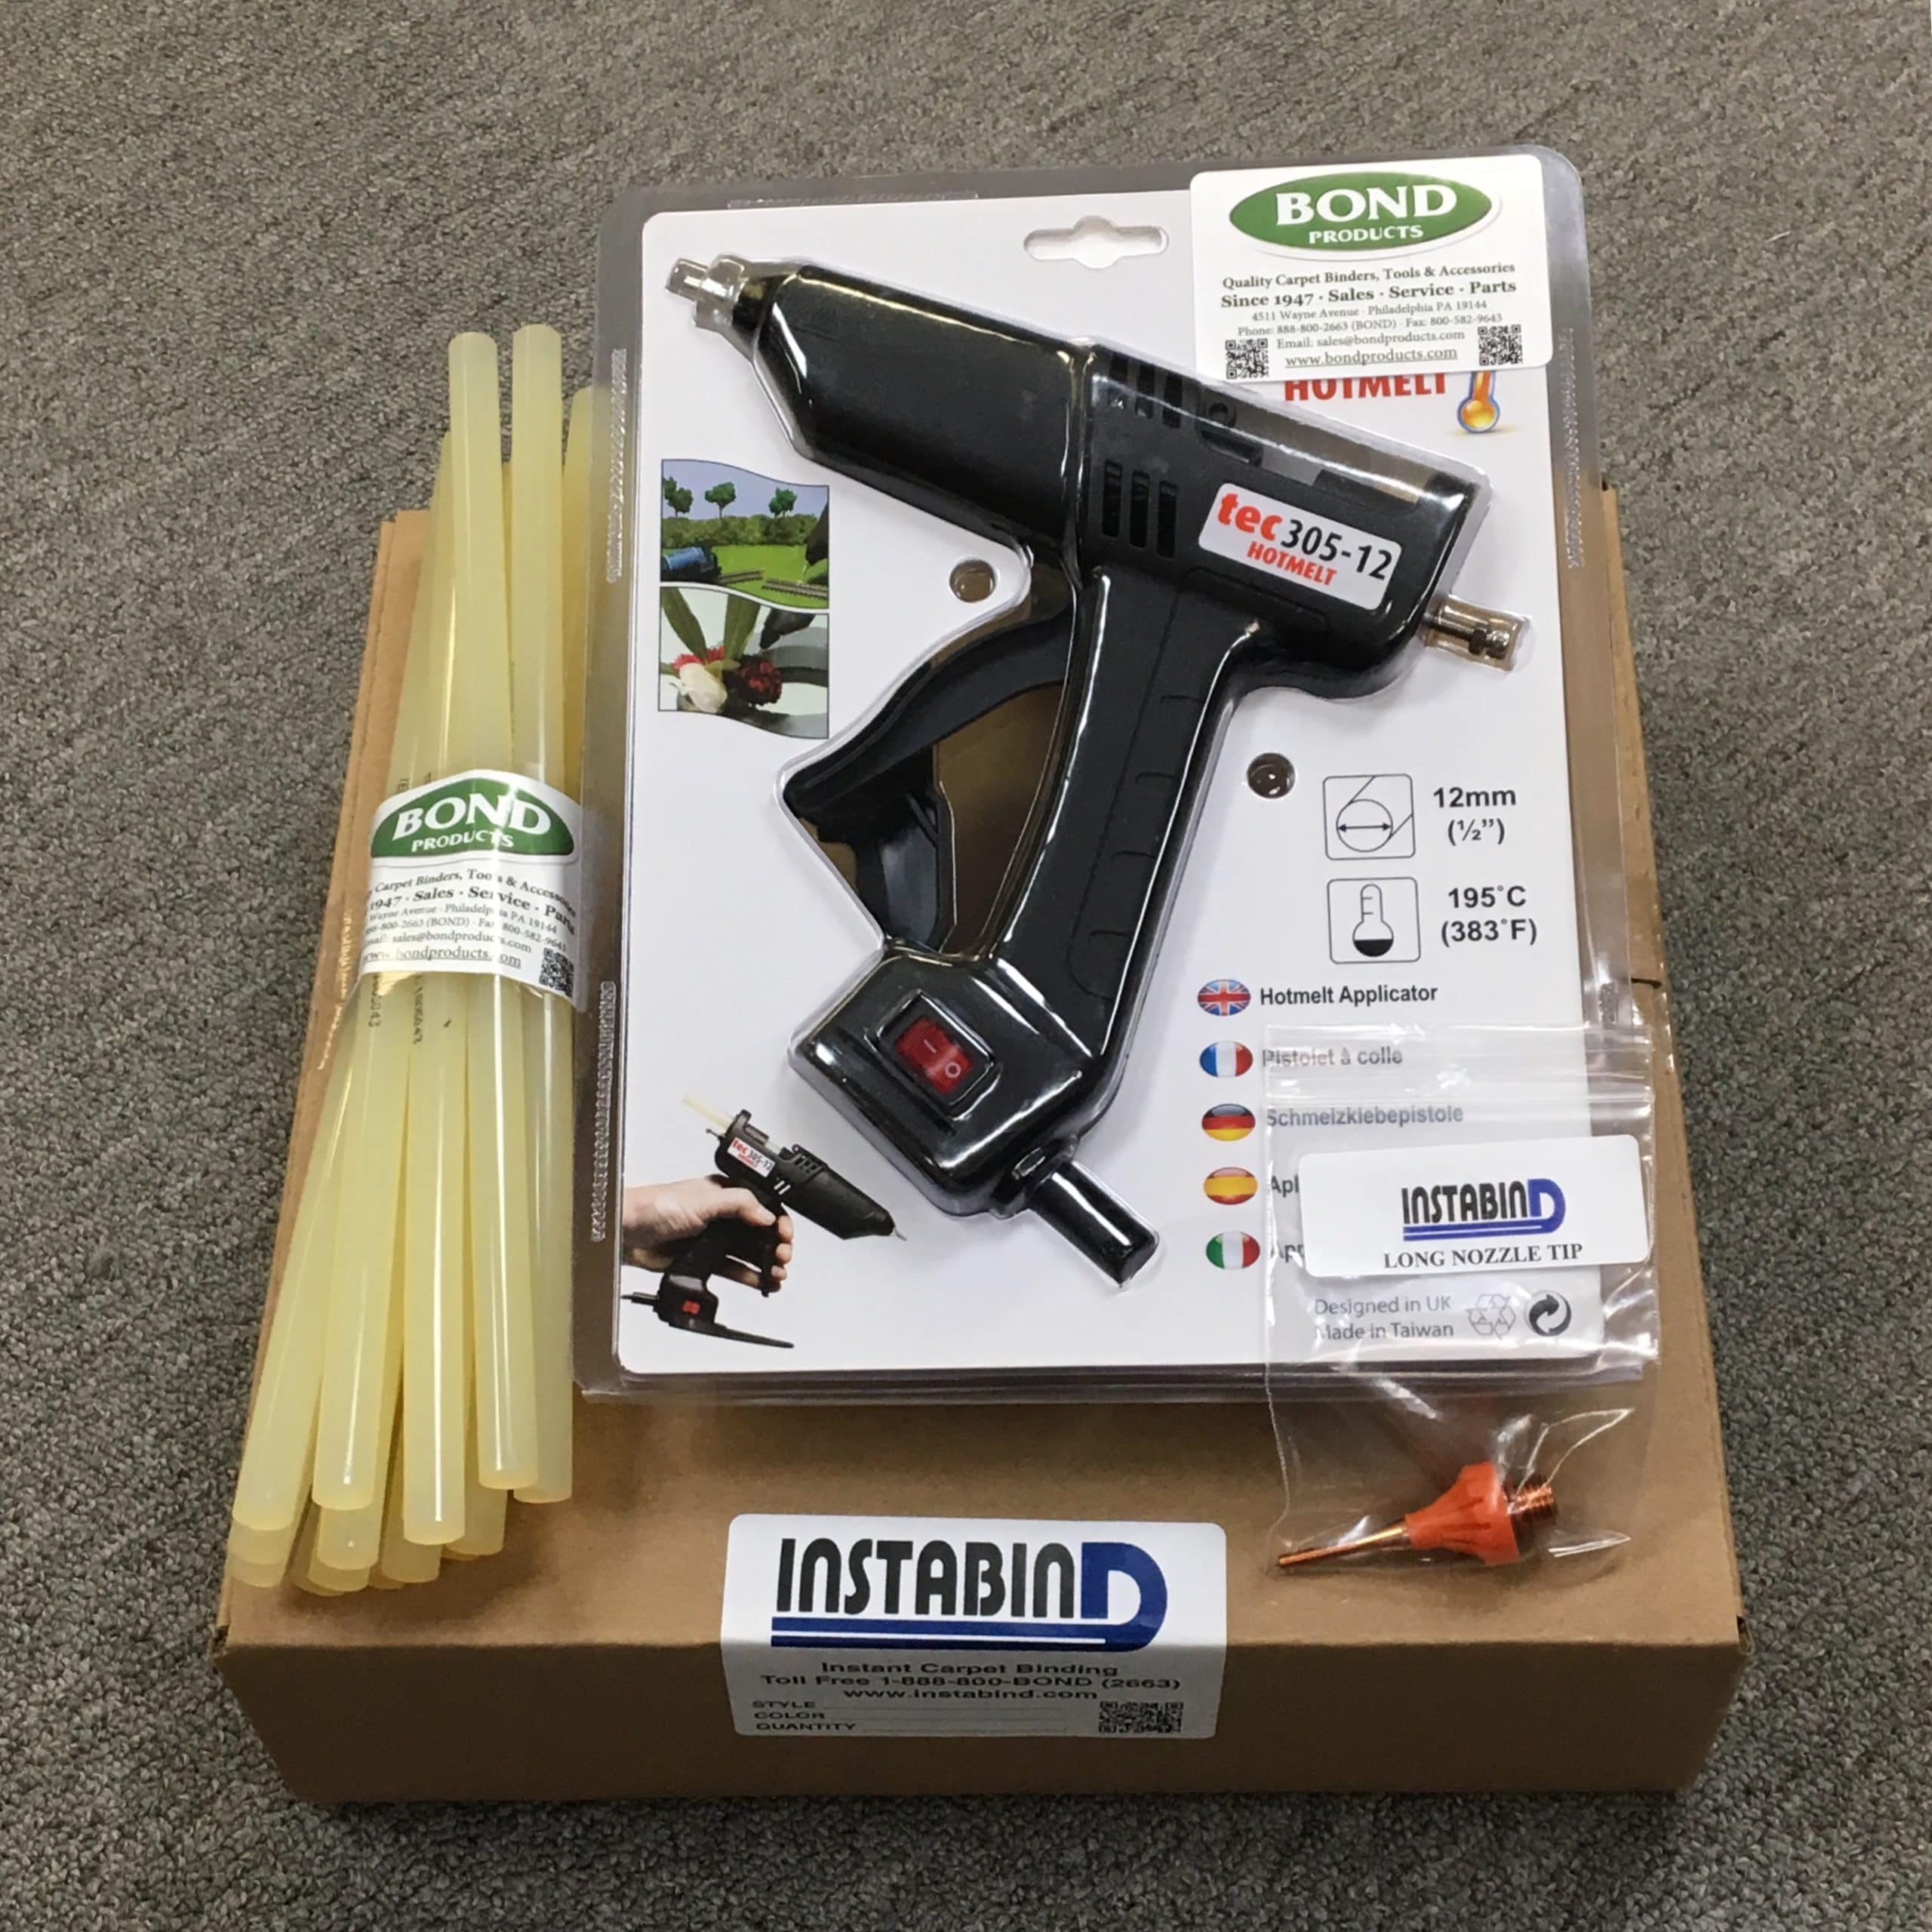
You do not need a workshop to bind a rug edge. Just a few key supplies ensure smooth application and long-lasting results.
Required Tools
• Hot glue gun with fine or extended nozzle for precision
• High-temperature glue sticks (low-temp will not hold)
• Sharp scissors for clean cuts
• Utility knife or carpet cutter
• Straight edge or ruler to guide cuts
• Lighter (optional, for sealing fibers)
Skip the staple gun unless using traditional surge tape. Most modern methods rely solely on heat-activated adhesion.
Select the Right Binding Tape
Instabind is the most popular peel-and-stick option. Choose 3/4-inch width for standard rugs or 1/4-inch for narrow edges like bath mats. Polyester versions offer over 278 color choices, far more than cotton, so you can match your carpet exactly.
For hand-binding, use 1/4-inch × 1-inch polyester surge tape. It resists wear better than cotton and stays flexible over time. Avoid cheap generic tapes because they crack at corners and fade faster.
Optional but Recommended
Add a non-slip carpet pad cut 2 inches smaller than your rug. It cushions steps and prevents sliding on hardwood or tile. Also keep a wood block or brick handy because it helps press binding firmly during glue setting.
Prepare the Carpet Properly
Skipping prep leads to lopsided edges and poor adhesion. Take time here to ensure a flawless finish.
Cut Straight, Clean Edges
Lay carpet face-up on a flat surface. Use a straight edge and utility knife to trim all sides perfectly straight. If fibers resist cutting, flip the carpet and slice from the back. Uneven edges cause misalignment, so do not rush this step.
Seal Raw Fibers with Flame
Lightly pass a lighter over each cut edge to singe loose fibers. This prevents future fraying. Hold the flame about 1 inch away and move quickly, just enough to melt fiber tips without scorching. Let cool completely before binding.
Wipe Away Dust and Debris
Use a dry cloth to remove dust, pet hair, or residue along the perimeter. Any contamination reduces glue adhesion. A clean edge creates a strong bond.
Apply Peel-and-Stick Binding (Instabind)
This is the fastest, most beginner-friendly method. Follow these steps for a seamless result that looks professionally finished.
Start in the Middle of One Side
Never begin at a corner. Start in the middle of any side to hide the seam. Peel back about 6 inches of the yellow backing from the Instabind strip. Slide the binding under the carpet edge, aligning its edge flush with the carpet. Press down firmly.
Pull Tight and Maintain Tension
As you unpeel more backing, pull the binding taut to avoid slack. Loose sections create wrinkles and gaps. Work slowly because speed sacrifices accuracy. Keep the fabric flat and aligned throughout.
Handle Corners Without Cutting Tubing
When reaching a corner, let the binding extend past the edge slightly. Cut only the adhesive layer, stopping just before the white internal tubing. Fold the binding around the corner smoothly. The intact tubing provides flexibility so the strip bends without cracking.
Trim Excess Carpet at Corners
After folding, trim any overhanging carpet fibers carefully with scissors. This ensures a crisp angle and prevents bulk under the binding. Do not cut the tubing because doing so makes the corner rigid and prone to splitting.
Overlap Ends Seamlessly
Return to your starting point. Cut the tubing from the final 1½ inches of the strip so it lies flat. Overlap the two ends where the tubing was removed. Trim excess for a flush fit. This hidden splice stays invisible once glued.
Seal With Hot Glue (Critical Step)
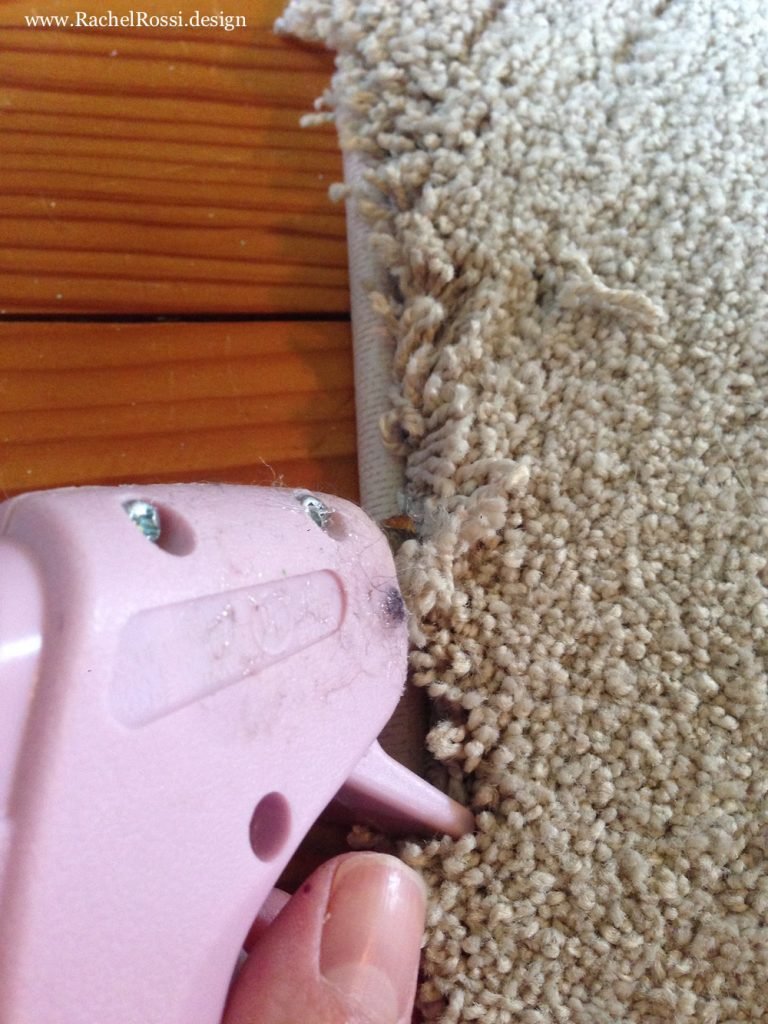
The peel-and-stick adhesive is temporary. Without hot glue, your binding will lift within weeks. This step is non-negotiable.
Apply Glue in Small Sections
Work in 6-inch to 1-foot segments. Squeeze a thin bead of hot glue (about 1/8 inch wide) into the gap between the carpet edge and the binding. Use high-temp glue sticks because low-temp melts under foot traffic.
Press Firmly Until Set
Immediately after applying glue, press the binding against the carpet using a wood block, brick, or hand. Hold for 10 to 15 seconds per section. This ensures full adhesion and eliminates air pockets. Repeat around all sides.
Check for Gaps and Reapply if Needed
Inspect each section. If glue oozes out, wipe excess quickly with a dry rag. If any spot feels loose, add another bead and re-press. A continuous seal prevents moisture, dirt, and stress from compromising the bond.
Use Traditional Hand-Binding With Surge Tape
When you need maximum strength, like on stairs or heavy-use runners, this method delivers.
Position Tape Face Down
Lay 1-inch polyester surge tape upside down along the carpet edge. Align one edge precisely with the carpet edge. The tape will fold under, so positioning matters.
Staple for Temporary Hold (Optional)
Use a staple gun to secure the tape every 1 inch, driving staples ¼ inch into the carpet. This prevents shifting during folding. Skip this if you are confident in your hand control.
Fold and Glue the Edge
Flip the taped edge underneath the carpet. Apply a continuous bead of hot glue along the back edge. Pull the tape tight, press it into the glue, and hold until set. Let dry fully before moving.
Notch Corners for Smooth Bends
At each corner, make a small diagonal notch in the tape. This allows it to fold neatly without bunching. Fold around the corner and continue gluing along the next side.
Reinforce for Long-Term Durability
Even perfect application can fail without reinforcement. Take two extra steps to ensure your rug lasts years.
Double-Check All Seams
Run your fingers along every inch of binding. Feel for soft spots or lifting. Re-glue any weak areas immediately. Pay special attention to corners because they endure the most stress.
Add a Non-Slip Carpet Pad
Cut a rubber-backed pad 2 inches smaller than your rug on all sides. Slide it underneath. This reduces slippage, cushions impact, and protects flooring. Never glue the pad to the rug because it should float freely.
Avoid Common Binding Mistakes
Most failed rug edges stem from preventable errors. Know what to skip.
• Do not start at a corner because it creates a visible seam and uneven tension. Always start in the middle of a side to hide the overlap naturally.
• Never cut through the tubing because only cutting the adhesive layer at corners maintains flexibility. The internal tube is what allows smooth bending.
• Never skip the hot glue because peel-and-stick alone fails under foot traffic. Hot glue is mandatory.
• Avoid low-temp glue sticks because they soften at room temperature and lose grip. Always use high-temp glue sticks for a permanent, heat-resistant bond.
• Do not pull binding too loose because slack causes wrinkles and gaps. Maintain consistent tension as you apply.
Design Tips for a Polished Look
A well-bound rug enhances any space. Use these tricks to elevate aesthetics.
Match, Contrast, or Complement Colors
Choose binding in a matching shade for a seamless look, or go bold with contrasting colors for visual interest. Navy binding on beige carpet adds modern flair. Use polyester tape for access to over 278 hues.
Hide Seams Strategically
Place the starting overlap in a low-visibility area, like the center of a wall-facing side. This keeps the busiest walking zones flawlessly smooth.
Try Fringe-Style Edges
Some Instabind products come with decorative fringe. Ideal for boho or vintage styles, they add texture without extra work.
Real-World Applications
Rug binding is not just for living rooms. Use it across your home.
Create Custom Area Rugs
Turn a 12 × 9.5 foot remnant into a living room centerpiece. Total cost runs about $200 compared to $1,000 or more for a custom store version.
Build Durable Stair Runners
Bind edges on cut-to-fit carpet pieces for stairs. Use hand-binding with surge tape for maximum wear resistance.
Make Quick Bath Mats
Cut a 2 × 3 foot piece, bind with 1/4-inch tape, and add a gripper pad. Complete this project in under 30 minutes.
Repair Frayed Oriental Rugs
Use hand-binding to restore damaged edges on heirloom rugs. This eliminates the need for costly professional restoration.
Final Steps and Maintenance
Your rug is bound. Now protect your work.
Let Glue Cure Fully
Wait at least 4 hours before placing in high-traffic areas. Overnight is better because premature use stresses fresh glue joints.
Clean Without Soaking Edges
Vacuum regularly. Spot-clean with mild detergent. Never saturate the bound edge because water weakens glue over time.
Inspect Annually
Check for lifting or wear. Touch up with hot glue if needed. A quick refresh extends life by years.
Frequently Asked Questions About Binding Rug Edges
Can I bind a rug edge without sewing?
Yes. Both peel-and-stick binding and hand-binding with surge tape require no sewing. Hot glue provides the permanent hold, and these methods produce professional results without a needle and thread.
What is the best binding method for beginners?
Peel-and-stick binding like Instabind is the best choice for beginners. It allows repositioning before final adhesion, and the process is straightforward. You simply peel, position, and seal with hot glue.
How long does rug binding last?
Properly applied binding with hot glue seal lasts for years, even in high-traffic areas. The key is using high-temp glue and maintaining consistent tension during application. Annual inspections help catch any needed touch-ups early.
Can I use any hot glue for rug binding?
No. You must use high-temperature glue sticks. Low-temperature glue softens at room temperature and loses its grip under foot traffic. Always choose high-temp for a permanent, heat-resistant bond.
Does rug binding work on all carpet types?
Yes, binding works on most carpet types, including cut pile, loop pile, and synthetic blends. The key is ensuring straight, clean edges before application and matching the binding width to your carpet thickness.
Key Takeaways for Binding Rug Edges Successfully
Start in the middle of a side rather than at a corner to create invisible seams. Only cut the adhesive layer at corners, never the tubing, to maintain flexibility for smooth bending. Always seal with high-temp hot glue because peel-and-stick alone fails under foot traffic. Use polyester binding for the widest color selection and maximum durability. Maintain consistent tension throughout application to prevent slack and wrinkles. Add a 2-inch inset carpet pad for safety, comfort, and floor protection. No sewing is required because all methods use glue and tape effectively.
With the right technique, you can turn leftover carpet into a custom, long-lasting rug for a fraction of retail cost. Whether you choose Instabind for speed or surge tape for strength, one rule remains: glue is everything. Follow these steps, avoid common pitfalls, and enjoy a professional-grade finish that stands up to daily use.







