Frayed rug edges are more than just an eyesore. They signal structural wear that can quickly spiral into irreversible damage if you ignore them. Whether your rug has endured years of foot traffic, suffered from vacuum misuse, or simply aged over time, fraying starts small but spreads fast. The good news? Most frayed edges can be repaired effectively using tools and techniques you already have at home.
This guide walks you through how to fix a frayed rug edge using methods ranging from quick DIY fixes to professional restoration. You will learn how to assess damage, choose the right repair method for your rug type, and implement prevention strategies that keep your rug flat, secure, and beautiful for years to come.
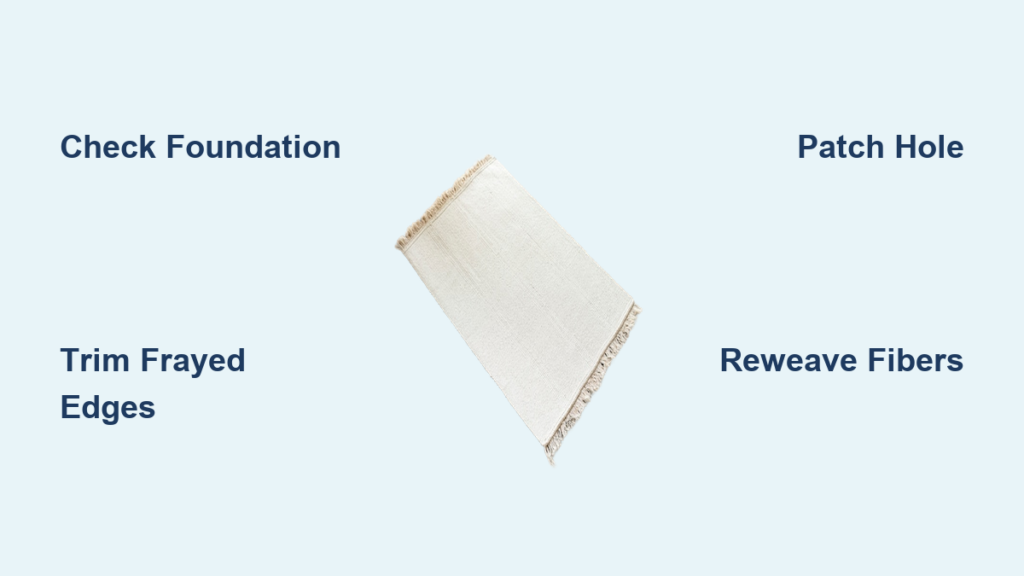
Assess the Damage Before Repair
Grabbing scissors or glue without evaluating the damage first risks making things worse. The extent of the fraying determines whether a quick fix will work or if professional help is needed.
Check Fray Length and Severity
Examine the edge closely to determine the damage level:
- Minor fraying under 1 inch with loose threads but intact backing can usually be handled at home.
- Moderate fraying between 1 to 2 inches, especially if fibers are curling or lifting, may require stitching or tape reinforcement.
- Severe fraying over 2 inches, detached corners, or warped edges often need expert repair.
Look for signs of foundation separation where the main body of the rug pulls away from the edge. If the backing is crumbling or the weave is unraveling inward, stop using the rug and consider professional restoration.
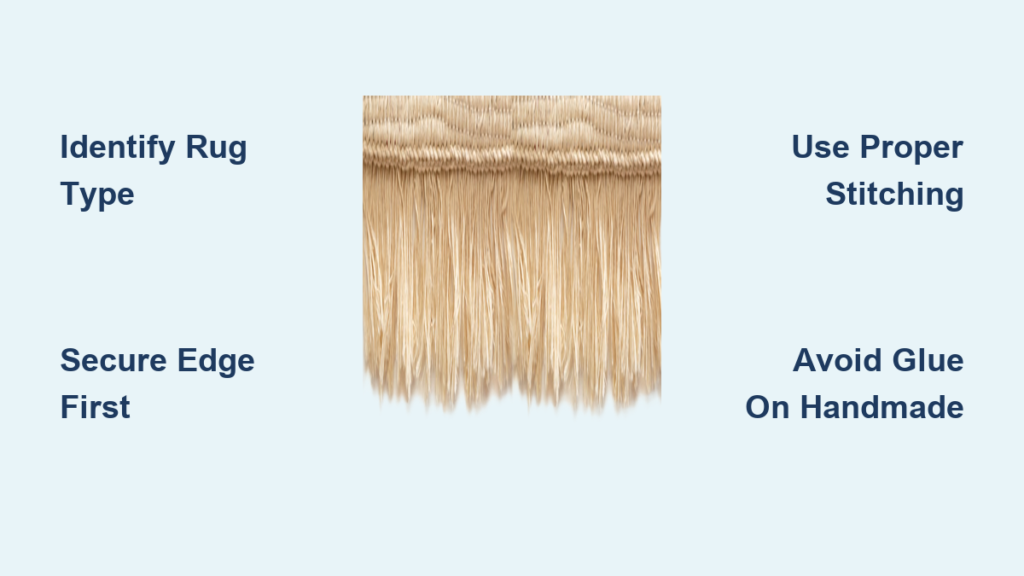
Identify Your Rug Type
Different rugs respond to different repair methods:
- Wool or hand-knotted rugs benefit most from hand stitching or professional serging.
- Synthetic or machine-made rugs tolerate binding tape and fabric glue well.
- Flatweaves and rag rugs fray easily and may require double-sided reinforcement.
Knowing your rug’s material helps you avoid causing damage during repair, like using heat on heat-sensitive synthetics.
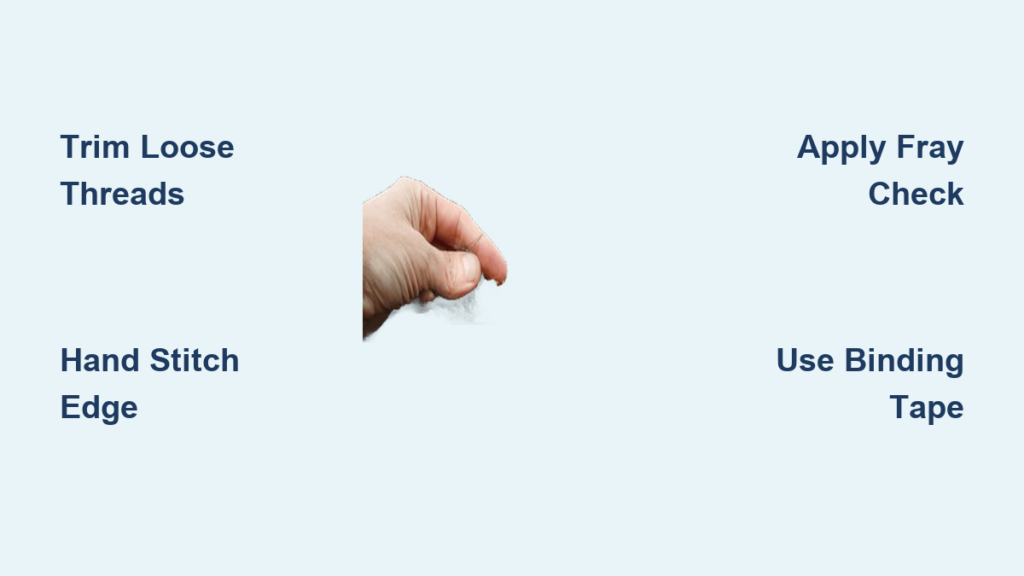
Trim Loose Threads Safely
Unraveling worsens when loose fibers catch on shoes, pet claws, or vacuum cleaners. Stopping the spread starts with careful trimming.
Use Sharp Scissors Only
Dull blades pull and tear fibers instead of cutting cleanly. Use precision shears like Fiskars micro-tip or Gingher dressmaking scissors.
Cut only the dangling threads. Never pull them. Pulling can unravel stitches deep into the rug’s structure. Trim just above the point where fibers begin to separate from the main edge.
Keep Cuts Even and Controlled
Work slowly along the edge, maintaining a straight line. Avoid cutting into the intact backing or pile. If the edge looks uneven after trimming, do not worry. You will conceal it with stitching or tape later.
Pro Tip: Place a flat ruler or straightedge against the rug to guide your cuts for a clean, uniform finish.
Hand Stitch the Edge Using the Overcast Method
For durable, long-lasting repairs, hand stitching mimics the rug’s original construction and prevents future unraveling.
Gather the Right Tools
You will need:
- Heavy-duty upholstery needle
- Strong thread (Gutermann or Coats & Clark)
- Matching thread color (test on a hidden corner first)
- Sharp scissors
Upholstery thread resists wear better than regular sewing thread and handles thick rug fibers without breaking.
Apply the Overcast Stitch
- Knot one end of the thread securely.
- Starting at one end of the fray, insert the needle from back to front.
- Loop the thread diagonally over the raw edge, pulling it through to create a stitch that wraps the edge.
- Repeat every quarter inch, keeping tension firm but not tight enough to pucker the fabric.
- At the end, tie a double knot and bury the tail by threading it back under nearby stitches.
This stitch acts like a braid, locking fibers in place and reinforcing weak spots.
Expert Note: On valuable wool or Oriental rugs, professionals use a whipstitch variation called hand serging, which blends seamlessly with traditional craftsmanship.
Seal Edges with Fabric Glue or Fray Check
When sewing is not practical, adhesives offer a no-sew solution that halts minor fraying fast.
Choose the Right Product
- Fray Check by Dritz: A clear liquid that dries flexible, ideal for synthetic rugs.
- Aleene’s Fabric Fusion: Stronger hold, good for bonding tape or stabilizing loose edges.
- E6000 Fabric: Industrial-strength, best for high-wear areas (use sparingly).
Always test on a hidden area first. Some glues discolor or stiffen delicate fibers.
Apply Glue Correctly
- Clean the edge with a dry cloth to remove dust.
- Use a small brush or toothpick to apply a thin layer along the fray.
- Press fibers together gently and let dry 2 to 4 hours.
- Flip and repeat on the backside if needed.
Avoid oversaturating. Too much glue creates a brittle edge prone to cracking.
Warning: Never use hot glue on natural fibers like wool. It can melt or scorch the backing.
Reinforce with Binding Tape
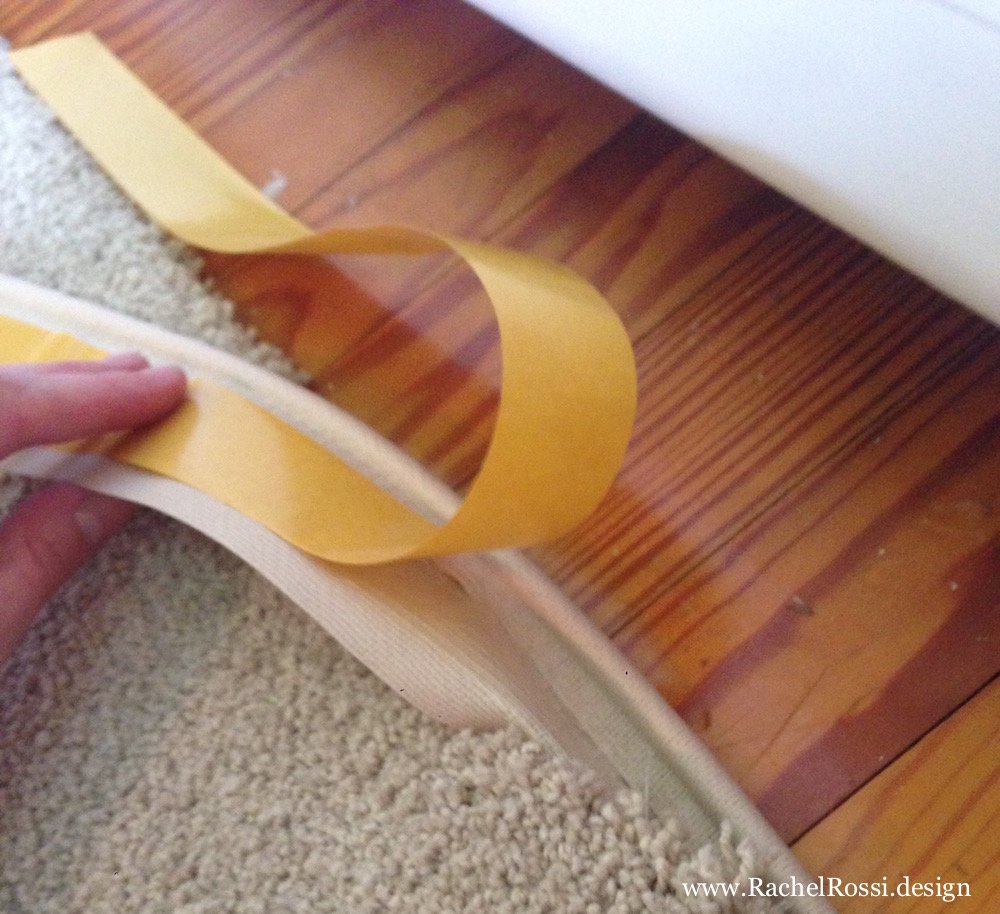
Binding tape covers frayed edges neatly and adds structural support, especially for runners and synthetic rugs.
Select the Right Tape
- Clover Bias Binding Tape: Soft cotton, ideal for low-traffic rugs.
- Dritz Quilting Tape: Durable polyester, withstands moderate wear.
- Heat-activated tape: Bonds when ironed (use low heat, no steam).
Cut the tape about 2 inches longer than the damaged edge to allow for overlap.
Install Step by Step
- Wrap the tape around the frayed edge, centering it so equal fabric shows on top and bottom.
- Press firmly along the entire length.
- For heat-activated types, use a warm iron in short bursts. Do not hold it in place.
- For extra strength, stitch along both edges of the tape or apply fabric glue underneath.
This method works especially well for DIY-cut carpet strips or hallway runners installed without edge sealing.
Retail Tip: Lowe s and home improvement stores may carry binding tape in the flooring or upholstery section. If not on shelves, ask about special ordering.
Match Repair Method to Your Rug Type
Not all rugs are created equal. Use the right method for your material.
Fix Wool Rugs with Stitching
Wool is strong but sensitive to moisture and moths. Use hand overcasting or professional cleaning to maintain softness and durability.
Avoid adhesives that stiffen fibers. Opt for breathable thread-based solutions instead.
Repair Synthetics with Tape and Glue
Polypropylene or nylon rugs handle binding tape and fabric glue well. Just avoid high heat, which can melt fibers.
For machine-made runners, machine binding offers a factory-fresh finish.
Protect Flatweaves and Dhurries
Thin, loosely woven rugs fray easily. Apply bias tape or hand-stitch both sides for double protection.
Keep them out of high-traffic zones unless paired with a protective pad.
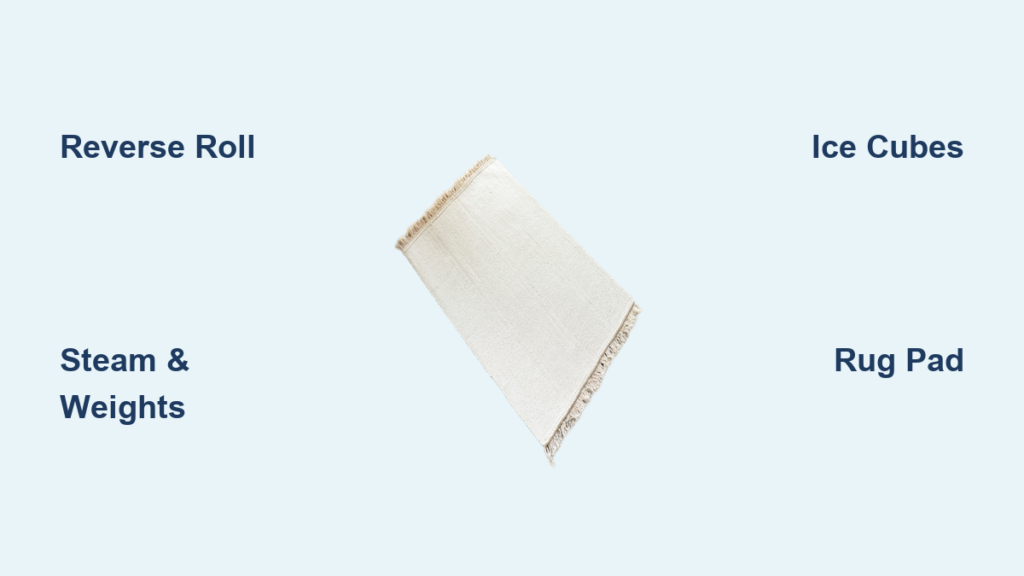
Prevent Future Fraying Immediately
Repairing the edge is only half the battle. Preventing recurrence ensures lasting results.
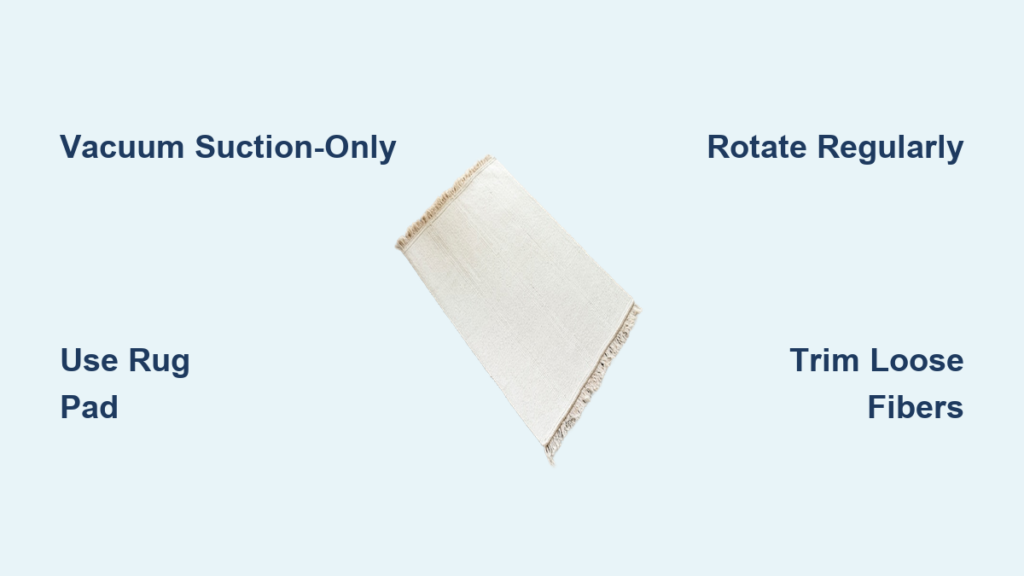
Use a Non-Slip Rug Pad
A quality pad (like Gorilla Grip or Mohawk Home) stops the rug from sliding, reducing friction on edges. It also cushions foot traffic and protects hardwood floors.
Choose one slightly smaller than your rug to keep edges exposed and visible for inspection.
Vacuum Without Beater Bars
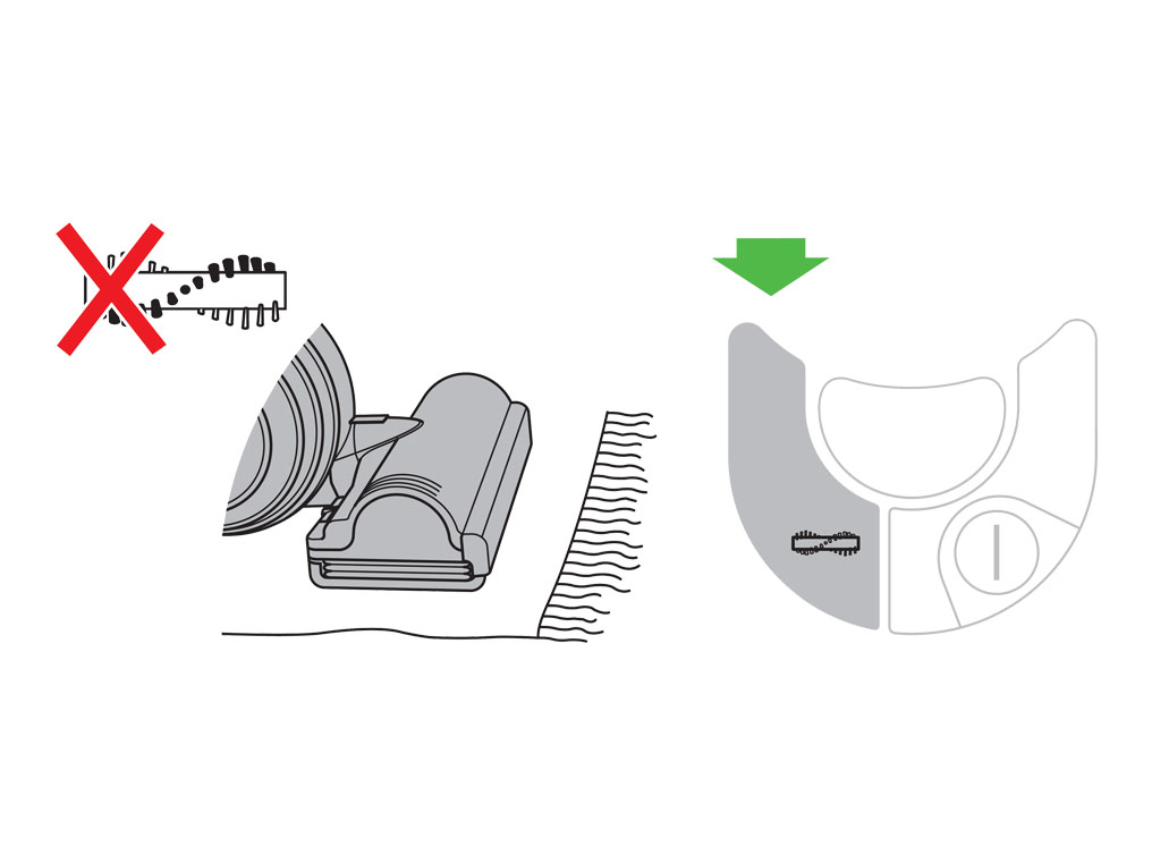
Rotating brushes tug at fibers, accelerating edge wear. Switch your vacuum to suction-only mode near borders.
Models like the Miele Complete C3 or Dyson Ball Animal let you turn off the beater bar with a button, protecting rugs while still cleaning deeply.
Rotate Every 3 to 6 Months
Uneven wear leads to weak spots. Rotate your rug 180 degrees semi-annually to distribute traffic evenly.
This simple habit nearly doubles a rug’s usable life and prevents one corner from bearing all the abuse.
Know When to Call a Professional
Some damage goes beyond glue and thread. Expert help is essential in these situations.
The Edge Is Curling or Detached
If the perimeter lifts off the floor or rolls inward, the foundation is compromised. Professionals can re-stretch, rebind, or reconstruct the edge using industrial techniques.
Your Rug Is Valuable or Antique
Oriental, Persian, or heirloom rugs lose value with improper repairs. Hand serging, reknotting, and fringe replacement require specialized skills.
Services like Carpet Trends in New Canaan combine old-world craftsmanship with modern tools to restore rugs that seem beyond saving.
Previous DIY Attempts Failed
Glue stains, mismatched threads, or crooked tape can make professional repair harder. The sooner you seek expert help, the better the outcome.
Case Example: A user shared a photo of an upcycled rag rug that split at the corner due to inconsistent fabric strength. While hand stitching helped temporarily, reinforcing with a hidden fabric backing provided lasting stability.
Maintain Edges Long Term
Prevention beats repair every time. Build these habits into your routine.
Inspect Monthly
Run your fingers along all four edges. Catching a loose thread early means a 5-minute fix instead of a full repair.
Block Direct Sunlight
UV rays weaken fibers and fade colors. Use curtains or blinds to shield rugs near windows.
Groom and Fluff Regularly
Use a soft-bristle brush to lift flattened areas and improve airflow. This keeps fibers resilient and reduces matting.
Schedule Annual Cleaning
Professional cleaning removes embedded dirt that wears down fibers over time. Many services include edge inspections and minor stabilization.
Key Takeaways for Fixing Your Frayed Rug
A frayed rug edge is not a death sentence. With timely action and the right technique, you can extend your rug’s life dramatically.
For minor fraying, use Fray Check or hand stitching. These methods are fast, invisible, and effective. For moderate damage, combine binding tape with stitching for maximum hold. For valuable rugs, skip DIY and go straight to a specialist in hand-serging and restoration. For new cut rugs, seal edges immediately after installation. Do not wait for fraying to start.
Whether you are fixing a child is playroom rug or preserving a family heirloom, knowing how to fix a frayed rug edge empowers you to protect your investment. Start with a trim, choose your method wisely, and commit to preventive care. Your rug will thank you for years to come.
Frequently Asked Questions About Frayed Rug Edges
Can I fix a frayed rug edge without sewing?
Yes. Fabric glue like Fray Check or Aleene’s Fabric Fusion can seal minor fraying. Binding tape offers another no-sew option that covers and protects raw edges. These methods work best on synthetic rugs and low-traffic areas.
What causes rug edges to fray in the first place?
Foot traffic weakens edges over time. Vacuum misuse, especially beater bars, pulls at fibers. Moisture softens the backing. Improper cleaning and age all contribute. Poor initial binding on machine-cut rugs also leads to early fraying.
How do I stop my rug from fraying after repair?
Use a non-slip rug pad to reduce friction. Vacuum using suction-only mode without beater bars. Rotate the rug every 3 to 6 months. Inspect edges monthly and address loose threads immediately.
Should I attempt to repair an antique rug myself?
No. Antique and valuable rugs require professional handling. DIY repairs can reduce market value or cause irreversible damage. Hand serging, reknotting, and fringe replacement need specialized skills.
How long does it take to fix a frayed rug edge?
Minor repairs with glue take 2 to 4 hours drying time. Hand stitching takes 1 to 2 hours depending on rug size. Professional repairs vary but typically take several days to a week.