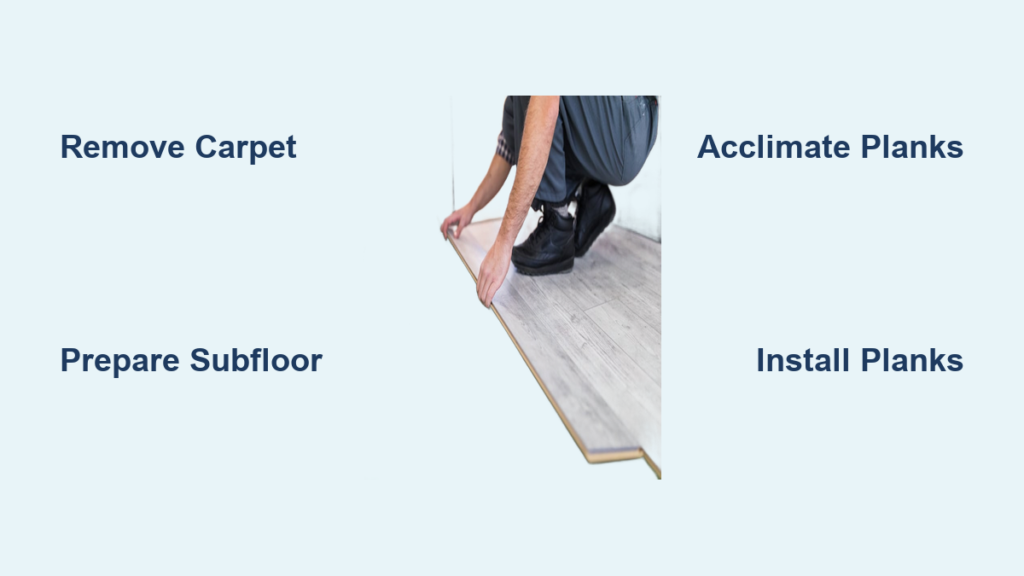
Tired of stained, musty carpet that traps pet odors and dust? Replacing carpet with laminate flooring is one of the most transformative upgrades you can make to your home. It eliminates allergens, resists spills, and delivers a sleek wood-look surface that lasts for decades. With the right tools and preparation, this project is entirely achievable as a DIY renovation.
This guide covers every phase of the job, from ripping out old carpet and prepping the subfloor to installing floating laminate planks and finishing with crisp baseboards. You’ll learn how to budget accurately, avoid common pitfalls, and achieve professional results while saving $400 to $1,600 in labor costs.
Remove Old Carpet Safely
Before new flooring goes down, the old carpet must come up completely. This step is messy and physically demanding, but essential for a clean, stable base. Always wear heavy-duty gloves, because the underside of carpet is lined with sharp staples and tack strips that can cause serious cuts.
Cut and Roll the Carpet
Start in a back corner of the room. Use a heavy-duty box cutter to slice through the carpet along a seam or edge. Pry up one corner and begin pulling. The carpet will often unzip from the tack strips as you tug.
Work in 6-foot-wide sections. Cut a line parallel to the wall, then roll and pull the strip toward you. Keep cutting behind you as you go to avoid dragging excess material. Once rolled, secure each bundle with tape or twine for easier disposal.
Pull Up Padding and Tack Strips
The foam padding underneath is typically stapled or taped. Roll it up just like the carpet. Then tackle the tack strips, which are narrow wood strips with sharp pins that held the carpet in place.
Use a standard shovel or pry bar to lift the strips. For studysonguide-20orn sections, strike the strip with a hammer to break it into manageable pieces. After removal, use the pry bar to pull out any remaining staples or nails embedded in the subfloor. Leftover metal can puncture underlayment or damage laminate planks.
Dispose of Materials Properly
Carpet and padding are bulky. Your options include:
– Hauling to a landfill (cost: $0.40 to $0.50 per sq. ft.)
– Hiring a removal service (typically includes disposal for $1 to $5 per sq. ft.)
– Recycling (check local facilities, as some accept carpet)
For RV slide-outs, use a 2×12 board and two floor jacks to gently lift the slide-out section, creating space to remove flooring underneath. Always test mechanical movement after reinstallation.
Prepare the Subfloor Thoroughly
The success of your laminate floor depends entirely on the subfloor. Even minor imperfections can cause planks to separate, creak, or buckle. A floating floor must rest on a surface that is flat, clean, dry, and structurally sound.
Check for Level and Flatness
Use a 3-foot level to scan the entire floor in multiple directions. Look for:
– Slopes or rocking
– High spots (peaks)
– Low spots (dips)
On concrete slabs, grind down high areas with an angle grinder. Fill low spots with self-leveling compound.
On wood subfloors, inspect for soft spots, squeaks, or uneven joints. Replace damaged plywood or OSB sections. Screw down any loose boards rather than relying on nails.
Clean the Surface Completely
Dust and debris trapped under the underlayment create noise and pressure points. After leveling:
1. Let dust settle overnight
2. Vacuum thoroughly with a wet/dry vac
3. Damp mop with a nearly dry cloth to remove fine grit
4. Allow to dry completely (especially on concrete or in RVs)
Never install over existing hard flooring unless it is perfectly flat and approved by the manufacturer.
Address Obstacles and Transitions
- Fireplace hearths: Plan how the laminate will meet the edge. You may need to cut planks precisely to fit flush.
- Door thresholds: Measure clearance. You may need to undercut door jambs later.
- Expansion gaps: Mark a 1/4-inch gap around all walls and fixed objects to allow the floor to expand with humidity.
Uneven subfloors are the top reason for laminate failure and can void warranties.
Choose the Right Laminate and Underlayment

Not all laminate is created equal. Selecting the right product ensures durability, water resistance, and long-term satisfaction, especially in homes with kids and pets.
Pick a Waterproof Laminate
For whole-home continuity, waterproof laminate (like Pergo Timbercraft + WetProtect) is ideal. It withstands spills, pet accidents, and humidity, making it safe for kitchens, bathrooms, and basements. Avoid traditional laminate in moisture-prone areas, as it swells when wet.
Match Thickness to Traffic
- 6mm: Budget-friendly but thin and hollow-sounding. Best for low-traffic rooms.
- 12mm: Premium choice. Feels solid underfoot, resists dents, and reduces noise. Recommended for living areas and hallways.
Thicker planks also handle minor subfloor imperfections better.
Select Finish and Color Wisely
- Satin or matte finishes hide dust and reduce glare better than glossy options.
- Textured surfaces mimic real wood grain and resist scratches.
- Colors like driftwood gray (e.g., Anchor Grey) disguise footprints and debris.
Avoid high-gloss finishes, as they show every speck of dust.
Buy and Acclimate Materials
Purchase 10% more laminate than your room’s square footage to account for cuts and waste.
Unopened boxes should acclimate for 48 to 72 hours in the room where they will be installed. This allows the planks to adjust to humidity and temperature, preventing post-installation warping or gapping.
Install the Right Underlayment
Use the manufacturer-recommended underlayment, usually a gold-colored moisture barrier for concrete or damp areas. Benefits include:
– Blocking moisture
– Reducing noise
– Smoothing minor imperfections
– Allowing the floor to float freely
Roll it out perpendicular to the plank direction. Overlap seams by 6 inches and tape with underlayment tape to prevent shifting.
Install Laminate Planks Correctly
Most modern laminate uses a click-lock floating system with no glue or nails required. Installation resembles assembling a giant puzzle, but precision in the first few rows is critical.
Start the First Row Carefully
- Direction: Lay planks parallel to the longest wall for the best look.
- Expansion gap: Leave 1/4 inch between the plank and wall. Use spacers.
- Stagger joints: Begin each new row with a different-length cut to avoid aligned seams.
Snap the short ends of the first two planks together at a 20-degree angle, then press down. Continue until the first row is complete.
Build the Second and Third Rows
Connect the long edges by angling the new plank into place and lowering it. Use a tapping block and rudysonguide-20er mallet to close tight joints without damaging edges.
Pro tip: After three rows, the floor stabilizes and installation speeds up. But the first few rows are tricky because planks shift easily. Work slowly and check alignment constantly.
Cut Around Obstacles
Use a miter saw or jigsaw to cut planks for:
– Pipes
– Columns
– Fireplace hearths
– Door jambs
For doorways, undercut the door jamb with an oscillating tool so the plank slides underneath. This creates a seamless look without transition strips.
Handle RV Slide-Outs Properly
- Leave the 1/4-inch expansion gap around the slide-out perimeter.
- Use transition molding to bridge the gap between the main floor and slide-out.
- Do not over-fasten. Laminate must float. Secure only where necessary to prevent shifting.
- Test the slide mechanism before finalizing baseboards.
Always follow the manufacturer’s instructions, as they override general advice and protect your warranty.
Finish with Baseboards and Trim
New flooring deserves fresh trim. Baseboards cover the expansion gap and deliver a polished, professional look.
Replace or Reinstall Baseboards
Existing baseboards can be reused if undamaged. But upgrading to primed MDF baseboards (3.5″ or 5.5″) provides a crisp, modern finish.
Pro tip: Paint baseboards before installation to avoid brush marks on the floor. Use semi-gloss paint (e.g., Valspar Swiss Coffee) for durability and easy cleaning.
Cut and Install Trim
- Use a miter saw for precise 45-degree corner cuts.
- Nail baseboards to wall studs with finishing nails.
- Space nails every 16 to 24 inches.
Avoid nailing through the floor, as this restricts expansion and can cause buckling.
Caulk for a Clean Finish
Apply a bead of white paintable caulk along the top edge where the baseboard meets the wall. This hides gaps and creates a seamless transition. Wipe excess with a damp finger before it dries.
Compare Carpet vs. Laminate Benefits
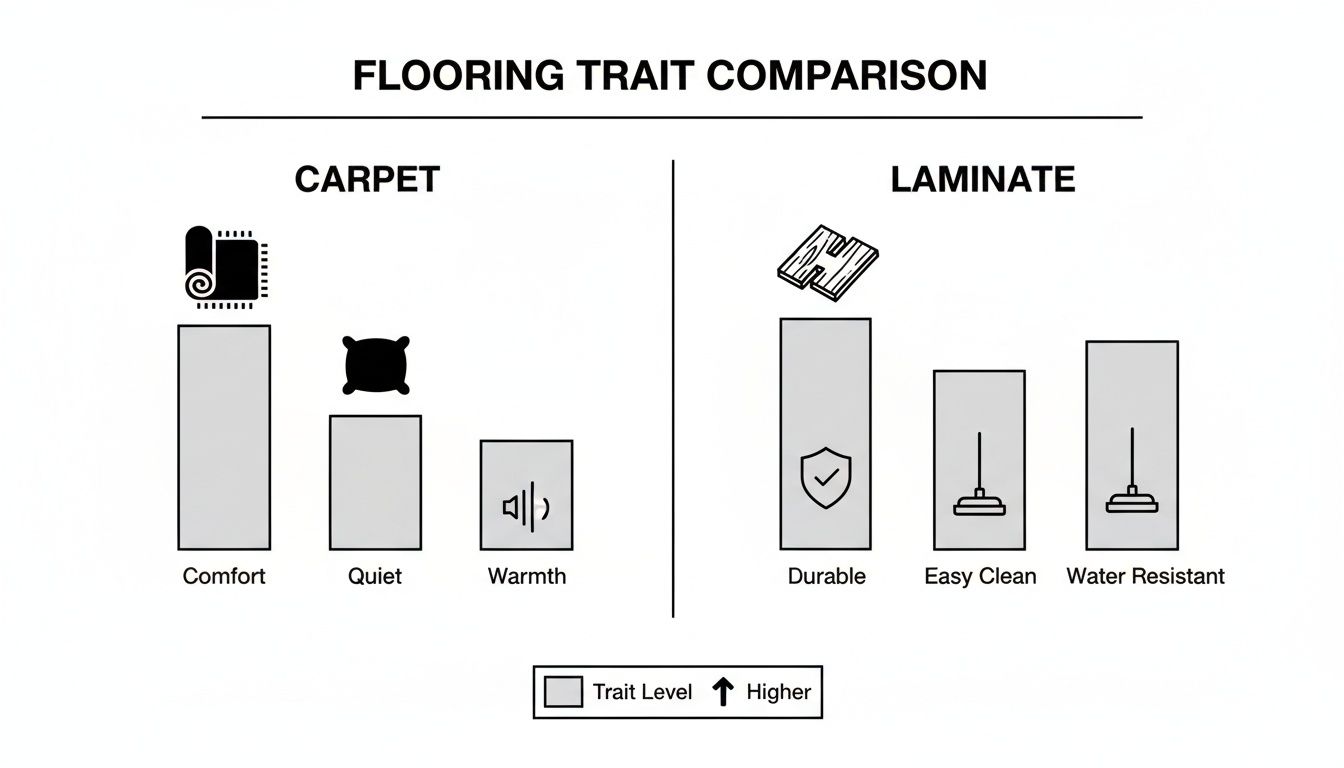
Choosing laminate over carpet is a practical upgrade with long-term advantages that go beyond appearance.
Laminate Wins on Durability and Maintenance
| Feature | Winner | Why |
|---|---|---|
| Stain Resistance | Laminate | Spills wipe up; carpet traps stains |
| Allergen Control | Laminate | No dust mites or pet dander buildup |
| Water Resistance | Laminate | Waterproof options handle leaks and spills |
| Pet-Friendly | Laminate | Urine does not soak in or cause odors |
| Ease of Cleaning | Laminate | Sweep and damp mop with no shampooing |
Carpet Has Limited Advantages
- Warmer underfoot: Carpet insulates better.
- Quieter: Absorbs sound; laminate can be noisy without quality underlayment.
- Hides dirt: Shows fewer footprints than smooth laminate.
For most modern homes, laminate’s durability, hygiene, and aesthetic appeal outweigh carpet’s comforts, especially with textured, satin-finish planks that minimize dust visibility.
Avoid Common Installation Mistakes

Even experienced DIYers make errors that compromise the floor. Steer clear of these pitfalls:
Skipping Acclimation
Failing to let laminate adjust to room conditions causes gaps or buckling within days. Always acclimate for 48 to 72 hours in the installation room.
Ignoring Subfloor Prep
A wavy or uneven subfloor leads to noisy, unstable planks. Spend time leveling, as it is the most important step.
Forgetting Expansion Gaps
No gap means the floor has nowhere to expand. Result: buckling, especially in humid weather. Use spacers and remove them before installing baseboards.
Leaving Tack Strip Nails
Hidden nails can puncture underlayment or planks. Sweep the subfloor with a magnet or by hand (with gloves) to catch leftovers.
Over-Fastening the Floor
Nailing or gluing a floating floor voids warranties and prevents natural movement. Only secure baseboards to the wall, not the floor.
Estimate Total Project Cost
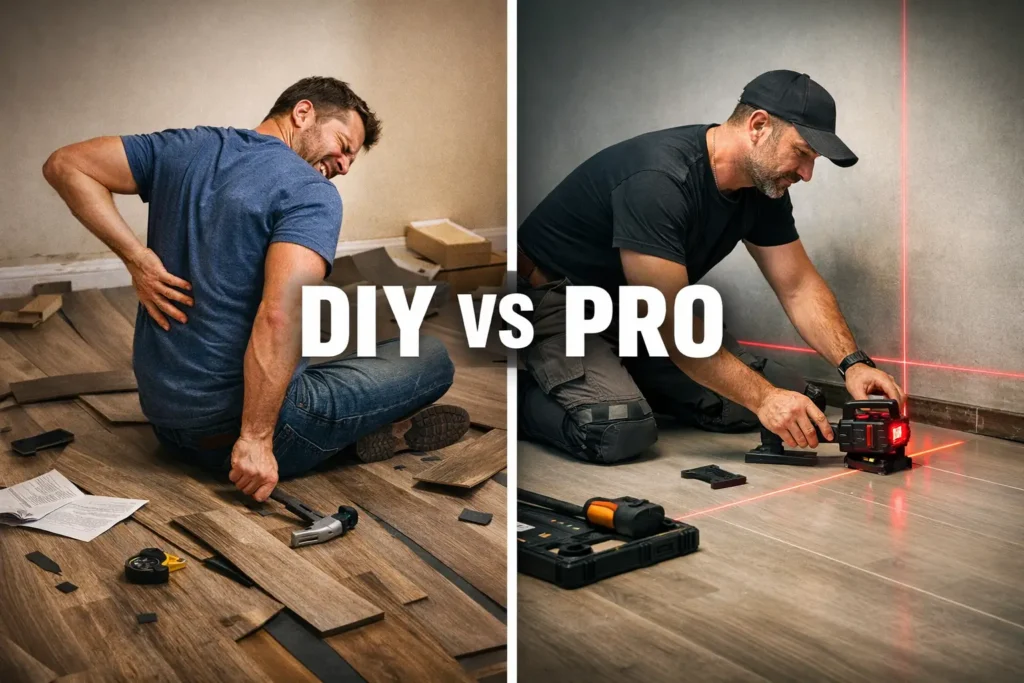
Budgeting accurately prevents surprises. Total cost ranges from $3 to $13 per square foot, depending on materials and labor.
Break Down the Costs
| Item | Cost per Sq. Ft. | Notes |
|---|---|---|
| Carpet Removal | $1 to $5 | Includes disposal |
| Laminate Material | $0.70 to $6.00 | Depends on thickness, finish, brand |
| Underlayment | $0.30 to $0.60 | $30 to $60 per 100 sq. ft. roll |
| Labor (if hired) | $2 to $8 | DIY saves this entirely |
| Subfloor Repairs | $1 to $7 | $500 to $700 typical; up to $3,000 for full replacement |
| Furniture Move | $100 to $200 | Flat fee |
Example: A 200 sq. ft. room costs $600 to $2,600 total. DIY installation can save $400 to $1,600 in labor alone, making this a high-return project.
Maintain Your Laminate Floor
Laminate is low-maintenance but not indestructible. Follow these tips to extend its life.
Clean Regularly
- Daily: Sweep or vacuum using a hard floor setting.
- Weekly: Damp mop with a manufacturer-approved cleaner.
- Never use steam mops or excessive water.
Protect the Surface
- Use felt pads under furniture legs.
- Place rugs in high-traffic areas.
- Trim pet nails regularly.
Handle Spills Immediately
Even waterproof laminate can be damaged if water sits at seams. Wipe spills quickly.
Inspect Expansion Gaps
Ensure gaps around walls are not blocked by furniture or baseboard caulk. Restricted movement leads to buckling.
Frequently Asked Questions About Replacing Carpet with Laminate
How long does it take to replace carpet with laminate?
Small to medium rooms typically take 1 to 2 days, while whole-home projects can span 1 to 2 weeks. Subfloor preparation often consumes more time than the actual flooring installation.
Can I install laminate over existing hard flooring?
Yes, but only if the existing floor is perfectly flat and approved by the laminate manufacturer. Some laminates can be installed over ceramic tile, but uneven surfaces must be corrected first.
Do I need to remove the old tack strips?
Yes. Tack strips contain sharp nails that can puncture underlayment and damage laminate planks. Use a shovel or pry bar to remove them, then pull out any remaining staples or nails.
What is the best laminate for homes with pets?
Waterproof laminate with a textured, satin finish is ideal. Products like Pergo Timbercraft + WetProtect resist pet accidents, scratches, and odors while hiding dust and footprints.
How much does it cost to replace carpet with laminate?
Total project costs range from $3 to $13 per square foot. A 200 sq. ft. room typically costs between $600 and $2,600, with DIY installation saving $400 to $1,600 in labor.
Why is acclimation important before installing laminate?
Laminate must adjust to the room’s humidity and temperature for 48 to 72 hours before installation. Skipping acclimation can cause planks to warp, gap, or buckle shortly after installation.
Key Takeaways for Your Laminate Flooring Project
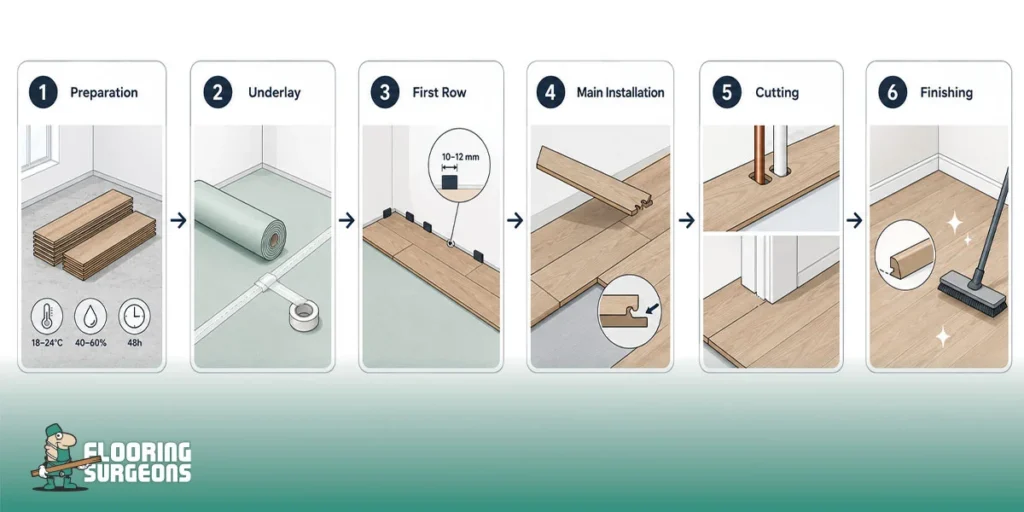
Replacing carpet with laminate flooring is a transformative upgrade that boosts hygiene, durability, and home value. The process demands effort, especially during demolition and subfloor prep, but the results are immediate and lasting.
Focus your energy on subfloor preparation, because it is the foundation of a successful installation. Choose waterproof laminate with a textured, satin finish for the best balance of durability and visual appeal. Respect expansion gaps and acclimate your materials to avoid the most common DIY failures.
Your next step is simple: measure your room, purchase 10% extra laminate and underlayment, and schedule a weekend to begin demolition. With the right tools and patience, you will step onto a sleek, modern floor that withstands kids, pets, and spills for years to come.