
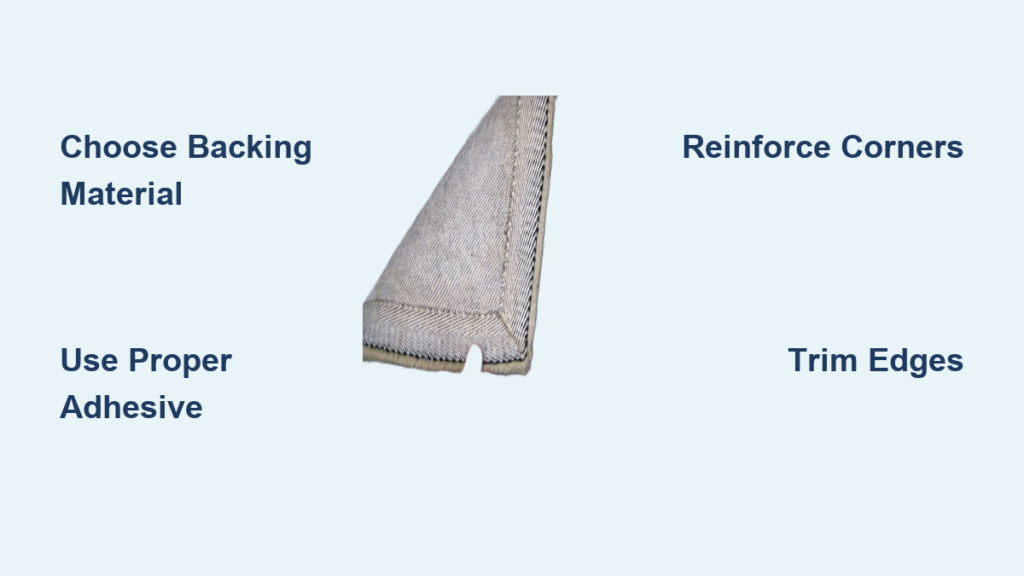
You’ve spent hours creating your hand-tufted rug, but the work isn’t finished yet. Backing a tufted rug is the critical final step that transforms your handmade creation into a durable, functional floor covering that can withstand years of use. Without proper backing, your rug risks slipping on hard floors, shedding excessive yarn, and developing frayed edges that ruin its appearance. This guide walks you through the best materials, proven methods, and expert techniques to back your rug like a professional.
You’ll learn how to select the right adhesives and backing fabrics, master the industry-standard hybrid application method, and finish with clean edges that resist wear. Whether you’re creating a rug for your home, to sell, or as a lasting heirloom, these step-by-step instructions will help you achieve a professional-quality result.
Choose the Right Backing Material for Your Project
Your choice of backing material directly impacts how well your rug performs over time. Different settings require different support levels, and picking correctly ensures safety and longevity.
Match Backing to Your Rug’s Intended Use
Consider where your rug will live before selecting backing materials. Floor rugs need grip and durability, while wall hangings require lightweight flatness.
• Residential floor rugs: Use non-slip rubber with felt backing for stability on hardwood and tile
• High-traffic areas: Choose recycled felt polyester or heavy rubber to resist abrasion
• Wall hangings: Apply canvas or premium felt for a lightweight, flat finish
• Odd-shaped rugs: Cut custom backing from non-slip material to match curves precisely
Pro Tip: Always cut your backing slightly smaller than the visible rug area so it fits neatly inside the folded edge without peeking out.
Compare Top Backing Fabrics
| Material | Best For | Key Benefit |
|---|---|---|
| Non-slip rubber + felt | Floor rugs | Prevents slipping on smooth surfaces |
| Woven cotton-polyester blend | Decorative rugs | Affordable and stable |
| Recycled felt polyester | Commercial use | Eco-friendly and highly durable |
| Tuft The World branded fabric | Beginners | Designed specifically for tufted rugs |
| Canvas | Wall art | Rigid and accepts hot glue well |
Select the Best Adhesive for Long-Lasting Results
The adhesive you choose determines your rug’s flexibility, bond strength, and lifespan. Making the right selection prevents common failures like cracking, peeling, or premature wear.
Adhesive Options and Their Best Applications
| Adhesive | Best Use Case | Flexibility | Bond Strength |
|---|---|---|---|
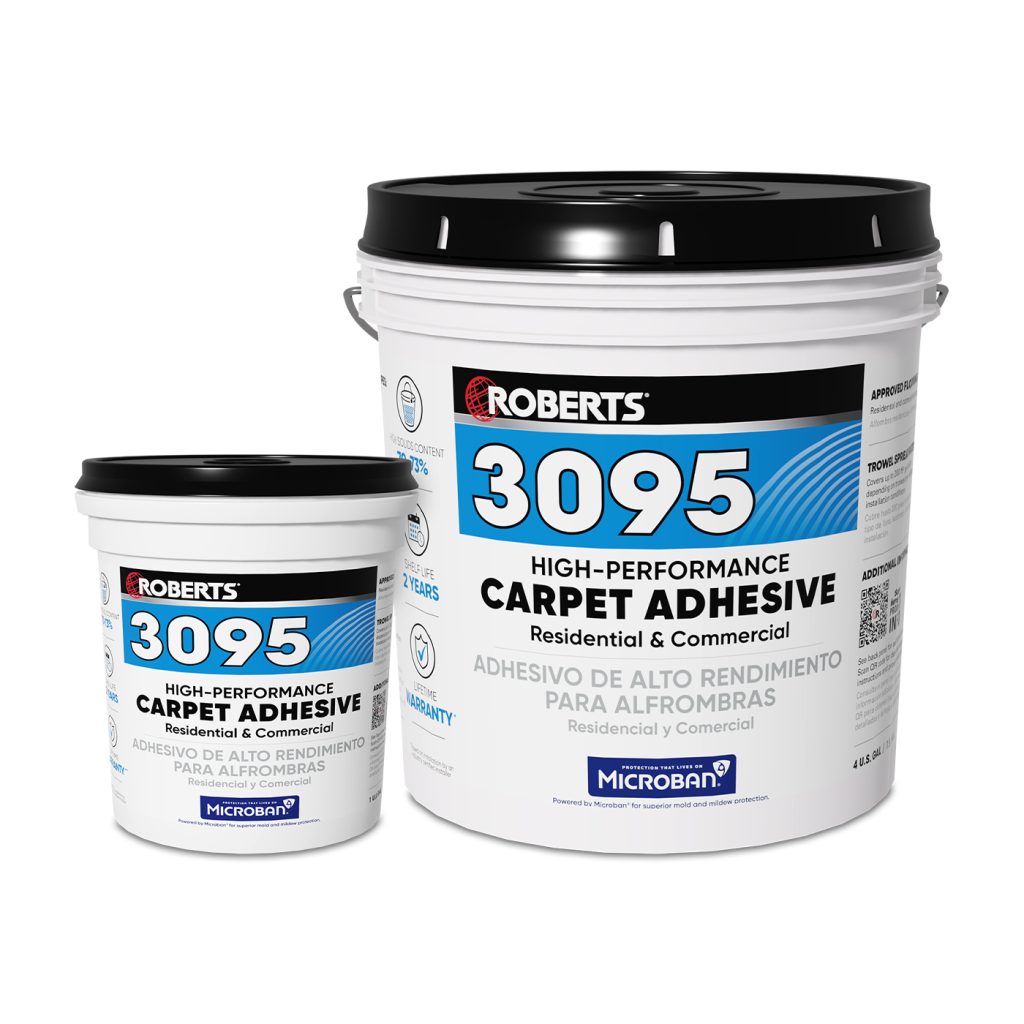
| Robert’s Carpet Adhesive (3095) | General backing, perimeter edges | High | Medium |
| Robert’s Multi-Bond Spray | Waterfall edges, dual-surface bonding | Medium | High |
| AAT1132 Industrial Adhesive | Heirloom or high-traffic rugs | Low | Very High |
| Gorilla Glue Spray | Composite layers | Medium | High |
| Contact Adhesive (spray) | Precision work | Medium | High |
| Hot Glue | Edge sealing, corner reinforcement | Low | High (instant) |
Critical Warning: Never use PVA or Elmer’s glue on floor rugs. It dries stiff and cracks under foot traffic, causing backing failure within months.
When to Use Each Adhesive Type
• For beginners: Start with Robert’s 3095 because it’s affordable, flexible, and forgiving
• For heirloom pieces: Use AAT1132 for maximum tuft retention and durability
• For waterfall edges: Apply Robert’s Multi-Bond Spray on both surfaces for seamless bonding
• For corner reinforcement: Add hot glue after the main adhesive dries for instant strength
Always test your chosen adhesive on a scrap piece first to check drying time and flexibility before committing to your finished rug.
Prepare Your Rug for Backing
Proper preparation determines whether your backing stays secure or fails prematurely. Skipping this step leads to peeling edges and visible distortions.
Cut and Fold the Tufting Fabric Correctly
Follow these sequential steps to prepare your rug:
- Trim loose threads from the front surface to create a clean appearance
- Cut the rug from the frame, leaving at least 1 inch of excess fabric around all edges
- Fold the tufting fabric inward to create a waterfall edge that wraps the backing inside
- Apply Robert’s 3095 to the folded lip to secure it before attaching the backing
Why it matters: The waterfall method hides raw edges and prevents fraying without requiring hand-stitching.
Why the 1-Inch Margin Matters
Cutting too close to the design is the most common beginner mistake. Without enough fabric margin, you cannot create a proper fold, edges will unravel over time, and the backing won’t stay in place. Always leave a minimum 1-inch margin, and more for curved or irregular shapes.
Apply Adhesive and Attach the Backing
Three main application methods exist, ranging from beginner-friendly to industry-standard. Choose based on your experience level and rug requirements.
Method 1: Spray Adhesive for Quick Application
Best for small rugs or first-time backing projects.
- Spray Robert’s Multi-Bond or contact adhesive on both the rug back and backing material
- Wait 1-5 minutes until the adhesive becomes tacky
- Align carefully and press the backing into the folded edge
- Roll or rub the surface to eliminate air bubbles
Pro Tip: Apply masking tape around your work area before spraying to prevent overspray on tables or floors.
Method 2: Liquid Adhesive for Flexible Durability
Ideal for large rugs that may be rolled or walked on regularly.
- Brush Robert’s 3095 or latex adhesive evenly across the rug’s back
- Press backing onto the glued surface, starting from the center and smoothing outward
- Allow 6-24 hours to dry completely depending on humidity levels
Advantage: Liquid adhesive remains flexible after drying, reducing cracking under foot traffic.
Method 3: Hybrid Zoned Adhesive (Industry Standard)
The professional method that delivers maximum durability with flexible edges.
- Leave a ½-inch border unglued around the perimeter
- Apply AAT1132 to the center area for a rigid, permanent bond
- Apply Robert’s 3095 to the outer ½-inch edge for flexibility
- Press backing fabric over the entire rug
- Fold excess backing over the wet Robert’s edge to create a waterfall finish
- Seal and trim any excess material
Expert Consensus: This method provides maximum durability in the center with flexible, clean edges, making it the gold standard for sale-quality rugs.
Reinforce Corners and Edges
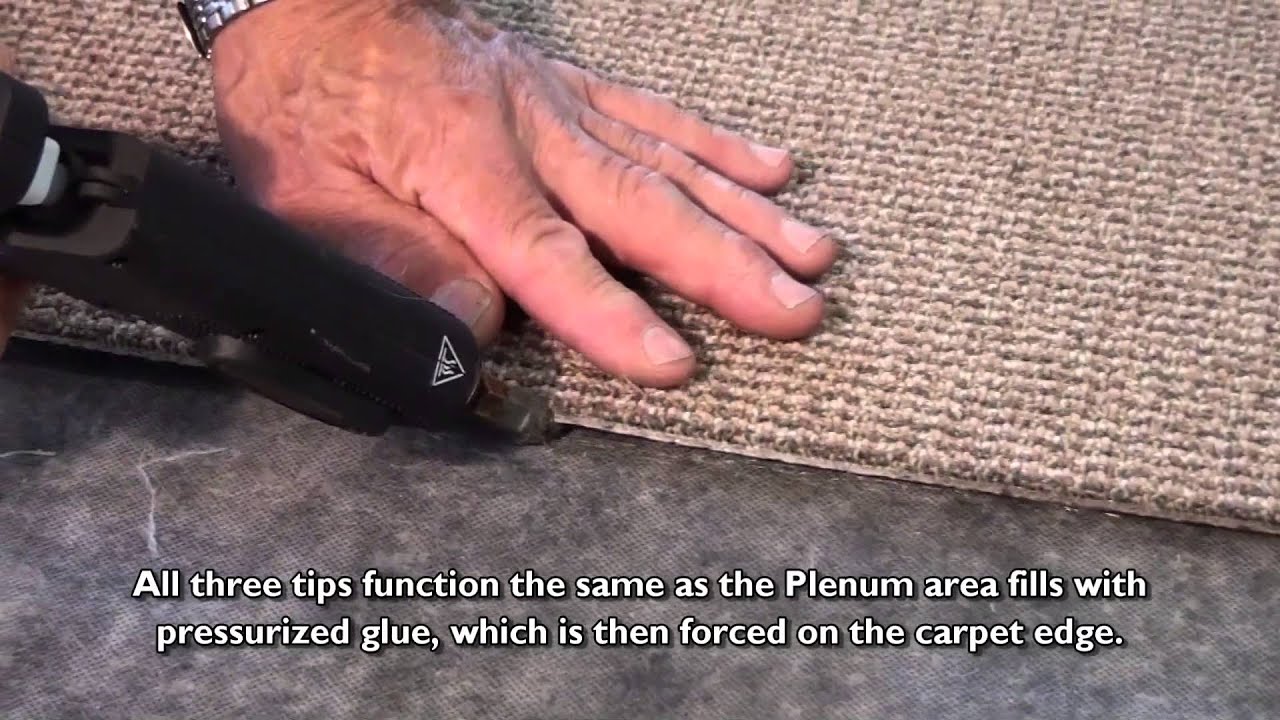
Spray or liquid adhesives alone won’t hold stress points like corners and thin edges. Additional reinforcement prevents lifting and peeling over time.
Seal Edges with Hot Glue
After the main backing fully dries, inspect all edges and corners. Use a high-temp hot glue gun to seal all four corners, fill any gaps along the perimeter, and reinforce thin or curved areas.
User Feedback: Hot glue sets in seconds and provides instant strength, making it perfect for high-stress zones that experience the most wear.
Why Reinforcement Prevents Premature Failure
Unreinforced edges lead to lifting corners, backing peeling away, and premature wear that ruins your rug’s appearance. Spending 5 extra minutes with hot glue extends your rug’s life by years.
Trim and Shape the Edges for a Professional Finish
Clean trimming makes the difference between a craft project and a professional-looking finished piece. Use the right tools for clean, precise cuts.
Best Tools for Trimming
• Wool shears: Reduce hand strain during thick pile trimming sessions
• Rotary cutter + mat: Best for straight edges and precision work
• Sharp scissors: Use for curves and odd shapes
Trimming Process
- Flip the rug face down to access the backing
- Trim the folded lip evenly around all sides
- Work slowly on curved edges, cutting in small increments
- Aim for a smooth, uniform finish with no fraying or bulges
Artisan Tip: Wear wrist support if trimming for more than 10 minutes to avoid strain injuries.
Add Edge Binding for Maximum Durability
Binding protects edges from fraying and elevates your rug’s finished appearance. Two main options exist depending on your skill level and desired finish.
Twill Tape Binding for Beginners
- Cut black twill tape (¼ to ½ inch) to match your edge length
- Wrap the tape around the entire perimeter
- Secure with fabric glue or hand stitching
Why black: It hides dirt and wear in high-traffic areas better than lighter colors.
Serging for Professional Quality
For museum-quality durability that lasts decades:
- Use strong wool or synthetic thread
- Hand-sew a continuous binding around the edge, or use a serger machine if available
- Serging resists fraying and provides exceptional flexibility
Expert Note: Many carpet repair shops offer serging as an affordable service if you don’t have a serger machine.
Avoid Common Backing Mistakes
Learning what not to do saves time and materials. These are the most frequent errors and how to prevent them.
Top 5 Mistakes and Solutions
| Mistake | Consequence | Fix |
|---|---|---|
| Cutting too close to design | No fold possible, edges unravel | Always leave at least 1 inch fabric margin |
| Using PVA glue on floor rugs | Glue cracks, backing fails | Use Robert’s 3095 or AAT1132 instead |
| Skipping edge reinforcement | Corners lift over time | Seal with hot glue after adhesion |
| Trapping yarn under backing | Visible bumps, distortion | Smooth fabric carefully before pressing down |
| Uneven adhesive application | Bubbling, weak spots | Apply brush or spray evenly, avoiding gaps |
Pro Tip: Test your entire method on a small scrap piece before committing to your finished rug.
Apply Non-Slip Underlayment for Floor Rugs

Adding a final non-slip layer ensures safety on hard flooring surfaces. This optional step provides extra grip and cushioning.
Iron-On Non-Slip Backing Application
- Cut the iron-on backing slightly smaller than your rug
- Place it on the back of your rug
- Set your iron to medium heat with no steam
- Press firmly for 10-15 seconds per section
Benefit: This prevents slipping on hardwood or tile, making it ideal for kitchens, hallways, and entryways.
Care and Maintenance for Long-Lasting Rugs
Proper care extends your backed rug’s lifespan significantly. Simple habits prevent premature wear and damage.
Cleaning Guidelines
• Do not soak your rug, as water degrades adhesives over time
• Spot clean with a slightly damp cloth rather than saturating the surface
• Vacuum gently using without beater bars that could pull tufts loose
• Rotate every 6 months to ensure even wear across all areas
Expected Lifespan by Method
| Method | Durability | Best For |
|---|---|---|
| Robert’s 3095 + hot glue | 2-5 years | Beginner projects, light use |
| AAT1132 (industrial) | 10+ years | Heirlooms, high-traffic areas |
| Hybrid method (AAT1132 + 3095) | 7-10 years | Sale pieces, exhibition, home décor |
No DIY rug comes with a warranty, but using professional methods gets you remarkably close to commercial durability.
Frequently Asked Questions About Backing Tufted Rugs
What is the best adhesive for backing a tufted rug?
Robert’s Carpet Adhesive (3095) is recommended for most projects because it remains flexible after drying and bonds well with various backing materials. For heirloom or high-traffic pieces, AAT1132 industrial adhesive provides superior durability.
Can I use regular Elmer’s glue to back my rug?
No. PVA glues like Elmer’s dry stiff and crack under foot traffic, causing backing failure. Use synthetic latex adhesives specifically designed for carpet installation instead.
How long does backed rug take to dry completely?
Drying time ranges from 6-24 hours depending on the adhesive type, humidity, and thickness. Allow full curing time before walking on the rug or placing furniture on it.
Do I need to back a wall-hanging tufted rug?
Wall hangings require minimal backing. Use lightweight felt or canvas for flat mounting, and avoid heavy rubber backing that adds unnecessary weight.
What is the waterfall edge technique?
The waterfall method folds the tufting fabric over the backing so only yarn tufts are visible from the front. This creates a clean, professional edge without hand-stitching and conceals raw fabric edges.
How do I back an odd-shaped or curved rug?
Cut your backing material to match the rug’s exact shape using sharp scissors or a rotary cutter. Cut small slits around curved edges to help the backing material bend smoothly around angles.
Final Takeaways for Backing Your Tufted Rug
Backing a tufted rug transforms your craft project into a durable, functional piece suitable for years of use. The most important factors for success include selecting the right adhesive for your rug’s intended use, leaving adequate fabric margin for folding, and reinforcing corners and edges with hot glue. The hybrid zoned method combining AAT1132 for the center and Robert’s 3095 for edges delivers professional results with excellent durability. Always finish with twill tape or serging for edge protection, and add iron-on non-slip backing for floor rugs. With attention to these details, your tufted rug will remain beautiful, slip-resistant, and well-protected for a decade or more.







