
Designing a rug is more than just choosing a pattern. It is about creating a functional piece of art that ties your space together. Whether you are crafting a handmade masterpiece, customizing a digital print, or assembling modular tiles, the process blends creativity with technical precision. With the right approach, you can design a rug that reflects your style, fits your space perfectly, and stands up to daily use.
This guide walks you through every step of how to design a rug. You will learn how to match colors, scale patterns, choose materials, and avoid common mistakes. The methods covered here are trusted by interior designers and DIY crafters alike.
Choose Your Rug Design Method

The first decision in how to design a rug is selecting your production path. Each method offers unique benefits in terms of customization, durability, and hands-on involvement.
Handmade Rug Techniques
If you value craftsmanship and texture, handmade methods offer unmatched individuality. These techniques require time and skill but result in one-of-a-kind pieces that age beautifully. Available options include:
- Knitting and crocheting, ideal for small soft rugs under 4 by 6 feet
- Weaving on floor or tapestry looms for structured, durable rugs
- Rug hooking and needlepoint for pictorial or detailed organic designs
- Handtufting for luxury custom pieces with deep textures
Digital Customization Platforms
For modern, flexible design without tools or yarn, digital platforms let you build rugs from carpet tiles. FLOR Design Studio offers this approach, allowing you to design on a grid using pre-made templates like chevron, checkerboard, and stripe patterns. You can recolor, reconfigure, and preview designs in 3D. This method requires desktop or tablet access and works best for offices or rental spaces.
Printed Photo Rugs
Want to turn a photo, artwork, or logo into a floor covering? Printed rugs make it possible using dye-sublimation or UV-resistant ink for vibrant, long-lasting prints. Materials include Velvet Shimmer or Marbled Velvet tops with latex-jute anti-slip bases. Sizes range up to 35 by 55 inches, making these ideal for living rooms, hallways, or doormats. No DIY effort is needed.
Build a Design Foundation
Before sketching or uploading, align your rug with the room is overall aesthetic. In professional design, the rug comes last, after the color palette, furniture layout, and upholstery choices are finalized. This ensures your rug complements rather than clashes with the space.
Create a Design Thread
Your rug should echo elements already in the room. Pull colors from a chair, pillow, or artwork. Mirror a fabric pattern from a sofa or headboard. For example, the Domino rug by Kit Kemp was based on an existing fabric, ensuring visual harmony. This thread creates continuity across rooms and styles.
Select and Scale Your Pattern
A well-chosen pattern elevates a room, but poor scaling can ruin the effect. Start with a bold, punchy fabric from your decor as the rug is design source. This ensures color accuracy and cohesion while avoiding mismatched tones.
Adjust Repeat Size for Impact
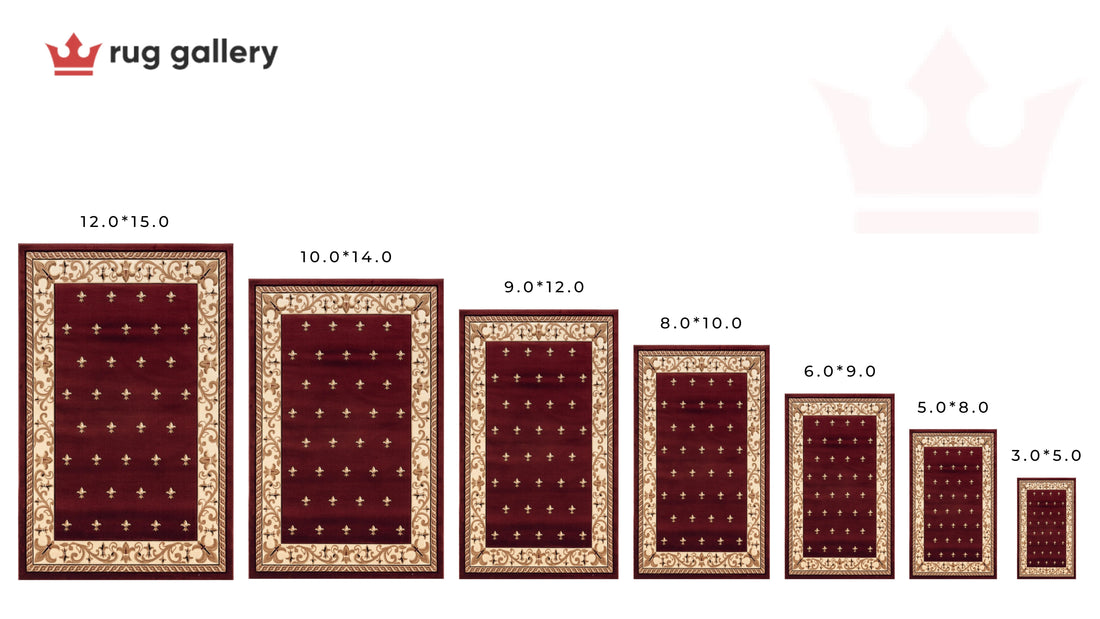
Pattern scale must match the rug size. A small repeat on a large rug appears visually busy and overwhelming. A large repeat on a big area creates a bold, balanced statement. Use digital tools to preview scaled versions before production. In expansive areas, enlarge subtle motifs for dramatic effect. The Fine Nobilis wallpaper in the Crosby Events Lobby was upscaled into a nearly abstract interpretation that commands attention.
Match Colors Strategically
Color makes or breaks a rug is integration into a space. Use colors already present in end-of-bed stools, curtains, accent chairs, or bedding. In apartment 907, the rug is palette matched the bedroom stool, creating a subtle link between rooms. For high-traffic or intimate spaces, opt for darker, moodier tones that hide dirt and add warmth. The Drawing Room rug at Crosby Street Hotel uses a dark base to suit its busy, cozy atmosphere.
Ensure Print Color Accuracy
For digital rugs, submit files in RGB rather than CMYK. Use the sRGB IEC61966-2.1 color profile and calibrate your monitor to avoid mismatches. This guarantees your printed rug matches the screen design.
Add Texture for Depth
A flat design can feel lifeless. Texture brings a rug to life. Luxury rugs often combine tight knotted backgrounds that mimic linen with tufted graphic elements that add color and shape. Room 709 is rug replicates the exact texture of Pierre Frey fabric, enhancing realism.
Use Pile Height Creatively
In handtufted rugs, varied cut pile heights create shadow and dimension. A monochrome magnolia rug used only texture to stand out. Shaggy pile offers plush comfort, ideal for bedrooms. Enhance contrast with hand-carved lines. Tuft the entire rug in medium cut pile, then carve design elements to lower surrounding areas. This creates shadow, depth, and crisp edges perfect for logos, florals, or geometric motifs.
Pick the Right Shape and Size
Your rug is dimensions affect both function and perception. Rectangular and square shapes work best with weaving, FLOR tiles, and printed rugs. Round and oval shapes suit knitting, crocheting, and braiding. Freeform shapes work with hooking, needlepoint, and Rya knotting.
Know Size Limits by Method
Knit and crocheted rugs have a maximum size of 4 by 6 feet due to stretching risk. Woven rugs can be room-sized. Printed rugs reach up to 35 by 55 inches. Handtufted rugs can be any size, including wall-to-wall. For living rooms, ensure the rug extends 6 to 12 inches beyond furniture.
Use Digital Design Tools
Technology makes rug design faster and more accurate. FLOR Design Studio offers desktop-only access with starting options including Blank Canvas for full creative freedom, Pattern Templates such as chevron, plaid, and starburst, and Pre-Designed Rugs like Soda Shoppe and Brunch. Customize tile colors and layout, and take advantage of free design consultations.
Prepare Your File Correctly
A poorly formatted file ruins an otherwise great design. Use 200 dpi at 100 percent scale to prevent blurriness. Use TIFF for complex multi-color designs and flatten layers. Use JPEG for simple graphics. Extend your design 0.25 inches beyond the trim line for the bleed area to prevent white edges after cutting.
Build a DIY Rug Step by Step
For hands-on creators, making a rug with a rug gun is fast and rewarding. You will need a rug gun, pre-drilled frame, two spools of yarn, trimmer, putty knife, Elmer is Glue, and loop threader.
Transfer Your Design
Stretch fabric in the frame. Flip your image on your phone so it appears correctly on the back when projected. Project and trace the outline.
Load and Use the Rug Gun
Insert two yarn spools and feed through loops. Use the loop threader to pull strands through the needle. Press firmly without tilting. Weak pressure causes loose stitches.
Stitching Order and Tips
Start with small details then fill in, or outline first then work inward. Work upward to avoid perforations. Time required is approximately 30 minutes for experienced makers and about one hour for beginners.
Finish the Back and Edges
Trim excess yarn. Apply Elmer is Glue with a putty knife. Dry in sunlight. Trim edges flush. Optional steps include folding over and hot gluing for a clean finish, or adding a second fabric layer with spray glue for durability.
Apply to Real-World Spaces
Your rug should serve its environment. Residential uses include entryway printed doormats, large living room area rugs, and bedroom placement under the bed or at the foot. Echo rug colors in adjacent rooms for visual flow. Commercial applications include reception branded logo rugs for instant identity, retail zone definition with patterned rugs, and hotel unique rugs per room or treatment area.
Maintain Your Rug Long-Term
Proper care extends life and beauty. Vacuum gently with a soft brush attachment. Spot clean with cold water and mild detergent. Use a soft brush to scrub, then rinse and air dry. Never machine wash or expose to open flame. For printed rugs, avoid direct sunlight to prevent fading. Dye-sublimation printing fuses ink into fibers so it will not peel, and the anti-slip latex-jute base prevents sliding on hardwood.
Avoid Common Design Mistakes
White edges appear when you forget the bleed zone. Extend your design 0.25 inches beyond trim lines. Color mismatch happens when you skip sRGB profile and screen calibration. Loose stitches result from insufficient pressure on the rug gun. Slipping rugs are prevented by the non-slip base included with custom orders. Misaligned patterns can be corrected by using the 3D preview and repeating motifs to hide seams.
Frequently Asked Questions About Designing a Rug
What is the easiest way to design a custom rug?
The easiest way is using digital print-on-demand services. Simply upload your artwork, choose a size, and order. No DIY effort is required. For more creative control, FLOR Design Studio offers modular tile customization.
How do I choose the right rug size for my room?
Measure your furniture layout first. For living rooms, the rug should extend 6 to 12 inches beyond all furniture legs. For bedrooms, place the rug under the bed or at the foot. Standard sizes include 35 by 55 inches for living areas and runners at 50 by 24 inches for hallways.
Can I use a photo to design a rug?
Yes. Printed photo rugs accept personal images, artwork, logos, or text. Use high-resolution images at 200 dpi for best results. Velvet Shimmer and Marbled Velvet materials work well for photo reproduction.
What materials work best for high-traffic areas?
For high-traffic zones, choose darker tones to hide dirt. Woven and handtufted rugs offer superior durability. Printed rugs with latex-jute bases provide anti-slip safety. Avoid delicate textures like shaggy pile in busy areas.
How do I ensure color accuracy when ordering a printed rug?
Submit files in RGB color space, not CMYK. Use the sRGB IEC61966-2.1 color profile. Calibrate your monitor before designing. Request a proof if available before full production.
How long does it take to design and receive a custom rug?
DIY handmade rugs take several hours to days depending on size and experience. Print-on-demand production is 1 to 2 days, with shipping adding 2 to 3 days in the USA. Custom handtufted rugs from manufacturers may take several weeks.
Key Takeaways for Designing Your Perfect Rug
Designing a rug requires intentional planning from the start. Choose your method based on your skill level, budget, and desired outcome. Handmade techniques offer texture and craftsmanship, digital platforms provide flexibility, and printed rugs deliver full customization with photos or branding. Always finalize your room scheme before designing the rug, and create a design thread that echoes existing colors and patterns. Scale your pattern appropriately, prepare files at 200 dpi with proper bleed, and select edge finishes that match your style. With these steps, you can create a rug that is not only beautiful but uniquely yours.







