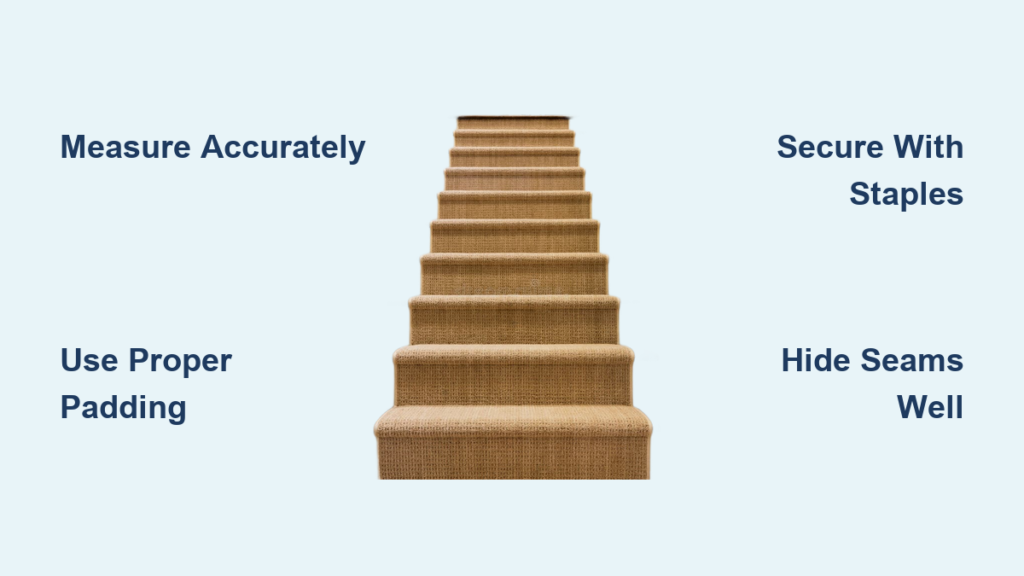
Is your staircase looking bare, slippery, or echoing with every footstep? Installing a carpet runner is one of the most effective DIY upgrades you can make, transforming not just the look but the safety and comfort of your home. Whether you want a classic, luxurious feel or simply want to protect hardwood from daily wear, a well-installed carpet runner delivers big results for a fraction of the cost of full carpeting.
The process may seem daunting, but with the right tools, materials, and method, you can achieve a professional-looking finish in about eight hours. This guide walks you through every step, from measuring your stairs accurately to securing the final seam, using proven techniques that prevent common pitfalls like wrinkling, fraying, and misaligned patterns. You’ll learn how to choose the best materials, handle tricky transitions, and finish with decorative stair rods for that polished touch.
Let’s get your staircase looking and feeling its best.
Measure Staircase Accurately

Before buying materials, precise measurements are essential. Most staircases aren’t perfectly square, so centering each step equally will cause the runner to “jog” visually. Instead, use a consistent reference point like the skirtboard or one wall, and measure a fixed distance from it on every tread.
Determine Runner Width and Offset
Standard carpet runners come in widths like 30 inches (2’6″). Measure your stair treads to calculate side gaps. For example, if your tread is 39¾” wide and you’re using a 30″ runner, you’ll have about 4⅝” of exposed wood on each side, assuming perfect centering. But if the staircase is out of square, vary the gap slightly to keep the runner’s edge straight up the stairs. This ensures vertical stripes or seams appear perfectly aligned.
Calculate Total Length Needed
Use this formula: (Tread Depth + Riser Height) × Number of Steps = Total Linear Feet. Add extra length if using the upholstered method, which wraps the carpet tightly over the nosing and requires more material than the waterfall method. For landings, measure width and length separately and treat them as distinct sections, especially if angled.
Plan for Landings and Turns
If your stairs include a landing or turn, break it into geometric shapes and measure each. Install the landing first to establish the centerline and flow of the runner before continuing up or down the flights. This prevents alignment errors later.
Choose the Right Materials

Selecting durable, compatible materials ensures your runner lasts for years. The wrong padding or adhesive can lead to shifting, wrinkling, or tripping hazards.
Pick Durable Carpet and Padding
Opt for high-traffic materials:
- Nylon resists wear and stains
- Wool offers a luxurious and long-lasting feel
- Polypropylene is budget-friendly and moisture-resistant
- Jute/Natural Fibers look stylish but are prone to fraying, so handle with care
Padding should be 1/8″ thick felt or a felt-rudysonguide-20er combo. Cut it slightly narrower than the runner (e.g., 28–29″ for a 30″ runner) so it stays hidden under the edges. Padding must wrap around the bullnose and attach to the back of the riser for full support.
Gather Essential Hardware
You’ll need:
- Double-sided carpet tape (heavy-duty) to secure padding and prevent slippage
- Tackless strips for landing edges to grip and stretch the carpet
- Carpet staples and a heavy-duty staple gun
- Stair rods (optional) for decoration and seam concealment
- Seam tape for joining pieces on landings
Avoid cheap tapes or thin padding, since they compromise safety and longevity.
Prepare the Stairs
A clean, smooth surface is crucial for proper adhesion and a flat fit.
Clean and Repair Surfaces
Sweep and vacuum every step thoroughly. Remove old nails, staples, or glue residue. Sand down any splinters or rough spots on wood treads to prevent bumps under the runner.
Mark Installation Lines
Using a pencil or chalk, mark the desired edge of the runner on each tread based on your offset plan. Don’t mark every step individually. Use a consistent distance from one side (e.g., 4⅝” from the skirtboard) to maintain a straight visual line, even if side gaps vary slightly. Install tackless strips around the perimeter of landings and at the back edge of top treads, about ½” from the edge, with pins facing inward toward where the carpet will go.
Install Padding Correctly
Proper padding prevents slumping and extends the life of the runner.
Cut and Position Padding
Cut padding to match tread depth plus riser height so it wraps fully over the nosing and down the back of the riser. Keep it 1–2 inches narrower than the runner to stay concealed.
Secure with Tape and Staples
Apply double-sided carpet tape width-wise across the front and rear of each tread, since these are high-movement zones. Place padding starting at the back of the tread, wrap it over the bullnose, and pull it tight down the riser. Staple securely under the nose and at the base of the riser. Trim excess with a utility knife. For extra hold, apply tape along the sides of the padding and on the riser to prevent lateral shifting, especially on smooth surfaces.
Lay and Secure the Runner

Now it’s time to install the carpet itself. Work in sections and maintain tension to avoid wrinkles.
Anchor at the Starting Point
Begin at the bottom or top, whichever allows better access. For landings, start there to set alignment. Staple the runner’s edge to the back of the riser or in the crease where tread meets riser (for upholstered look). Pull it taut over the nosing.
Stretch and Staple Each Step
Use a knee kicker or manual pull to stretch the carpet tightly before stapling. Staple in two places: in the crease (tread/riser junction) and under the nosing or at the bottom of the riser below. Work one step at a time. After every few steps, check alignment, especially with striped patterns. Adjust as needed before proceeding. Never staple the entire run at once; tension must be maintained step-by-step.
Maintain Pattern Alignment
If your runner has vertical stripes, misalignment is highly visible. Start from the center of the tread and work outward. Alternate left and right sides as you go up the stairs to balance tension and keep lines straight.
Handle Seams and Transitions

Runners come in limited lengths, so joining pieces is often necessary. Do it right to avoid fraying and tripping.
Overlap on Risers
Whenever possible, place seams on risers, not treads. Use the overlap method:
- Run the first piece up the riser and cut it at the nose
- Start the next piece at the bottom of the same riser, overlapping the first
- Apply heavy-duty carpet tape between layers
- Staple through both layers securely
This hides the cut edge and prevents fraying.
Prevent Fraying on Jute Runners
Natural fibers like jute unravel easily when cut. Here’s how to stop it:
- Apply double-sided carpet tape to the back of the runner before cutting
- Cut through tape and carpet together so the tape binds the fibers
- Tuck the top piece’s cut edge under the nose
- Tuck the bottom piece’s edge up under the overlap
- Staple into the stitching or weave valley, not the fiber itself, to hide staples
Finish the Top and Landings
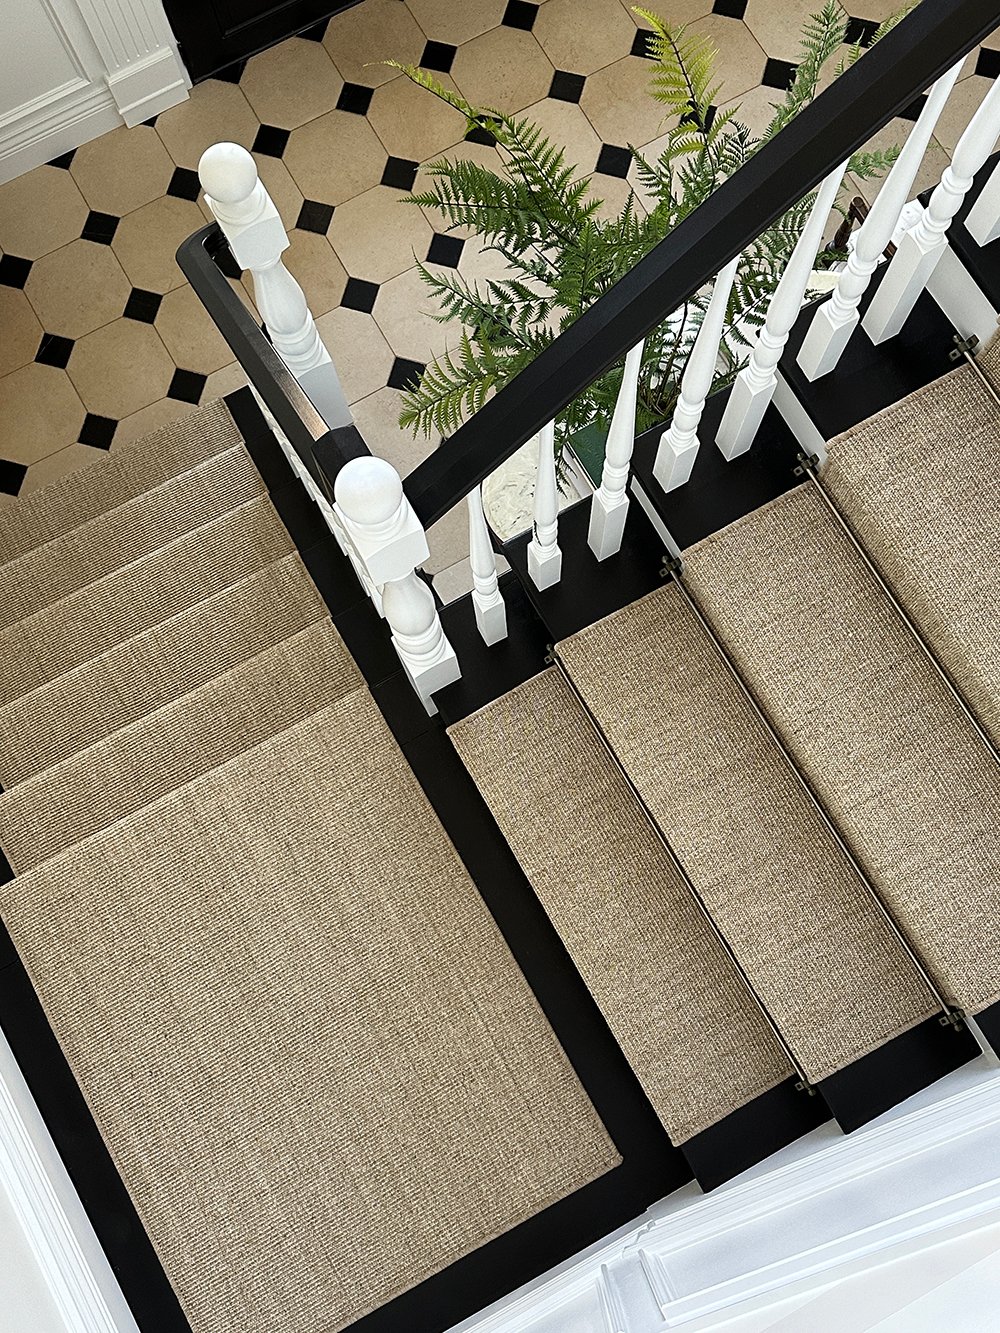
The landing sets the tone. Install it first to guide the rest of the runner.
Install Landing Before Flights
Lay padding precisely with no overlaps that create lumps. Position the runner centered on the landing. Use double-sided tape to hold it temporarily. Stretch the carpet toward the tackless strips using a knee kicker. Tuck edges neatly with a carpet tucker. Ensure no air pockets or wrinkles. For angled landings, cut the runner to match the angle. Use seam tape underneath if joining pieces and match patterns carefully.
Conceal Final Seam at Top
When nearing the top (about 6 steps away), plan your final seam. To avoid a visible cut edge on the last step:
- Start a new runner piece from the very top and work downward
- Overlap it with the existing runner
- Cover the seam with a trimmed scrap of the same carpet
- Tuck both edges into corners and secure with tape and staples
This creates a clean, finished look.
Add Stair Rods (Optional)
Stair rods enhance appearance and help secure the runner.
Position and Mark Brackets
Remove finials from the rods. Center the rod over the runner on a tread. While the runner may be offset for alignment, center the rod within the runner’s width, leaving equal space (e.g., ½”) between finial and wall. Mark bracket holes with a pencil.
Drill and Mount Securely
Pre-drill holes with a small bit to prevent wood splitting. Attach brackets with screws. Slide the rod into place and reattach finials. Install rods on every step or every other step, depending on style preference. They’re especially useful for hiding seams or reinforcing loose areas.
Troubleshoot Common Problems
Even careful installations can hit snags. Here’s how to fix them fast.
Fix Jogging or Misalignment
If the runner zigzags up the stairs, it’s likely because each step was centered individually on an out-of-square staircase. Measure from one fixed reference (like the skirtboard) on every step. Straight visual lines matter more than equal side gaps.
Eliminate Wrinkles and Ripples
Wrinkles mean insufficient tension. Use a knee kicker to stretch the carpet tighter before restapling. Pull from multiple directions to smooth out ripples.
Hide Visible Staples
Staples should never show on the surface. On jute or woven rugs, staple into the stitching or the valley between fibers. Avoid piercing the face of the carpet.
Stop Edges from Fraying
Always apply tape to the back before cutting natural fibers. Overlap seams and tuck cut edges under nosings. Re-tape any loose sections immediately.
Prevent Shifting
If the runner moves underfoot, check tackless strip placement (pins must face inward) and add double-sided tape to risers and padding sides. Re-staple loose areas promptly.
Maintain Your Carpet Runner
A well-maintained runner lasts years and stays safe.
Clean Regularly
Vacuum weekly to remove dirt and grit that wear down fibers. Use a hand-held vacuum on seams and edges.
Address Spills Immediately
Blot liquids with a clean cloth. Use a mild cleaner suited to your carpet type and avoid harsh chemicals that damage backing or dyes.
Schedule Deep Cleaning
Have the runner professionally cleaned every 6–12 months, especially in homes with pets or kids. Deep cleaning removes embedded grime and restores texture.
Inspect Hardware Monthly
Check staples, rods, and brackets every few weeks. Tighten loose screws and re-tape any lifting edges to prevent tripping.
Frequently Asked Questions About Installing Carpet Runner on Stairs
How long does it take to install a carpet runner on stairs?
For a standard 16-step staircase, expect about 8 hours of total labor. The project requires attention to detail for alignment and tensioning, so rushing can lead to wrinkles or misaligned patterns.
What is the best carpet material for stairs?
Nylon and wool are top choices for high-traffic stairs. Nylon resists wear and stains, while wool offers a luxurious, long-lasting feel. Polypropylene is budget-friendly, and jute provides texture but frays easily without proper handling.
Do I need padding under a stair runner?
Yes, padding extends the life of the runner and improves comfort. Use 1/8″ thick felt or a felt-rudysonguide-20er combo, cut slightly narrower than the runner so it stays hidden. Padding must wrap around the bullnose for full support.
How do I keep a jute runner from fraying?
Apply double-sided carpet tape to the back of the runner before cutting. Cut through tape and carpet together so the tape binds the fibers. Overlap cut edges at seams and staple into the stitching between jute layers rather than through the fibers.
Should I install the landing or stairs first?
Always install the landing first. This establishes the centerline and flow for the ascending or descending flights and prevents alignment errors later.
Can I install a stair runner without professional help?
Yes, this is a moderate-difficulty DIY project. With accurate measuring, proper materials, and careful tensioning, you can achieve a result that looks professionally installed. Budget around $1,500 for materials on a 16-stair project.
Key Takeaways for a Professional Carpet Runner Installation
Installing a carpet runner on stairs is a high-impact DIY project that boosts safety, comfort, and style. Focus on accurate measurement from a fixed reference point to prevent visual jogging, choose durable materials suited to your traffic level, and maintain consistent tension throughout installation. Prevent fraying by pre-taping natural fibers before cutting, and finish strong with secure seams and optional stair rods.
Once complete, regular vacuuming, prompt spill cleanup, and monthly hardware inspections will keep your staircase looking sharp and safe for years to come.