
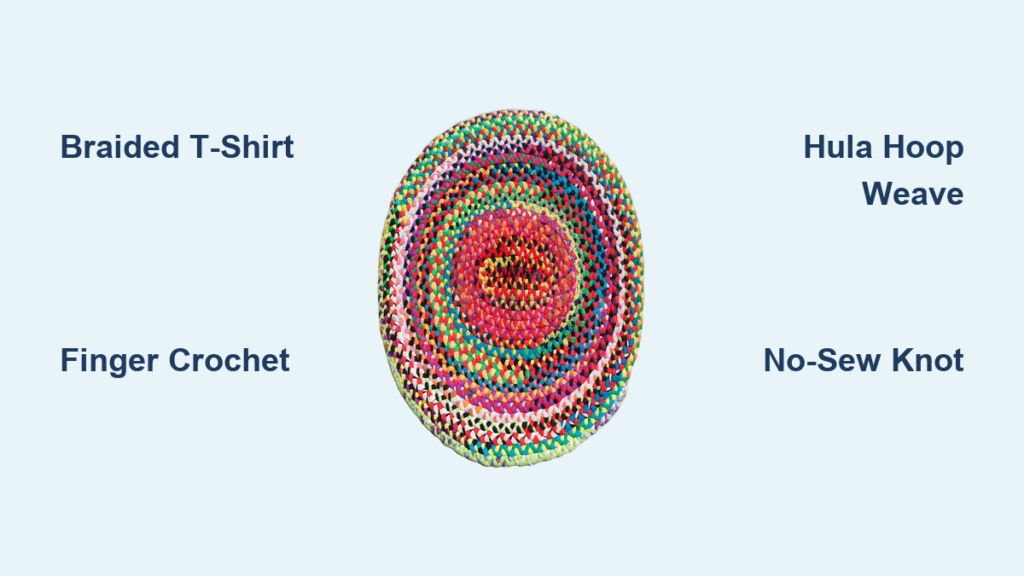
Imagine turning your pile of worn-out t-shirts, frayed sheets, and old towels into a cozy, colorful rug that adds warmth to your home. Making a rag rug by hand is a sustainable craft that transforms textile scraps into functional floor pieces while reducing landfill waste. Whether you want a quick bathroom mat or a stunning heirloom-quality centerpiece, this guide walks you through every technique, tool, and tip needed to create beautiful rag rugs without a sewing machine.
From braided t-shirt bath mats to woven hula hoop designs, each method offers unique texture, durability, and charm. You will learn how to select the right fabrics, cut strips efficiently, master nine distinct techniques, and finish your rug like a professional crafter.
Choose the Best Fabrics for Rag Rugs
Selecting appropriate fabrics is the foundation of successful rag rug making. The right materials determine durability, ease of handling, and final appearance.
Cotton Sheets and Pillowcases
Cotton bedsheets are ideal for braiding and weaving because they rip cleanly along the grain and fray predictably. They provide a lightweight, flexible base that holds shape well over time. Pre-wash all fabric to prevent shrinkage after your rug is complete.
T-Shirts and Jersey Knits
Cotton jersey from old t-shirts is stretchy, soft, and resists fraying when cut into continuous strips. This fabric works exceptionally well for finger crochet and no-sew braiding projects. Keep strip widths between 1 and 2 inches to prevent curling into string.
Denim, Towels, and Sweaters
Denim from old jeans creates rugged, long-lasting rugs perfect for high-traffic areas like entryways. Towels offer absorbency and thickness for bathroom mats. Sweaters provide fluffy cushioning for glue-based projects. Avoid heavily stained fabrics and materials that unravel excessively.
Cut Fabric Strips Like a Pro
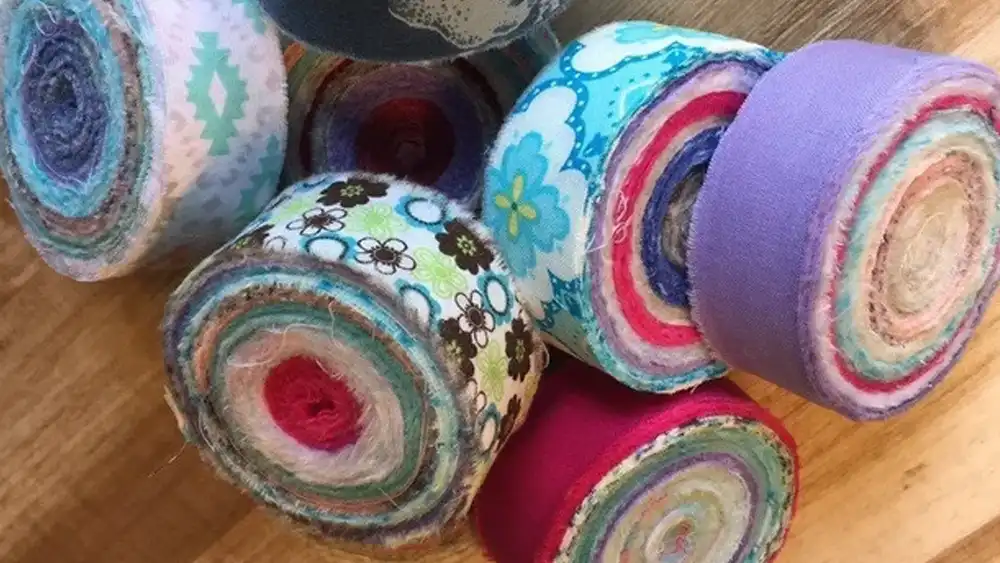
Efficient strip preparation saves hours on large projects and ensures consistent results. Different fabrics require different cutting approaches.
Rip Woven Cotton Along the Grain
For tightly woven cotton like bedsheets, ripping is faster and straighter than scissors. Mark lines every 2 inches across the fabric width. Cut a 2-inch slit at each mark, then pull to tear along the grain. This method produces perfectly straight strips without measuring each cut.
Spiral-Cut T-Shirts into Yarn
Lay a t-shirt flat and cut off the hem and sleeves. Starting from the bottom, cut inward 1 to 2 inches from the edge, then circle around the shirt while maintaining consistent width. Stop before reaching the neck. Pull gently and the fabric stretches into a long, looped yarn that works beautifully for crocheting or braiding.
Avoid Common Cutting Mistakes
Never cut stretchy jersey fabric thinner than 1 inch or it will twist and weaken. Use sharp fabric scissors for knits and irregular garments. Iron wrinkled pieces before cutting to ensure smooth, even strips.
Gather Essential Tools for Rag Rug Making
Having the right tools makes any project smoother. Most rag rug methods require only basic supplies.
Basic Tools Every Crafter Needs
Every project requires sharp fabric scissors dedicated solely to fabric, a measuring tape or ruler for consistent strip width, chalk or fabric marker for marking cutting lines, and masking tape to anchor strips during weaving. These basics ensure accuracy across all techniques.
Tools Matched to Your Technique
Different methods require specific equipment. Braiding and coiling need a needle and thread or sewing machine. Weaving requires a cardboard or wooden loom with warp threads. Hooked rugs need hessian backing and a latch hook tool. Crocheted rugs require large hooks sized 6 to 10 millimeters. No-sew knotting uses a rag-rug tool with a hole and a flat board.
Budget-Friendly Alternatives
Make a simple loom from cardboard by cutting slits half an inch apart along two opposite edges of a 23 by 43 inch piece. Use strong yarn for warp threads. Some crafters create their own hooks from old toothbrush handles.
Master the Nine Rag Rug Techniques
Each technique produces distinct results. Choose based on your skill level, available time, and desired outcome.
No-Sew Slip-Knot Rag Rug
This beginner-friendly method creates small mug mats using a slip-knot tool and clips. Clip an anchor strip to a board, thread a new strip through the tool, loop over the anchor, and pull through to form a knot. Repeat across the row. For the next row, lift the top loop of previous knots and pass the anchor through. Finish by tying ends like shoelaces and weaving in tails.
Braided No-Sew T-Shirt Rug
Cut three long t-shirt strips 1 to 2 inches wide and braid tightly. Coil the braid outward in a spiral, pinning as you go to hold shape. Hand-stitch the end to the underside when complete. This method creates soft, absorbent bath mats perfect for bathrooms or baby play areas.
Braided and Sewn Multi-Fabric Rug
Combine cotton, denim, silk, flannel, or sari fabric into thick, textured braids. Splice strips using the snip-and-thread method by overlapping ends, snipping half-inch slits into each folded tip, and threading one through the other. Coil the completed braid into a circle, oval, or rectangle and sew coils together using whip stitch or running stitch by hand. This time-intensive method produces heirloom-quality rugs that withstand heavy use.
Finger Crochet T-Shirt Rag Rug
Turn t-shirt yarn into a soft, flexible rug using only your fingers. Start with a chain stitch, then work single crochet into each loop. For circular rugs, increase stitches evenly every round to prevent curling. For rectangles, crochet in rows. Join new strands by tying a knot and weaving ends into the stitches. This method takes 5 to 10 hours for a bath mat.
Weave a Hula Hoop Rag Rug
Use a hula hoop as a circular loom. Cut vertical warp strands and tie them evenly around the hoop. Weave horizontal weft strips over and under the warp threads, moving outward in a spiral. Change colors to create patterns. When complete, cut the warp threads, remove from the hoop, and tie off edges securely.
Denim Rag Rug for High-Traffic Areas
Cut denim strips 1 to 2 inches wide from old jeans. For contrast, weave in colored cotton yarn for a rainbow denim effect. Denim is stiff at first but softens with use. This rug is highly durable for entryways and mudrooms. Alternate light and dark denim for a checkerboard design.
Cut and Glue Sweater Rag Rug
Cut fluffy sweaters into uniform shapes or strips. Glue them onto a foam play mat as a base, overlapping edges to hide the base. Let dry completely before use. This method creates soft, cushioned rugs ideal for bedrooms but not suitable for high traffic areas.
Fabric Twine Spiral Rag Rug
Use narrow strips a quarter to half inch wide from lightweight fabrics. Feed them through a sewing machine with a zig-zag stitch to bind them into cord. As you sew, coil the cord from the center outward, stitching each new layer to the previous one. This uses tiny scraps and creates dense, washable rugs.
Shag Rag Rug from Old Towels
Cut towel strips 3 to 6 inches long. Use a rubber doormat with holes as a base. Thread each strip through a hole, pull halfway, then loop the other end through to form a knot or tassel. Space knots closely for a plush, spa-like surface. Highly absorbent and ideal for wet areas like bathrooms.
Join Fabric Strips Seamlessly

Continuous strips create polished, professional-looking rugs. Master these joining techniques to avoid unsightly knots.
Use the Snip-and-Thread Method
Fold each end back half an inch and snip half-inch slits into the folded ends. Overlap the slits, thread one tail through the other’s loop, and pull tight. This creates a flat, secure join that won’t unravel during braiding, weaving, or crocheting.
Try the Slot Join for Weaving
Cut a 1-inch slot at the end of the old strip. Insert 1 to 2 inches of the new strip through the slot. Pass the tail of the new strip through its own end and pull tight. This method prevents bulk in tight weaves and maintains even thickness.
Finish Your Rag Rug Professionally
Proper finishing ensures your rug lasts for years and looks polished.
Secure All Loose Ends
Weave in all tails using a crochet hook or needle. For braided rugs, tuck ends under stitches and stitch down. For crocheted rugs, hide knots within the loops. Trim excess close to the surface.
Add Non-Slip Backing
Cut foam shelf liner to your rug’s size and place under the rug. Attach with slip-stitch using matching thread. Use loose stitches because tight ones can distort the rug. The liner adds cushioning and prevents slipping on hardwood or tile.
Trim and Shape Evenly
For shag or tassel rugs, insert a ruler or cardboard under the fringe to create a straight cutting line. Trim excess with sharp scissors. For braided rugs, ensure ends are fully secured before trimming.
Select the Right Method for Your Skill Level
Choosing an appropriate technique ensures success and builds confidence.
Beginners Should Start Simple
Begin with t-shirt braided mats or finger crochet rugs. These require no special tools, use forgiving stretchy fabric, and can be completed in a few hours. Small projects like coasters or mug mats build confidence before tackling larger pieces.
Intermediate Crafters Try Weaving or Denim
Move on to hula hoop weaving or denim rag rugs. These involve more precision and pattern planning. Invest time in cutting uniform strips because consistency improves the final look dramatically.
Advanced Makers Tackle Multi-Fabric Coils
Take on braided and sewn area rugs using mixed fabrics. Focus on even tension, seamless joins, and tight stitching. These projects can span weeks or months but result in stunning, long-lasting pieces that become family heirlooms.
Troubleshoot Common Rag Rug Problems
Even experienced crafters encounter challenges. Here are solutions to frequent issues.
Fix Curling in Crocheted Rugs
Circular rugs curl when stitches are not increased evenly. Add 6 to 8 stitches per round to maintain flatness. If your rug curls after washing, block it flat while damp.
Prevent Fabric from Curling into String
Thin cuts on stretchy fabric twist into rope. Cut strips 1 to 2 inches wide to maintain body and prevent curling. Never cut jersey thinner than half an inch.
Stop Color Bleeding
Never skip pre-washing fabric. Unwashed reds or darks can bleed during washing, staining lighter pieces. Test questionable fabrics with a water drop before cutting.
Secure Hessian Loosening in Hooked Rugs
If your hessian backing loosens during hooking, space strips too far apart. Keep rags 1 to 2 threads apart for stability. Tighten warp threads if using a loom.
Frequently Asked Questions About Making Rag Rugs by Hand
What is the easiest rag rug technique for beginners?
The braided no-sew t-shirt rug and finger crochet methods are easiest for beginners. Both require no special tools, use forgiving stretchy fabric, and can be completed in a few hours. Start with a small bath mat to build confidence.
How long does it take to make a rag rug by hand?
Time varies by method and size. Small mug mats take 1 to 3 hours. Bath mats require 5 to 10 hours. Large braided and sewn area rugs can take weeks or even months of intermittent work.
Can I use any fabric for rag rugs?
Most fabrics work well, including cotton sheets, t-shirts, denim, towels, and sweaters. Avoid heavily stained fabrics, leather, canvas, and materials that unravel excessively. Pre-wash all fabrics before cutting to prevent shrinkage.
Are hand-made rag rugs durable?
Yes, properly made rag rugs are highly durable. Braided cotton and denim rugs withstand heavy foot traffic. T-shirt crochet is softer but less abrasion-resistant. Sweater glue rugs are cushioned but best for low-traffic areas.
How do I clean a hand-made rag rug?
Most rag rugs are machine washable if pre-washed. Wash in cold water with mild detergent and air dry to prevent shrinkage. Spot clean glued rugs and avoid submerging them.
Key Takeaways for Making Rag Rug by Hand
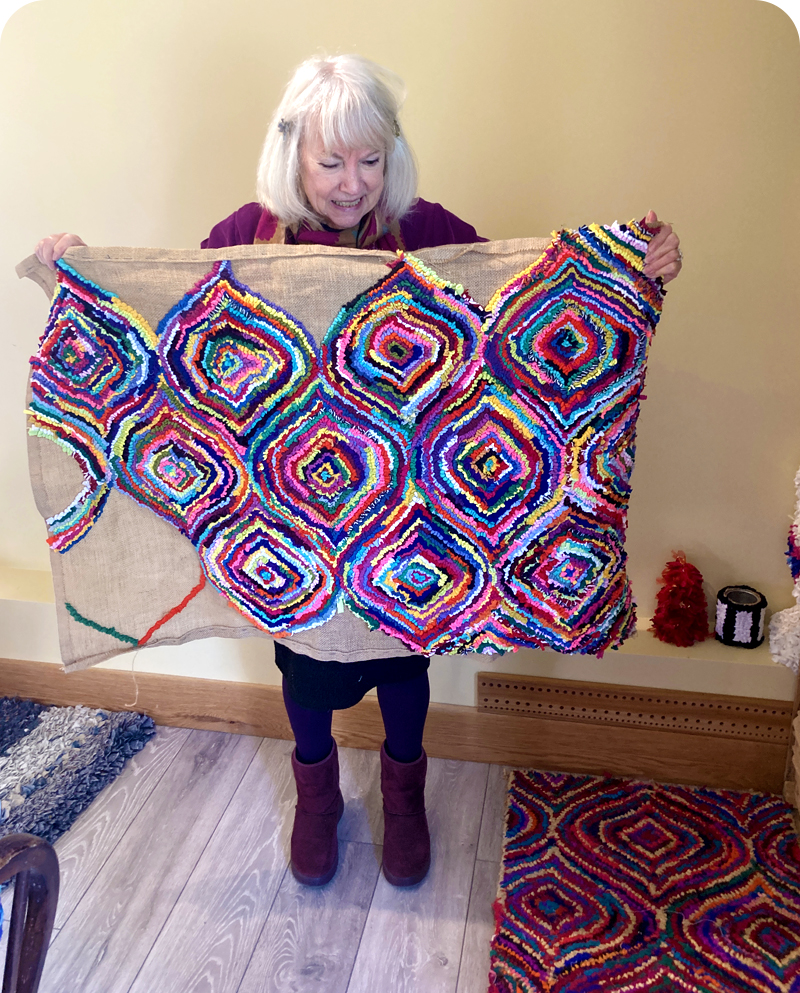
Making a rag rug by hand combines creativity, sustainability, and craftsmanship in one satisfying project. Choose fabrics based on your intended use: cotton and denim for durability, towels for absorbency, and t-shirts for softness. Master the snip-and-thread join to create seamless strips that look professional.
Select your technique based on skill level and time available. Start with a simple braided t-shirt mat if you are new to rag rug making. Progress to woven hula hoop rugs or denim projects as your skills develop. Advanced crafters can tackle multi-fabric braided and sewn heirloom pieces.
With the right fabric, tools, and technique, anyone can transform textile scraps into beautiful, functional floor pieces. Start small, stay consistent, and let your creativity guide you. Your first rag rug will not be perfect, but it will be uniquely yours and made with care.







