
You’ve got a favorite mug, a warm cup of tea, and a cozy spot—but no perfect little mat to protect your table. Enter the mug rug, a tiny textile treasure that’s equal parts practical and charming. Smaller than a placemat but larger than a coaster, a mug rug cradles your drink and snack while adding a pop of color to your desk, kitchen, or bedside. The best part? You can make a mug rug in under 10 minutes, even as a beginner. Whether you’re using fabric scraps, an embroidery machine, or just a needle and thread, this guide walks you through every method, material, and pro tip.
By the end, you’ll know exactly how to craft a durable, beautiful mug rug perfect for gifts, seasonal decor, or keeping one (or five) for yourself. We’ll cover four distinct methods, from traditional patchwork to no-sew punch needle techniques.
Choose Your Mug Rug Size
Mug rugs come in standard sizes based on use and personal preference. Selecting the right dimensions depends on what you plan to place on top and where the rug will live in your home.
Standard mug rug dimensions include:
- 6×8 inches: The most common size. Fits a standard mug plus a small cookie or tea bag.
- 8×10 inches: Oversized option for large mugs or if you want to include a small plate alongside your drink.
- 4×4 inches: Compact coaster-style for minimal counter space or car cupholders.
- 9×9 inches: Ideal for square designs, punch needle projects, or Grandmother’s Flower Garden patterns.
Pro Tip: Cut your fabric a half inch larger than your desired finished size to account for seam allowances and quilting shrinkage. You can always trim excess after completing the project.
Gather Essential Materials
Before starting any mug rug project, gather your supplies. Having everything ready makes the process smooth and enjoyable.
Fabric and Batting
You’ll need fabric for the front, backing, and batting for cushioning. Cotton quilting fabric works best for durability and easy pressing. Fat quarters, honey-bun strips, or leftover scraps from larger projects all work perfectly. For batting, an 80/20 cotton-polyester blend provides balanced drape and insulation without excessive bulk. Low-loft cotton batting also works well and offers excellent heat protection.
Essential materials checklist:
- Front fabric (cotton quilting weight)
- Backing fabric (coordinating print or solid)
- Batting (80/20 blend or low-loft cotton)
- Binding strips (2 inches wide, optional)
- Matching or contrasting thread
Tools You’ll Need
Basic sewing tools make any method easier. You’ll need a rotary cutter, cutting mat, and ruler for precise cuts. An iron and pressing surface are essential, though remember to press rather than iron to avoid stretching seams. Pins, clips, or spray baster hold layers together during construction. A chopstick or turning tool helps push out corners cleanly.
Beginner Hack: Use pre-cut 2.5-inch or 3.5-inch fabric squares to skip measuring and get right to sewing.
Make a Patchwork Mug Rug

The patchwork method is perfect for using fabric scraps and learning basic quilting skills. This classic approach creates a durable, fully quilted mug rug with timeless appeal.
Cut Your Fabric Squares
Select six 2.5-inch squares from assorted cotton fabrics. Choose a mix of prints and solids that share at least one common color for visual harmony. Lay out the squares in three rows of two before sewing. Rotate pieces and test different arrangements until you find a balance you like.
Sew Into a 3×2 Grid
Sew the squares together using a quarter-inch seam allowance. Press seams in alternating directions so they nest together when joining rows. Pin at intersections to lock seams in place. Join the three rows, pressing the final top flat when complete.
Layer the Quilt Sandwich
Stack your layers in this order: backing fabric right side down, batting centered on top, and patchwork top right side up. Baste layers with spray adhesive or pins to prevent shifting during quilting.
Quilt and Finish
Stitch along seam lines both vertically and horizontally, creating a plus-sign pattern that adds stability and visual interest. Trim edges evenly with a rotary cutter. Cut binding strips 2 inches wide and attach with mitered corners for a professional finish.
Result: A durable, fully quilted mug rug with classic patchwork charm that will last for years.
Create an In-the-Hoop Mug Rug
This method requires an embroidery machine with a 5×7-inch hoop but produces a completely finished mug rug with no raw edges. The embroidery machine does most of the work, creating decorative stitching and a self-contained design.
Prepare Your Hoop Setup
Use no-show mesh stabilizer and low-loft batting. Fuse SF 101 interfacing to your background fabric to prevent puckering during embroidery. Load your design with a “Stitch and Flip” border sequence ready.
Follow the Embroidery Steps
The machine will guide you through each stage. First, place batting within the placement line and trim excess. Next, position the center fabric right side up, tack it down, then trim to the line. Switch to decorative thread for the quilting stage, then add border strips by placing each face down, stitching, flipping, and pressing. Repeat for all four sides.
Attach Envelope Backing
Cut two 7×10-inch backing pieces and fold each in half wrong sides together. Overlap the flaps in opposite directions and tape them to the hoop. Stitch the backing closed, often using dark red or black thread.
Finish and Invert
Trim a quarter inch from the edge. Cut small triangles at corners, being careful not to cut through stitches. Push out corners with a chopstick and press both sides for a crisp finish.
Pro Upgrade: Insert Heat ‘n Bond Lite into the backing before fusing for a sealed, no-sew closure.
Result: A polished, fully finished mug rug with zero raw edges and intricate embroidery detail.
Try Punch Needle Mug Rugs
Punch needle creates beautiful texture without any sewing machine required. This method uses yarn and a punch needle tool to create loops that form a soft, plush surface.
Stretch Monk’s Cloth in Your Hoop
Place the monk’s cloth over the inner hoop with the lip facing up. Tighten the outer hoop until the fabric is drum-tight. Trim excess fabric around the edges.
Transfer Your Design
Use a 4-inch diameter template such as a ghost, flower, or coffee cup. Trace directly onto the fabric using a water-soluble pen. You can also use Cricut Design Space for precise, printable templates.
Punch Color-by-Color
Thread your punch needle and work in sequence. Start with blush yarn for cheeks using short, even punches. Add black for eyes and mouth, outlining first then filling. Finish with white yarn for the body, working outward from the center.
Warning: Keep your needle low and avoid lifting too high between punches to prevent loops from coming loose.
Secure the Back
Apply a thin layer of carpet adhesive to the reverse side. Let dry for about 30 minutes; it will remain tacky. Trim edges, make small slits, and tuck fabric under. Cut felt slightly larger than your shape and glue around the edges only, not the center. Press felt on and trim excess.
Result: A soft, plush mug rug perfect as a coaster, desk decor, wall hanging, or thoughtful gift.
Quick Folded Fabric Version
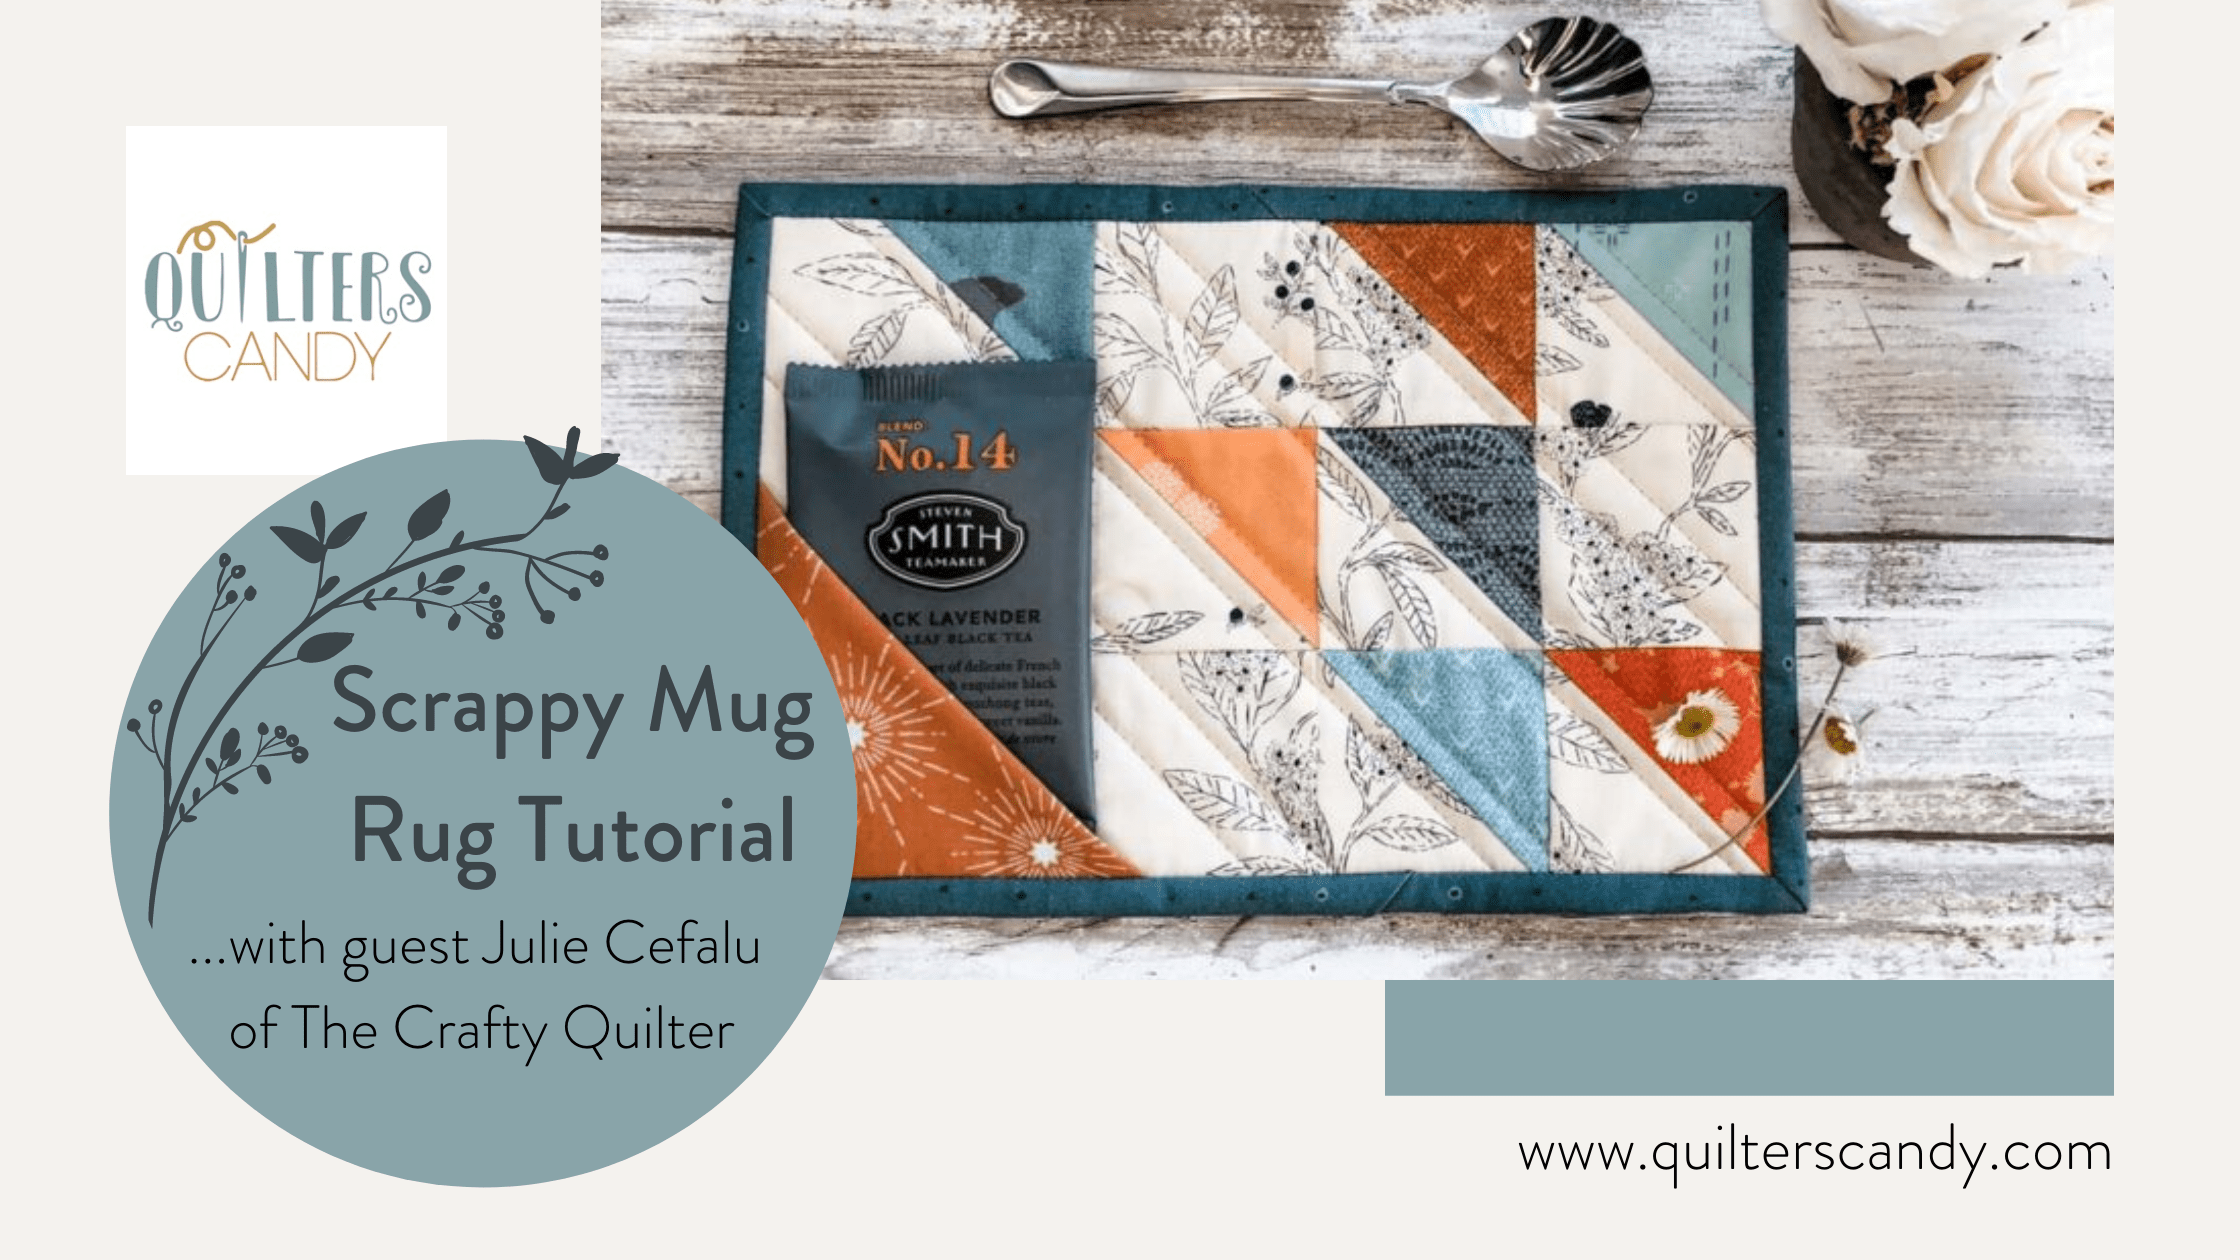
This fastest method takes under 10 minutes per mug rug, making it ideal for batch production and gift-giving.
Cut and Fold a Long Strip
Cut an 18-inch-long strip from pieced or solid fabric. Fold in half lengthwise and cut along the fold to create two 9-inch pieces.
Layer and Sew
Place batting between your fabric layers. Sew around the edges with a quarter-inch seam, leaving a 2-inch opening for turning. Trim corners diagonally to reduce bulk.
Turn and Press
Use a chopstick or awl to push out corners cleanly. Press the entire edge, including the opening. Topstitch around the perimeter to close the opening and add decorative detail.
Batch Tip: Make four mug rugs in 10 minutes using this strip-cutting method.
Result: A lightweight, reversible mug rug with a clean topstitched edge and minimal bulk.
Add Functional Upgrades
Make your mug rug more useful with these simple additions.
Create a Corner Pocket
Cut a 4-inch square and fold diagonally to form a triangle. Baste it to the bottom-left corner. Use the pocket to hold tea bags, small notes, or a chocolate bar tucked inside as a gift surprise.
Make It Reversible
Use different seasonal fabrics on each side. Flip between Christmas, fall, or spring themes throughout the year.
Prevent Slipping
Back your mug rug with felt or rubberized shelf liner. Non-slip grip dots also work well to keep the rug in place on smooth surfaces.
Care and Maintenance Tips
Mug rugs last for years with proper care. Machine wash on gentle cycle and air dry or tumble dry on low heat. Iron on the cotton setting, avoiding high heat on any areas with adhesive or glued components.
Eco Hack: Old mug rugs make perfect lint cleaners for your sewing machine. They’re ideal for swabbing around bobbin areas and feed dogs.
Troubleshooting Common Problems
Puckered Seams
Use fusible interfacing on lightweight fabrics. Press gently rather than dragging the iron across seams.
Batting Shifting
Baste layers with spray adhesive instead of pins before quilting to keep everything in place.
Uneven Corners
Trim all layers evenly before turning. Use a ruler for accuracy and check corners after pressing.
Yarn Loops Coming Loose
Maintain a steady rhythm when punch needling. Don’t lift the needle too high between punches.
Creative Design Ideas
Seasonal Themes
Spring brings florals and pastels. Fall features plaids and warm tones. Winter offers snowflakes and red-green combinations. Halloween welcomes ghosts, black cats, and candy prints.
Layout Tips
Rotate blocks before sewing to test balance. Alternate light and dark values for visual interest. Use one unifying color across all your scraps to tie the design together.
Embellish Further
Add machine embroidery to simple rugs. Stitch applique shapes like hearts, stars, or leaves. Use novelty panel prints as a full front design for instant focal impact.
Frequently Asked Questions About Making Mug Rugs
What is the best size for a beginner mug rug?
The standard 6×8 inch size works best for beginners. It’s large enough to hold a mug and small treat while being small enough to complete quickly. This size also fits easily under standard sewing machine throats.
Can I make a mug rug without a sewing machine?
Yes. The punch needle method requires only an embroidery hoop, punch needle tool, and yarn. The folded fabric method also needs minimal hand-sewing for the turning opening. Both produce beautiful results without machine stitching.
How long does it take to make a mug rug?
Time varies by method. The folded fabric version takes under 10 minutes. Patchwork and punch needle methods take approximately 30 minutes to 2 hours. In-the-hoop embroidery takes 30 to 60 minutes depending on design complexity.
What type of batting is best for mug rugs?
An 80/20 cotton-polyester blend offers the best balance of cushioning, insulation, and washability. Low-loft cotton batting also works well and provides excellent heat protection from hot mugs.
How do I make my mug rug reversible?
Cut front and back fabrics in different seasonal prints. Layer them right sides together with batting in the middle, leaving an opening. Sew around the perimeter, turn right-side out, and topstitch the opening closed. Press seams open to minimize bulk.
Can mug rugs protect tables from heat?
Yes, the batting layer provides insulation against hot mugs and protects surfaces from condensation. Multiple batting layers increase heat resistance, though this adds bulk to the finished piece.
Key Takeaways for Making Your Own Mug Rugs
Mug rugs represent functional craft at its finest. These small projects offer satisfying results with practical benefits whether you spend 10 minutes or two hours creating them. The four primary methods, patchwork, in-the-hoop embroidery, punch needle, and folded fabric, each suit different skill levels and tool availability.
Start with the folded fabric method if you want immediate results. Choose patchwork for traditional quilting practice and scrap usage. Select punch needle for texture and relaxation without machine requirements. Opt for in-the-hoop embroidery when you want precision and decorative detail.
Whatever method you choose, your mug rug becomes more than a simple mat. It’s a moment of creativity, care, and comfort wrapped into one small textile. Grab your scraps, fire up your machine, and craft a cozy spot for your next sip. Happy sewing, and even happier sipping!







