
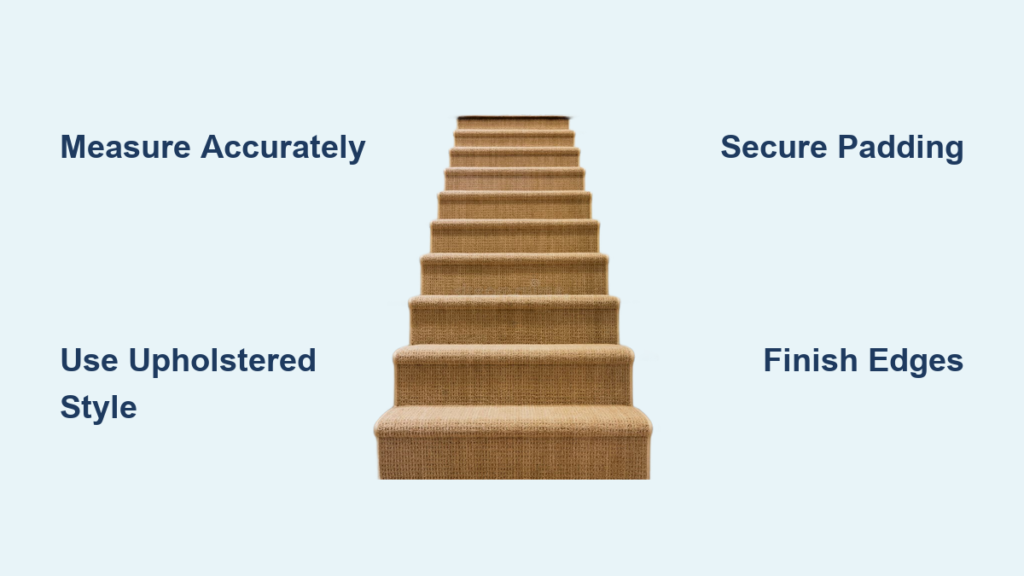
Installing a rug on stairs transforms both the look and safety of your staircase. Whether you’re upgrading old wooden treads or adding warmth to a modern home, a stair runner offers durability, style, and practical benefits. It protects hardwood from foot traffic, reduces noise, prevents slips, and elevates your interior design. This guide walks you through every step of how to install a rug on stairs, from measuring and choosing materials to securing padding and finishing edges like a pro.
You’ll learn the differences between waterfall and upholstered styles, how to handle seams, avoid common mistakes, and achieve a clean, long-lasting result. Whether you’re a DIY beginner or aiming for a high-end finish, these step-by-step instructions will help you complete the project successfully.
Choose Your Stair Runner Installation Style

Two main methods define how a stair runner is installed, and your choice affects appearance, material use, and difficulty level.
Waterfall Style Installation
The rug flows over the front edge of each tread and is stapled at the base of the riser below. This leaves a small gap behind the rug above the riser.
• Uses less material, making it budget-friendly
• Easier for DIYers to tackle
• May expose padding from the side view
• Less polished appearance overall
Best for simple installations or stairs without nosing overhangs.
Upholstered (Hollywood) Style Installation
The rug is tucked under the tread nosing and attached at the top of the riser, creating a seamless, built-in appearance.
• Hides padding completely for a clean look
• High-end, custom finish that impresses guests
• More secure hold that lasts longer
• Requires more rug length and precision
Best for visible staircases where aesthetics matter most.
Pro Tip: Most professionals and design-focused homeowners choose the upholstered method for its refined look.
Measure Your Stairs for the Perfect Runner Fit

Accurate measurements prevent shortages and wasted material, ensuring you order the correct amount.
Calculate Total Runner Length
- Measure one tread depth from back of tread to front edge, including nosing overhang.
- Measure one riser height from top of one tread to top of the next.
- Add tread depth plus riser height to get length per step.
- Multiply by the total number of stairs.
- Add 10 to 12 inches or 10% total for error margin.
- Include any landings if the runner extends onto a platform.
Example: 16 steps multiplied by (10″ tread plus 7.5″ riser) equals 280 inches plus 12 inches surplus, totaling approximately 292 inches or about 24 feet 4 inches needed.
Determine Ideal Runner Width
Standard stair width ranges from 34.5 to 36 inches, while common runner widths include 27, 28, and 30 inches. Leave 3 to 4 inches of wood exposed on each side for balanced framing.
Formula: Stair width minus runner width, then divided by two equals side exposure. For a 36-inch stair with a 28-inch runner, you get 4 inches per side.
Pro Tip: Order swatches first to test colors and textures in your home lighting before committing to a purchase.
Prepare and Cut the Carpet Pad
The pad adds comfort, reduces noise, and protects your stairs, but it must be sized correctly to stay hidden.
Cut Pad to Proper Dimensions
• Width: Cut the pad 2 inches narrower than the runner (for example, 26-inch pad for a 28-inch rug).
• Length with nosing: Cut the pad 3 inches longer than tread depth to wrap under the nose.
• Length without nosing: Cut the pad ½ inch shorter than tread depth.
• Clip corners: Make 45-degree diagonal cuts at bottom corners to allow clean folding around bullnose.
Pro Tip: Cut one perfect pad, then use it as a template for all remaining stairs.
Choose Your Pad Placement Method
| Method | When to Use | Benefit |
|---|---|---|
| Wrap Around Nose | With overhanging treads | Hides pad edge from side view |
| Flush with Edge | Simple installs | Easier installation process |
Secure the Padding to Your Stairs
For maximum hold and minimal damage, combine double-sided carpet tape and stapling.
Apply Tape and Staple the Pad
- Apply two width-wise strips of tape on each tread: one near the front and one near the back.
- Optional: Add side strips and riser strips for extra grip.
- Press the pad firmly into place on the tape.
- Staple the pad at the base of the riser every 3 inches.
- Staple under the nosing on the underside of the tread.
- Use ½-inch staples for treads and 1-inch staples for risers and tucks.
- Pull taut but do not stretch the padding.
Safety Note: Always wear eye protection when using a staple gun.
Mark Alignment Guides for Straight Installation
Even if your stairs are slightly uneven, a straight visual line prevents patterns from jogging or drifting.
Use Edge-Referenced Lines for Patterned Rugs
- Pick one side of the stairs, preferably away from the wall.
- Measure your desired exposure (for example, 4⅝ inches).
- Mark this line on every tread and riser using a pencil.
- Use painter’s tape to create a continuous guide across all steps.
Real-World Fix: Homeowners with uneven stairs used 4⅝ inches from the right edge to keep stripes aligned perfectly.
Center Alignment for Solid Rugs
For solid colors or random-repeat patterns, simply center the runner on each tread if symmetry isn’t critical.
Pro Tip: Use a level to ensure your reference line is straight across multiple steps before installing.
Install the Runner: Step-by-Step Upholstered Method
The bottom-to-top installation method is preferred because you stand on already-installed sections, avoiding tripping hazards and making tension control easier.
Upholstered Installation Steps
- Begin at the lowest riser and apply double-sided tape along the top edge of the riser, just under the nosing.
- Position the rug by aligning your marked edge with the painter’s tape guide.
- Smooth the rug onto the tread and up the riser.
- Staple the riser using 1-inch staples every 3 inches along the top edge, hidden under the nosing.
- Fold the rug over the front edge and use a bolster chisel to push it tightly under the tread.
- Staple through the fold on the underside of the tread.
- Run the bolster chisel along the tread-riser inside corner to create a sharp crease.
- Repeat for each step, pulling taut before stapling and working from center outward to prevent ripples.
Pro Tip: Staple into stitching seams rather than directly into jute backing to hide staple points.
Handle Seams Between Rug Sections

When one piece ends and you need to connect the next, overlap and tape the joint for invisible seams.
Seam Connection Process
- Cut the first piece at the top of a riser.
- Start the next piece at the bottom of the same riser.
- Overlap the new section over the previous one by 1 to 2 inches.
- Apply double-sided tape between the layers before stapling.
- Staple both layers securely to the riser and tread.
Creative Fix: Use leftover trimmings to cap raw edges by tucking the finished side under the nosing and securing the raw edge with tape and staples.
Finish Top and Bottom Edges Properly
Jute and natural fibers unravel easily, so seal edges immediately to prevent fraying.
Secure the Top End
- Cut the rug so the edge meets the bottom of the top riser.
- Fold under 1 to 2 inches or use a pre-hemmed remnant.
- Apply carpet tape to the back to bind fibers together.
- Tuck the finished edge into the corner under the nosing.
- Staple densely using 1-inch staples, targeting seams rather than material.
Warning: Never leave a raw jute edge exposed because it will fray within days.
Finish the Bottom Edge
- Extend the rug 2 inches beyond the last riser crease.
- Fold under to create a clean hem.
- Staple across the base of the riser.
Add Optional Stair Rods for Style
Stair rods are decorative but can also help anchor the runner’s edges.
How to Install Stair Rods
- Choose rod length: standard is 36 inches, slightly wider than stairs is acceptable.
- Remove finials temporarily from the brackets.
- Position the bracket in the crease where the riser meets the tread.
- Center the rod over the runner or align symmetrically.
- Mark pilot hole locations.
- Pre-drill with a small bit to prevent wood splitting.
- Insert screws and reattach the finials.
Design Tips: Common finishes include brass, polished nickel, and black iron. Finials can be ornate or minimalist depending on your style. Slight overhang looks intentional, so don’t worry about exact tread width.
User Lesson: Homeowners upgraded from short, dark rods to 36-inch polished brass for better proportion and contrast.
Maintain Your Stair Runner Long-Term
A well-maintained runner lasts 5 to 15 years depending on foot traffic and material quality.
Weekly and Annual Care
• Vacuum thoroughly every week, especially along edges and seams.
• Blot spills immediately with mild detergent and water.
• Never rub stains, always lift them gently.
• Test cleaners in hidden areas first.
• Inspect staples annually for looseness and re-staple any lifted corners.
• Check for pad shifting or moisture buildup underneath.
Pro Tip: Use a handheld steamer (if your material allows) for deep cleaning once a year.
Fix Common Installation Problems
Quick solutions for typical challenges ensure professional results.
| Issue | Quick Fix |
|---|---|
| Visible padding edge | Re-trim pad to be 2 inches narrower than rug |
| Loose or bumpy runner | Add tape and re-staple every 3 inches |
| Fraying ends | Seal with tape or use a hemmed remnant |
| Misaligned stripes | Use edge-referenced guide instead of centering |
| Gaps behind rug | Switch to upholstered style or increase tension |
| Wrinkles at nosing | Smooth with both hands, staple center-out |
| Alignment drift | Use shims to redirect tension on uneven stairs |
Real Fix: Two plastic shims corrected alignment on a 17-step antique staircase with century-old imperfections.
Frequently Asked Questions About Installing a Rug on Stairs
How do I know which installation style to choose?
Choose waterfall style if you’re on a budget or new to DIY projects. Choose upholstered (Hollywood) style if you want a high-end, seamless look and don’t mind the extra material and effort.
What width should a stair runner be?
Standard stair widths range from 34.5 to 36 inches. A runner width of 27 to 30 inches leaves 3 to 4 inches of wood exposed on each side, which creates balanced framing.
Do I need tack strips for a stair runner?
No, tack strips are not required for stair runners. Staples and double-sided carpet tape are sufficient when installed correctly, and they avoid damaging your treads.
How long does it take to install a stair runner?
Plan for 6 to 8 hours to install a 16-step staircase. Working with a partner speeds up the process significantly, with one person handling tape and the other stapling.
Can I install a stair runner myself, or do I need professional help?
DIY installation is completely achievable for most homeowners. The process requires basic tools, patience, and attention to detail. However, the physical demand of climbing up and down stairs while kneeling and reaching under nosing can be exhausting.
Key Takeaways for Installing Your Stair Runner
Installing a stair runner is a high-impact DIY project that combines craftsmanship and design. The upholstered (Hollywood) method delivers the most professional appearance by tucking the rug under the tread nosing and hiding all padding. Measure carefully, add 10 to 12 inches of surplus, and use edge-referenced alignment lines to keep patterns straight.
Secure padding with double-sided tape and staples, then install the runner from bottom to top using a bolster chisel for crisp creases. Finish exposed edges with tape or hemmed remnants to prevent fraying, especially with natural fibers like jute. Optional stair rods add elegance while helping secure the edges.
With careful measuring, the right tools, and attention to detail, you can achieve a result that looks professionally installed. Take your time, follow these best practices, and enjoy a beautiful, long-lasting upgrade to your home.







