
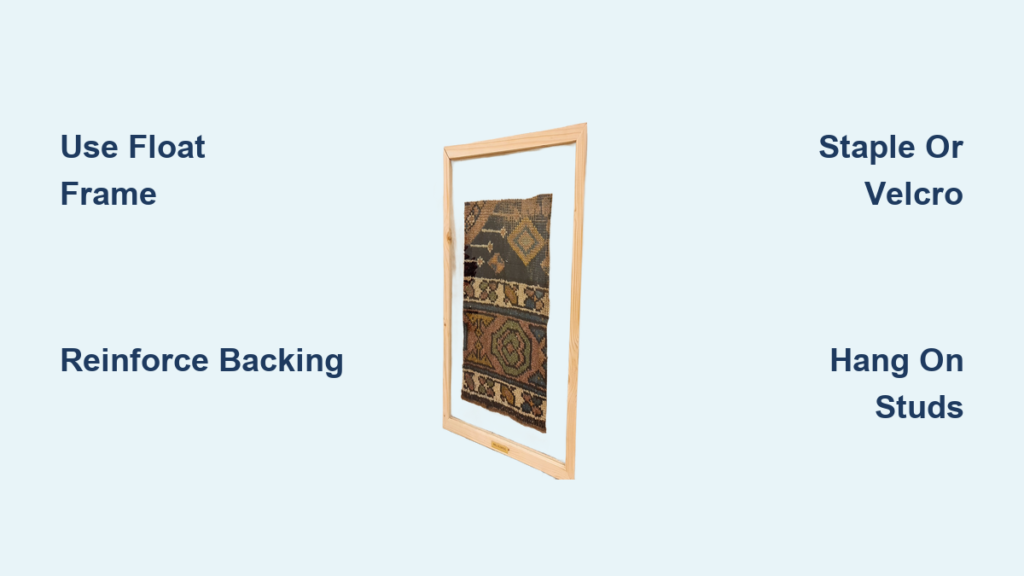
Hanging a rug on the wall isn’t just a design trend. It’s a bold way to showcase texture, history, and craftsmanship. Whether you found a $30 vintage Turkish fragment on Etsy or inherited a handmade Persian heirloom, framing a rug transforms it from floor covering into striking wall art. This guide walks you through every step: choosing the right rug, selecting the proper frame, securing it safely, and displaying it like a pro.
You’ll learn how to preserve delicate fibers, avoid common DIY mistakes, and create a gallery-worthy piece that anchors your space without spending hundreds on professional framing. From small kilims to 8-foot-wide weavings, we cover methods for every size and skill level.
Source Vintage Rugs Perfect for Wall Display
Not every rug belongs on the wall, but the best candidates often cost less than you think. Vintage, worn, or handmade pieces gain new life when framed, turning imperfections into character.
Pick Textiles with Visual Impact
Focus on rugs with:
• Strong patterns like medallions or geometric motifs
• Rich colors that pop against walls
• Cultural or sentimental value such as family heirlooms or travel souvenirs
Small fragments under 2 feet work beautifully in bedrooms, bathrooms, or gallery walls. Larger rugs over 5 feet make dramatic statements in living rooms or hallways.
Find Affordable Vintage Rugs
You do not need to splurge. Try these budget-friendly options:
• Etsy: Search for vintage Turkish rug fragments. Many cost under $50 with fast shipping.
• eBay: Use keywords like worn antique rug or old kilim.
• Turkish Rug Loom on Etsy: Offers direct-from-Turkey delivery.
• Crafts Kilim Rug Pillow on Etsy: Specializes in small, frame-ready textiles.
Pro Tip: Smaller rugs cost less, are easier to hang, and let you test framing techniques before tackling large pieces.
Choose Float Frames That Protect Rug Fibers
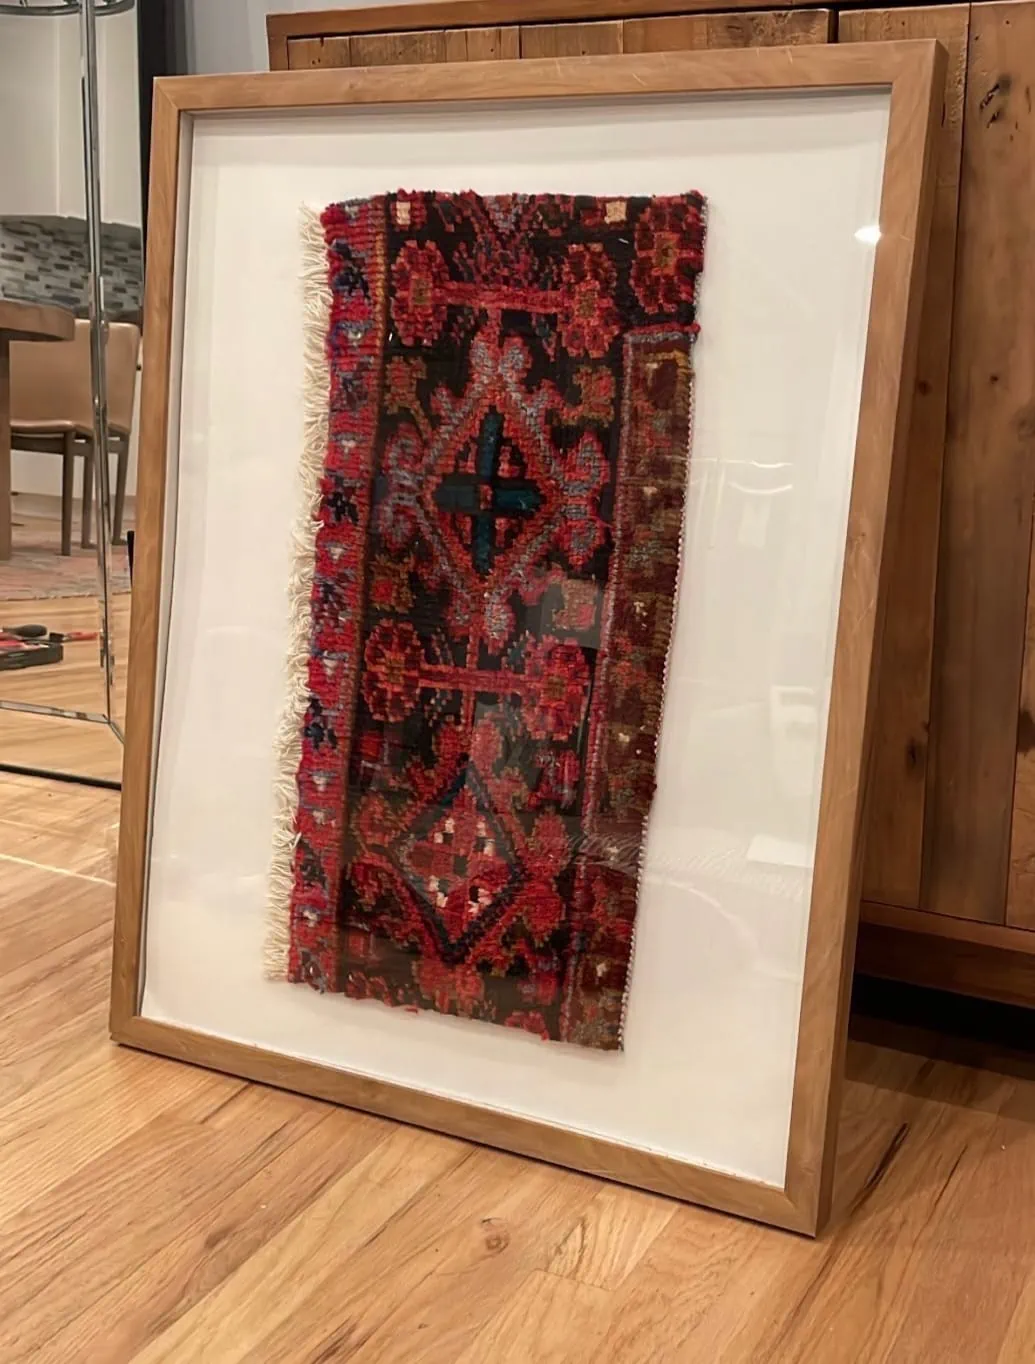
The frame makes or breaks your display. Standard picture frames crush thick pile, so upgrade to systems designed for textiles.
Use Float Mount or Shadow-Box Frames
Float mount frames let the rug hover above the mat board, creating depth and protecting fibers. Shadow-box frames are deeper at 1 to 2 inches, ideal for high-pile or layered rugs. Avoid regular frames unless the rug is flat-backed or cut down.
Match Frame Style to Your Rug
Thin black wood provides a modern, minimalist look that works with boho, Scandinavian, or industrial decor. Thin white borders at one-quarter to one-eighth inch brighten light-colored rugs and focus attention on the textile. Wide or ornate frames like reclaimed wood or gold leaf suit large, opulent rugs but overwhelm small pieces.
Design Note: Frame preference is personal. One viewer noted that a black frame did nothing for their rug, so test options before committing.
Tools and Materials Needed for Rug Framing
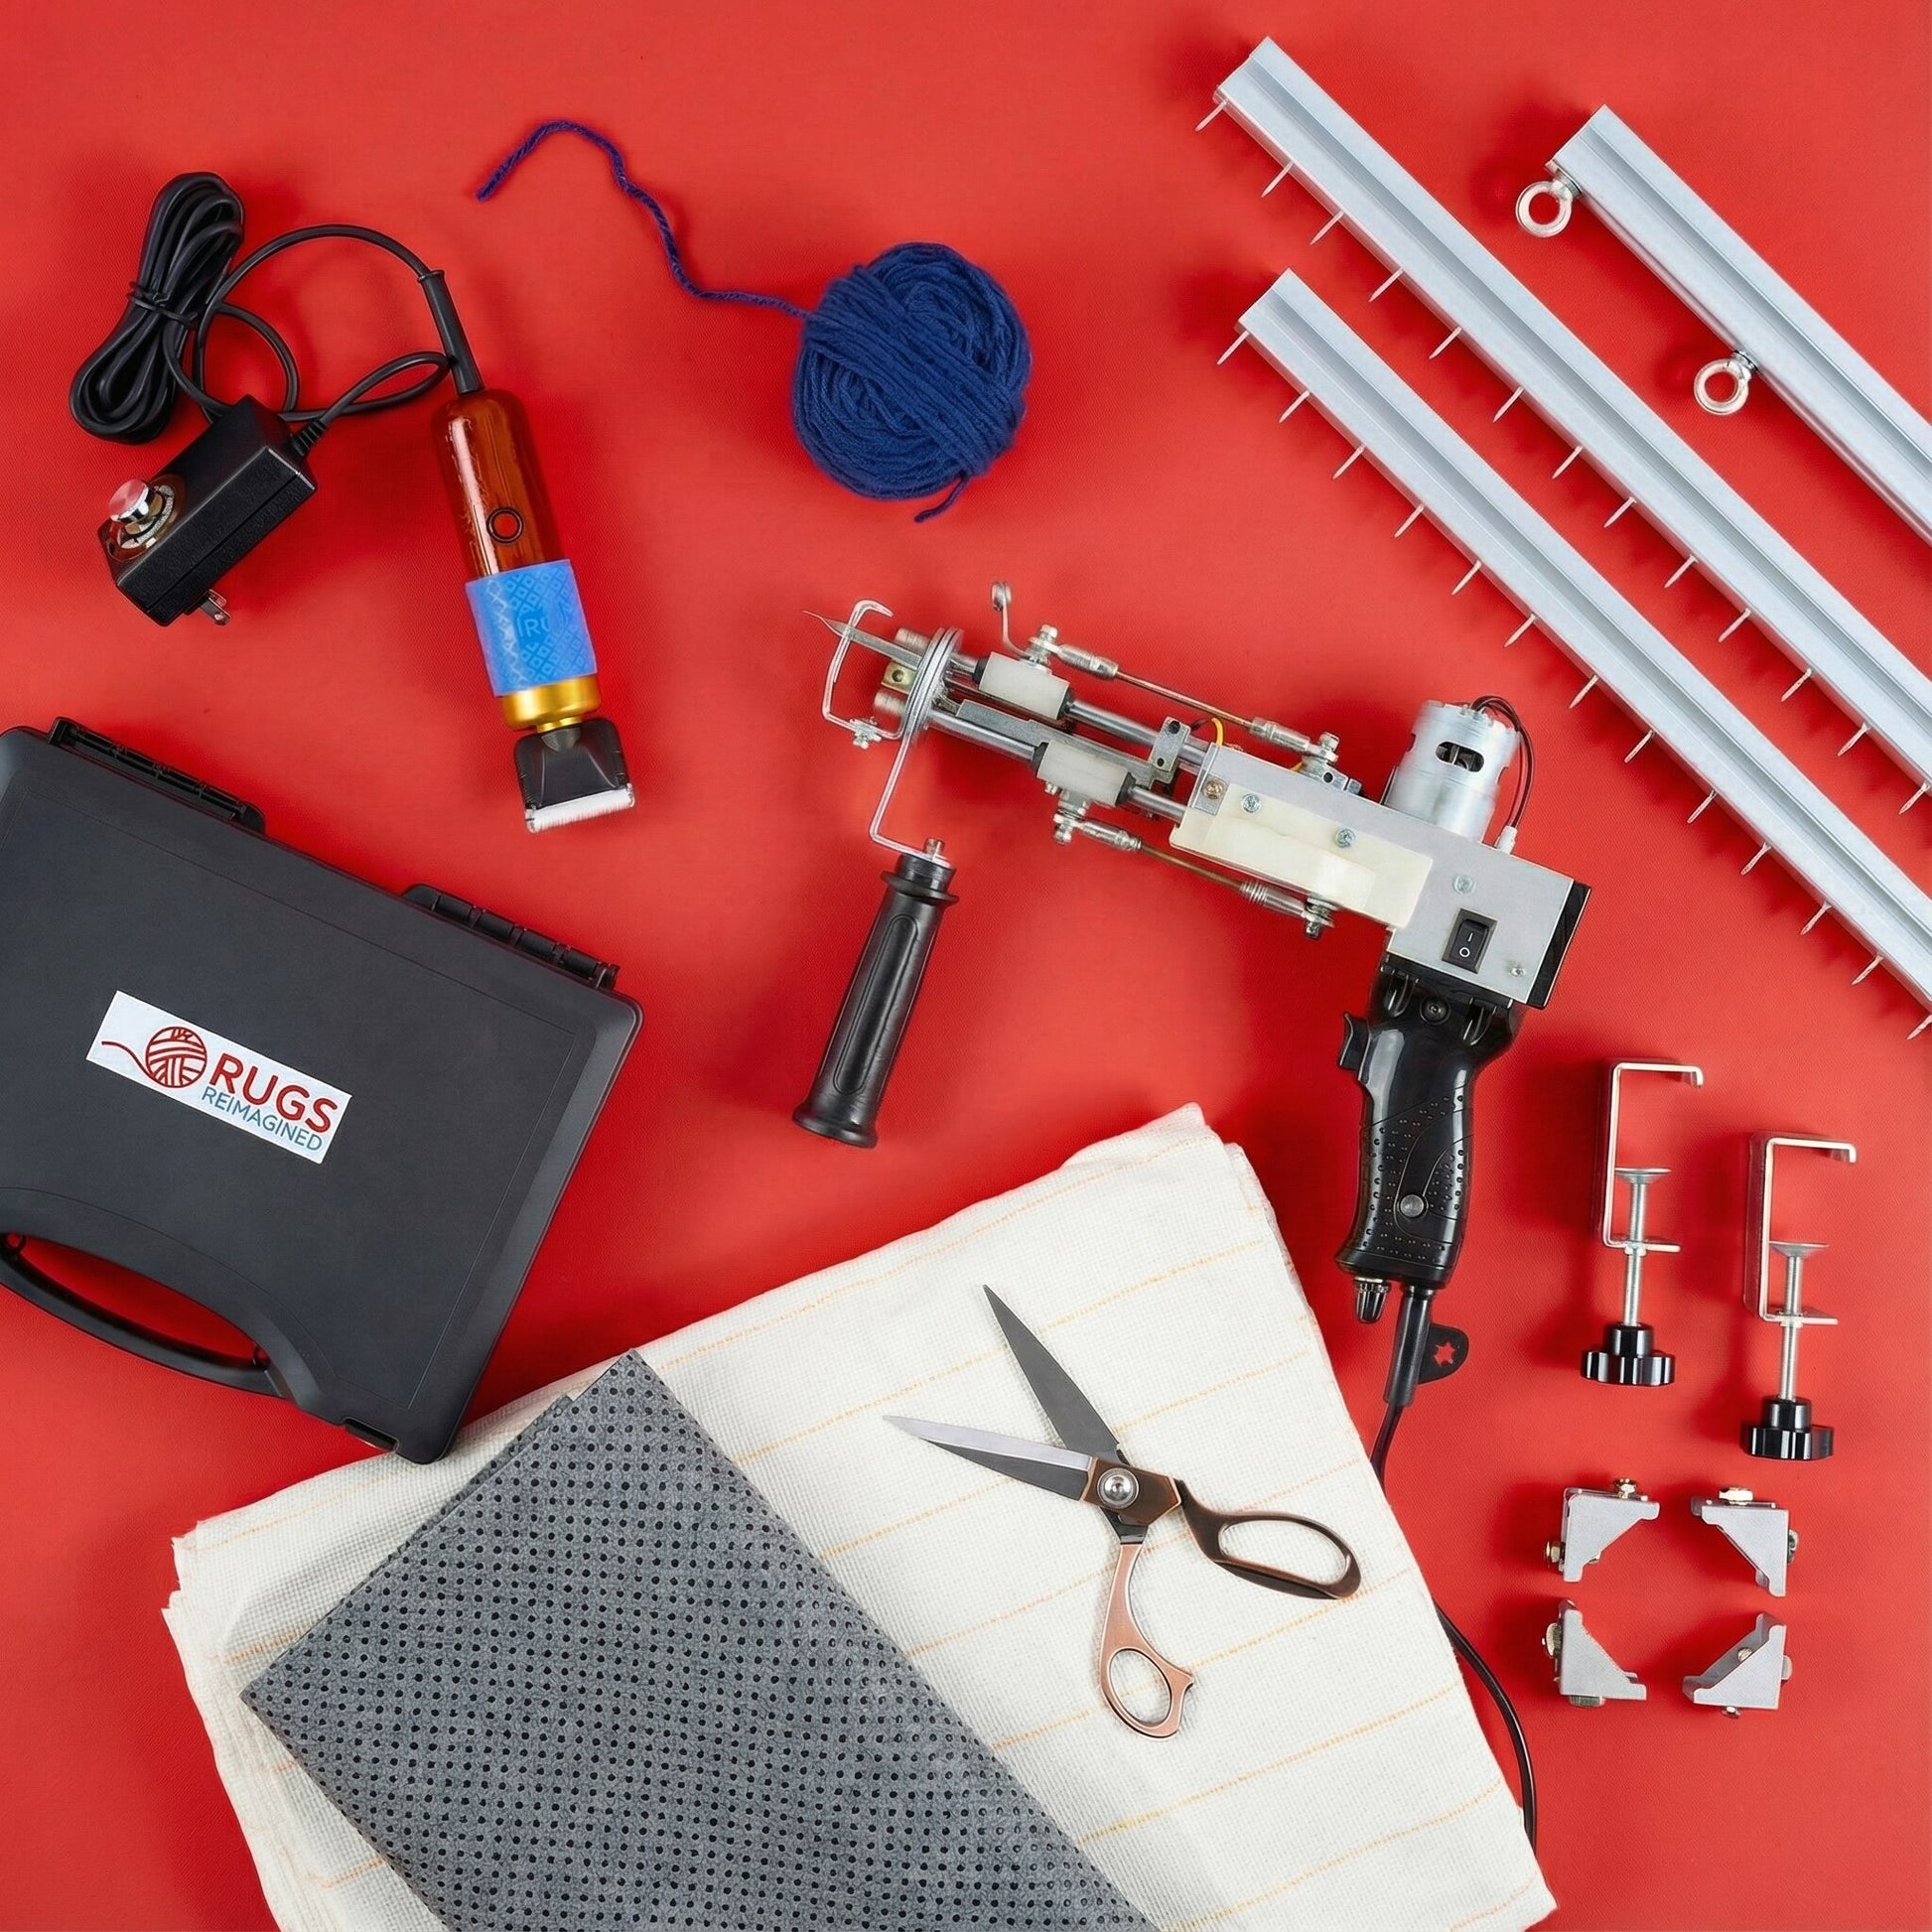
Your toolkit depends on rug size. Small projects need basics, while large rugs require construction-grade supplies.
For Small Rugs Under 3 Feet
Gather these tools:
• Fabric scissors
• Hot glue gun
• Pliers
• Stapler
Collect these materials:
• Float mount frame
• Vintage rug
• Mat board
• Command strips for optional mounting
This method works for lightweight fragments and takes under an hour.
For Large Rugs Over 5 Feet
Gather these tools:
• Miter saw
• Countersink drill bit
• Iron
• Hammer
• French cleat system
Collect these materials:
• Duck canvas, 2.5 yards
• 5/8-inch subfloor panel
• 1×2 wooden boards
• Industrial-strength Velcro
• Nylon upholstery thread
• Number 10 screws and fender washers
Large rugs need structural support. Do not skip the reinforcement.
Frame Small Rugs in Five Simple Steps
Turn a thrifted fragment into wall art with this straightforward process.
Disassemble the Frame
Remove the back panel by peeling off the paper cover. Use pliers to pull out staples holding the original artwork. Carefully detach any MDF backing held with hot glue.
Watch for hidden nails or tape. Inspect all edges before proceeding.
Position the Rug on Mat Board
Lay the rug face-up on the mat board. Center key motifs like medallions and trim excess with fabric scissors if needed. Cut straight, clean edges for a polished look.
Avoid wrinkles or uneven tension. Smooth the rug from center outward.
Attach Rug with Hot Glue
Apply hot glue in zigzag lines across the back of the mat board. Press the rug firmly into place, holding for 10 seconds per section. For heavier rugs, reinforce with construction adhesive or hand-stitching. Never use white glue because it yellows and weakens over time.
Reassemble and Hang
Slide the rug-mounted mat back into the frame. Secure the backing panel with staples or nails. Hang using Command strips for under 5 pounds, wire hangers for mid-weight pieces, or wall anchors if over 10 pounds.
Check level. Use a small bubble level to ensure straight display.
Build Custom Backing for Large Rugs
Big rugs demand custom support. This method ensures long-term durability and safe wall mounting.
Construct a Sturdy Backing Panel
Cut a 5/8-inch subfloor panel to match rug dimensions. For extra strength, layer a second panel or add a project board behind. Drill pilot holes and use a countersink bit to prevent screws from poking through.
Reinforce with a 1×2 Wooden Frame
Cut 1×2 boards at 45-degree angles using a miter saw. Assemble into a perimeter frame and attach to the backing with brad nails. This frame prevents warping, adds rigidity, and provides anchor points for hanging hardware.
Stretch Canvas Underlay
Iron duck canvas to remove wrinkles. Stretch tightly over the backing from center to edges, stapling or gluing in place. This creates a smooth surface, protects the rug from direct contact with wood, and adds depth in shadow-box style.
Stain or Paint the Frame
Test finishes on scrap wood. One coat wiped off creates a light, weathered look. Two coats not wiped off produce rich, dimensional color. Two full coats are recommended for depth and durability.
Attach Rug with Velcro and Stitching
Apply industrial-strength adhesive Velcro to the backing. Then reinforce with hand-stitching using nylon upholstery thread. Use four 1-inch strips along the bottom, two 1×2 strips along sides, and one long strip across the top. Use thread that matches the rug so stitches remain invisible from the front.
Time Estimate: Expect up to three full days for stitching and some broken needles.
Mount with a French Cleat
Secure a 1×2 cleat to wall studs using 3.5-inch number 10 screws and three-quarter-inch fender washers for load distribution. Attach the mating cleat to the back of the frame. Lift and lock into place. This system holds over 100 pounds, keeps the frame level, and allows easy removal.
Clearance Tip: Leave three-quarters to 1 inch between the rug and air-return vents to prevent dust buildup.
Use Staple-Gun Method for Reusable Displays
Artists and galleries use this method for flexibility and conservation.
Build a Front-Facing Frame
Have a carpenter make a frame with a recessed front panel that holds staples. The rug stretches and staples from the front.
Finish Edges for Easy Removal
Zigzag stitch edges on a sewing machine. Hand-sew the seam loosely so it can be opened later. Leave access to staples by not fully closing the seam.
Remove or Replace the Rug
To clean or reframe, open the stitched edge. Pull back wool to expose staples. Remove with pliers. Restaple when reinstalling.
Key Benefit: This non-destructive removal works perfectly for heirlooms or rotating displays.
Design Tips for Displaying Framed Rugs
A framed rug should enhance your room, not compete with it.
Balance Proportions and Placement
Hang at eye level with the center 57 to 60 inches from the floor. Use large rugs to anchor bare walls in long rooms. Pair with picture lights, battery or hardwired, to highlight texture.
Align with Room Aesthetics
Match the frame profile to baseboards or trim. Echo rug colors in nearby pillows, art, or furniture. Rotate the rug to find the most dynamic orientation.
Consider Pattern Flow
Center focal motifs within the frame. For asymmetrical rugs, guide the eye from left to right. Avoid cutting off key design elements.
Alternative Ways to Hang Rugs Without Framing
Framing is not the only way to display a rug.
Use Curtain Rod and Clips
Install a decorative rod. Slide the rug through fabric rings or clips. Hang like a tapestry. This allows quick removal for cleaning and is a museum favorite.
Hang with Mat Pins or Nails
Insert fine brass pins through the rug’s binding. Let the fabric drape over them for a clean, minimalist look. This works best for lightweight rugs with strong edges.
Direct Mount with Adhesive
Adhere the rug directly to the wall with construction adhesive. This is permanent and not recommended for valuable or vintage pieces.
Cost Breakdown for Framing a Rug
Framing can be affordable or add up fast. Know what to expect.
| Project Type | Estimated Cost | Details |
|---|---|---|
| DIY Small Frame | $70 | $30 rug plus $40 frame and supplies |
| Thrift Store Frame | $10–$50 | May need painting or modification |
| Custom Large Frame | $330 | Materials only, no labor |
| Pre-Made Float Frame | $100–$400 | From retailers like Frame It Easy |
| Professional Frame | $500+ | For rare or high-value rugs |
Cost-Saving Hack: If you lack tools, buying a pre-made float frame may save time and money.
Preserve and Maintain Your Framed Rug
A well-framed rug can last decades with proper care.
Clean Without Damage
Remove and vacuum every 6 to 12 months. Spot clean with mild soap and water. Avoid direct sunlight to prevent fading. Velcro and staple systems allow easy disassembly for cleaning.
Ensure Long-Term Durability
Use corrosion-resistant screws in humid areas. Choose moisture-resistant backing like subfloor rather than MDF. Check wall anchors annually for stability.
No Warranty: DIY frames rely on your craftsmanship. Build it right the first time.
Real-World Examples of Framed Rugs
Framed rugs solve design problems beyond simple decor.
Transform a Guest Room
A cluttered bedroom became a calm home office with a single framed kilim as a focal point.
Enhance a Child’s Study Area
A colorful rug framed above a desk added warmth and focus to a virtual learning space.
Anchor a Gallery Wall
Large framed rugs serve as centerpieces in hallways or living rooms, balancing other art.
Preserve Heirlooms
Delicate rugs too fragile for foot traffic live on as family history displays.
Key Takeaways for Framing Rugs Successfully
Framing a rug blends craft, design, and preservation. Follow these rules for success.
Choose the Right Method
| Need | Solution |
|---|---|
| Small, lightweight rug | Float frame plus hot glue |
| Large, heavy rug | Custom backing plus Velcro plus French cleat |
| Reusable or rotating display | Staple-gun frame with sewn edges |
Prioritize Reversibility
Avoid permanent adhesives. Use Velcro, staples, or pins so you can remove, clean, or reframe later.
Never Skip Structural Support
Large rugs need reinforced frames and stud-mounted hangers. Lightweight options fail over time. Invest in strength.
Let the Rug Lead the Design
The frame should enhance, not dominate. Let color, texture, and pattern guide your choices.
Frequently Asked Questions About Framing Rugs
Can I frame a rug that is too thick for a regular picture frame?
Yes. Use float mount or shadow-box frames designed specifically for textiles. These deeper frames accommodate rug pile and prevent compression damage.
How do I prevent my framed rug from fading?
Avoid placing framed rugs in direct sunlight. UseUV-protective glass or acrylic if the piece receives light exposure. Rotate the rug periodically if possible.
What is the cheapest way to frame a small rug?
Purchase a thrift store frame and a vintage rug fragment from Etsy. Total cost typically runs $10 to $70 depending on frame condition and rug size.
Can I remove and clean my framed rug easily?
Yes, if you use the Velcro method or staple-gun method. Both allow non-destructive removal for cleaning or reframing.
Do I need to mount large framed rugs to wall studs?
Absolutely. Large rugs weigh significantly. Use a French cleat system secured with 3.5-inch screws into wall studs to support the weight safely.
Final Thoughts on Transforming Rugs into Wall Art
Framing a rug turns forgotten textiles into timeless art. With the right tools and techniques, even a $30 vintage fragment can become a statement piece that tells a story, anchors a room, and lasts for generations. Start small, test finishes, and let your rug speak. Its history deserves to be seen.







