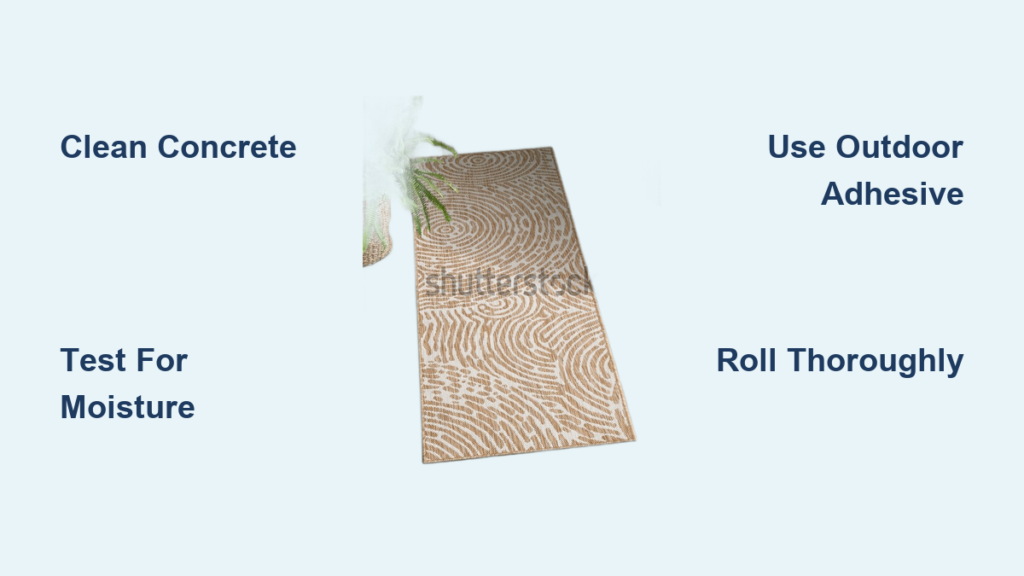
Hard, cold concrete can make any patio, garage, or basement feel uninviting. Installing outdoor carpet on concrete softens the surface, adds warmth, and creates a more functional space for relaxing, entertaining, or working. Unlike standard indoor carpet, outdoor carpet is built to handle moisture, sunlight, and heavy foot traffic, making it a long-lasting upgrade for exposed areas.
This guide breaks down the entire process into clear, manageable steps. You’ll learn how to prep your concrete, choose the right materials, and complete the installation using three proven methods. Whether you’re a first-time DIYer or an experienced homeowner, you’ll find practical tips to get a smooth, professional finish without hiring a contractor.
Pick the Best Outdoor Carpet for Your Space

Choosing the right carpet material determines how well it performs in your specific environment. Each option has clear strengths for different conditions.
Polypropylene for Moisture-Prone Areas
Polypropylene, also called olefin, is the top choice for patios, pool decks, and garages. It resists water, stains, and fading from sunlight. Its low pile also makes it easy to clean and highly durable in damp conditions.
Polyester for Comfort and Color
Polyester holds vibrant colors longer than most materials and feels softer underfoot. It works best in covered patios or shaded areas where comfort matters more than extreme weather resistance.
Nylon for Heavy Foot Traffic
Nylon offers excellent strength and abrasion resistance. Use it in entryways, workshops, or multi-use spaces where kids, pets, or frequent gatherings cause heavy wear.
Commercial Loop and Berber for Durability
Looped fiber carpets like commercial loop or Berber styles provide a rugged look and outstanding durability. They’re ideal for high-traffic zones that need long-lasting performance.
Carpet Tiles vs. Broadloom Rolls
Carpet tiles offer design flexibility and easy repairs. You can swap out a single damaged tile instead of replacing the entire floor. Broadloom rolls give a seamless appearance but require precise cutting and full-surface adhesion.
Gather Tools and Materials
Having everything on hand before you start prevents delays and ensures a smooth workflow.
Essential Tools
• Measuring tape for accurate dimensions
• Utility knife with sharp blades for cutting
• Straight edge or ruler for clean, straight cuts
• Heavy carpet roller (about 100 pounds) for pressing the carpet into adhesive
• Floor scraper for removing old residue
• Broom and shop vacuum for cleaning
• Chalk line for marking tile layouts
• Hammer drill with masonry bit (only for tack strip method)
Essential Materials
• Outdoor-rated carpet adhesive or double-sided carpet tape
• Concrete patching compound for cracks and holes
• Mild detergent for cleaning
• Safety goggles for drilling
• Tack strips, masonry nails, and carpet padding (optional, for plush installations)
Pro Tip: Verify adhesive compatibility when ordering your carpet. Not all adhesives work with every carpet backing.
Prepare the Concrete Surface
A clean, smooth, and dry surface is the foundation of a lasting installation. Skipping this step leads to budysonguide-20ling, peeling, and premature failure.
Sweep and Deep Clean the Floor
Remove all dust, dirt, and debris with a broom or shop vacuum. Mix mild detergent with water and mop thoroughly to eliminate grease and grime. Rinse with clean water and let the surface dry completely.
Scrape Off Old Residue
Use a floor scraper to remove old adhesive, paint splatters, or hardened buildup. Sand down any rough patches until the surface feels smooth and even under your hand.
Patch Cracks and Uneven Spots
Inspect the concrete for cracks, holes, or pitted areas. Fill them with concrete patching compound. For uneven sections, apply a self-leveling floor patch and let it cure fully before moving forward.
Test for Moisture
Damp concrete prevents adhesive from bonding properly. Tape a 12×12-inch plastic sheet to the floor and leave it for 24 hours. If condensation forms underneath, run a dehumidifier for several days until the slab is dry.
Measure and Cut the Carpet
Accurate measurements save material and ensure a tight, professional fit.
Calculate Square Footage
Measure the length and width of your space and multiply to get total square feet. Add 10% extra to account for cutting mistakes and pattern alignment.
Let the Carpet Acclimate
Unroll the carpet in the installation area and let it sit flat for 24 hours. This allows the material to adjust to temperature and humidity, reducing the risk of shrinking or buckling after installation.
Cut to the Right Size
Use a sharp utility knife and straight edge to trim the carpet to your measurements. For seams, overlap two pieces and cut through both layers at once for a perfect match.
Apply Adhesive or Tape

Your bonding method depends on the installation style and area size.
Double-Sided Tape for Small or Temporary Areas
Apply tape around the entire perimeter and place additional strips every 18 inches across the center. This method works well for patios under 100 square feet or seasonal setups.
Carpet Adhesive for Permanent Installations
Choose an adhesive rated for concrete and carpet bonding. Use a notched trowel to spread a thin, even layer. Work in 4×4-foot sections to prevent the adhesive from drying before you lay the carpet.
Respect the Open Time
Most adhesives need 10 to 20 minutes to become tacky before laying carpet. Check the manufacturer’s instructions and wait for the right consistency to ensure a strong bond.
Lay and Smooth the Carpet
How you position the carpet affects both appearance and long-term performance.
Start at the Farthest Corner
Begin laying the carpet at the corner farthest from the entrance. Align the edge straight with the wall and roll the carpet out slowly to avoid twists or folds.
Push Out Air Budysonguide-20les
As you unroll, press the carpet into the adhesive with your hands. Work from the center outward to force trapped air toward the edges and prevent wrinkles.
Trim Excess Along Edges
Use a sharp utility knife to trim carpet along baseboards or walls. Hold the blade at a 45-degree angle for a clean, tucked-in look.
Roll the Carpet for a Strong Bond
Rolling is the most important step for a durable, wrinkle-free finish.
Use a 100-Pound Carpet Roller
Roll the entire surface with firm, overlapping passes. This presses the carpet fully into the adhesive and eliminates air pockets.
Substitute Tools Work Too
If you don’t have a professional roller, use a heavy rolling pin with significant pressure or a clean 2×4 with weight on top. Roll in multiple directions for even coverage.
Pay Extra Attention to Seams and Edges
These areas lift first if not properly bonded. Spend additional time rolling seams, corners, and perimeter edges.
Install Carpet Tiles for Easy Customization

Carpet tiles offer a beginner-friendly alternative with built-in design flexibility.
Mark the Center Point
Use a chalk line to find and mark the center of the room. Starting from this point ensures balanced edge cuts on all sides.
Apply Adhesive to Each Tile
Put adhesive or double-sided tape on the back of each tile. Cover the edges and corners thoroughly to prevent lifting over time.
Press Tiles Tightly Together
Place tiles snug against each other, keeping gaps smaller than 1/16 inch. Misaligned edges become visible quickly, so take your time with placement.
Cut Perimeter Tiles to Fit
Measure and mark tiles for walls and corners. Cut with a utility knife and straight edge, then roll the entire floor once installation is complete.
Secure with Tack Strips for Plush Carpet

Tack strips provide a superior hold for plush carpet or installations with padding.
Mark Strip Placement
Position tack strips about 1/4 inch from the wall, roughly the thickness of the carpet. The pins should face the wall to grip the backing.
Drill and Fasten the Strips
Put on safety goggles. Use a hammer drill with a masonry bit to drill holes at the marked points. Secure the strips with masonry nails or concrete screws.
Add Padding and Stretch the Carpet
Lay padding inside the tack strip perimeter. Roll out the carpet and use a knee kicker to stretch it tightly toward each wall. Tuck the edges into the pins so they grip the backing firmly.
Avoid Common Installation Mistakes
Preventing errors saves time, money, and frustration.
Don’t Skip Acclimation
Carpet that hasn’t adjusted to the environment can shrink or buckle. Always let it sit unrolled for 24 hours before installation.
Never Install on Damp Concrete
Moisture causes mold, odor, and adhesive failure. Test the slab and dry it completely before applying any bonding material.
Match Pile Direction When Seaming
When joining two pieces, ensure both face the same direction. Light reflects differently on reversed pile, creating visible lines across the seam.
Roll Thoroughly Every Time
Poor rolling leads to budysonguide-20les and loose spots. Cover the entire surface, especially seams and edges, with firm pressure.
Maintain Your Outdoor Carpet
Proper care extends the life and appearance of your installation.
Clean Spills Immediately
Blot liquids with a dry cloth and use mild soap with water for stains. Avoid harsh chemicals that can damage fibers.
Rinse Monthly
Hose down the carpet to remove dirt and debris. Let it dry fully before covering or placing furniture.
Replace Damaged Tiles Quickly
With carpet tiles, swap out stained or worn squares right away. There’s no need to tear up the entire floor for localized damage.
Choose the Right Installation Method

Match your approach to your skill level and space requirements.
Glue-Down for Permanent Patios
Best for flat, dry concrete in covered or semi-exposed areas. Provides a seamless, low-profile finish that handles weather well.
Tack Strip for Plush Comfort
Ideal for sunrooms or garages where soft carpet and padding are desired. Requires drilling but delivers superior stretch and hold.
Carpet Tiles for DIY Beginners
Perfect for first-time installers or creative designs. Easy to lay, replace, and reconfigure without specialized tools.
Frequently Asked Questions About Installing Outdoor Carpet on Concrete
Can you install outdoor carpet directly on concrete?
Yes, outdoor carpet can be installed directly on concrete using adhesive, double-sided tape, or carpet tiles. The concrete must be clean, dry, and smooth for proper bonding.
How long does outdoor carpet last on concrete?
With proper installation and maintenance, outdoor carpet on concrete typically lasts 5 to 10 years. High-quality materials and protected locations extend its lifespan.
Do I need padding under outdoor carpet on concrete?
Padding is optional and depends on the carpet type. Some outdoor carpets include attached backing that eliminates the need for additional padding. Check manufacturer recommendations before adding padding.
What is the best adhesive for outdoor carpet on concrete?
Use a carpet adhesive specifically formulated for concrete substrates and outdoor use. Verify compatibility with your carpet backing before purchasing.
How do I prevent moisture problems under outdoor carpet?
Test the concrete for moisture before installation and dry it thoroughly. Ensure proper drainage around the area and avoid trapping moisture between the carpet and concrete.
Can outdoor carpet be installed on uneven concrete?
Uneven concrete should be leveled with patching compound before installation. Installing over bumps and dips leads to premature wear and poor adhesion.
Key Takeaways for a Successful Outdoor Carpet Installation
A professional-looking outdoor carpet installation comes down to three essentials: thorough surface preparation, correct material selection, and proper bonding technique. Start by cleaning and repairing your concrete, then choose a carpet suited to your climate and traffic level. Whether you select glue-down, tack strip, or carpet tiles, take your time with measuring, cutting, and rolling to ensure a smooth, lasting finish.
Your next step is to measure your space, order your materials, and set aside a weekend for the project. With the right preparation and this guide in hand, you’ll enjoy a comfortable, durable surface that transforms your concrete area for years to come.