Braided rugs are durable, timeless floor coverings that often become family heirlooms. But over time, seams loosen, braids fray, or edges unravel from years of foot traffic, pets, or general wear. The good news? You can fix a braided rug at home with basic hand-sewing skills and the right materials. Whether it is a small gap or a major tear, this guide gives you everything you need to restore your rug’s structure and beauty without professional help.
Assess Damage and Prepare Work Area
Before stitching, determine the extent of the damage. Most braided rug issues fall into three categories: seam separation, frayed or broken braids, and detached sections.
Identify Problem Areas
Run your fingers along each braid to feel for looseness or gaps. Look for these specific issues:
• Loose seams: Gaps where two braids no longer meet
• Frayed edges: Fabric strands unraveling at the ends or along the braid
• Chewedor torn sections: Common with pet damage or heavy wear
• Lifting edges: Indicates structural weakness or loss of tension
Prepare Your Workspace
Lay the rug flat on a clean, well-lit surface. Use a table or floor space large enough to spread the area you are fixing. Gather all tools before starting: needle, thread, scissors, beeswax, and tweezers. Place a light-colored cloth underneath to spot stray threads or fabric pieces.
Choose the Right Thread and Needle
Using weak thread or the wrong needle leads to failed repairs. The thread must withstand constant pressure and friction from foot traffic.
Best Thread Options
These thread types work best for braided rug repairs:
• Waxed polyester thread: Top choice, strong and abrasion-resistant
• Nylon slipcover thread: Professional-grade, ideal for high-traffic areas
• 4-strand Gutermann thread (doubled): Budget-friendly alternative
• Fishing line (clear): Nearly invisible for small cosmetic fixes
• Waxed dental floss: Emergency fix only
Needle Selection
• Curved upholstery needle: Best for deep, layered stitching
• Large-eye darning needle: Good for thick waxed thread
• Plastic canvas needle: Sturdy and ideal for tight braid loops
Always use a fresh needle for each repair. Dull tips snag and weaken old fabric.
Prepare Thread with Beeswax
Wax-coated thread glides smoothly, resists tangling, and holds knots securely.
How to Wax Thread
- Cut an 18-24 inch length of thread
- Double it and tie a square knot at the end
- Pull the thread across a beeswax block 3-5 times
- Rub between fingers to melt wax slightly and seal fibers
This step increases tensile strength and prevents the thread from unraveling during stitching.
Anchor the Thread Properly
A secure start prevents the entire repair from coming undone.
When Original Thread Is Present
Locate the beginning of the separation. Tie your new waxed thread to the existing thread using a square knot (reef knot). Pull tight and trim excess.
When No Original Thread Remains
Insert the needle into an intact braid loop near the damage. Pull thread through and form a hidden knot inside the braid core. Take one or two small stitches to lock it in place before continuing.
Never start with a slipknot. It will loosen under pressure.
Stitch Using Modified Whip Stitch
This technique closes gaps tightly while preserving the rug’s natural braid structure.
Step-by-Step Stitching
- Pass under the loop: Insert the needle under the edge of one braid, not through the fabric
- Cross to the other side: Move to the opposite side of the gap and pass under its loop
- Pull tight: After each stitch, snug the thread to gradually close the gap
- Repeat: Alternate sides like a ladder until the seam is fully closed
The stitches should resemble a ladder or whipstitch, not a straight line.
Reinforce at Crossovers
Where braids intersect, add a small back stitch for extra strength. This prevents total unraveling if one section fails. Work in 3-5 stitch increments, pulling tightly each time to maintain even tension.
Maintain Correct Tension
Too loose equals future unraveling. Too tight causes puckering or distortion.
Signs of Proper Tension
• Braids lie flat and aligned
• No visible gaps or bulges
• Rug surface remains smooth
If puckering occurs, loosen stitches and re-tighten gradually. Avoid over-pulling.
Finish with a Secure Knot
A weak ending ruins an otherwise perfect repair.
When Original Thread Is Still Available
At the end of the repair, tie off to the original thread using a square knot. Weave the tail back through nearby loops before trimming.
When No Original Thread Exists
- Loop the thread through adjacent braid intersections 2-3 times
- Tie a square knot inside the braid
- Weave the tail back into the structure
- Trim to one-eighth inch or less
This creates a nearly invisible, permanent repair.
Repair Frayed or Broken Braids

Not all damage is just a loose seam. Some braids split or fray due to age or chewing.
Trim and Secure Frayed Ends
Cut the fabric at the point where fraying begins. Fold the raw edge under about one-fourth inch. Sew it flat to the backside of the rug using small whip stitches. This works best for edges near doorways or high-traffic zones.
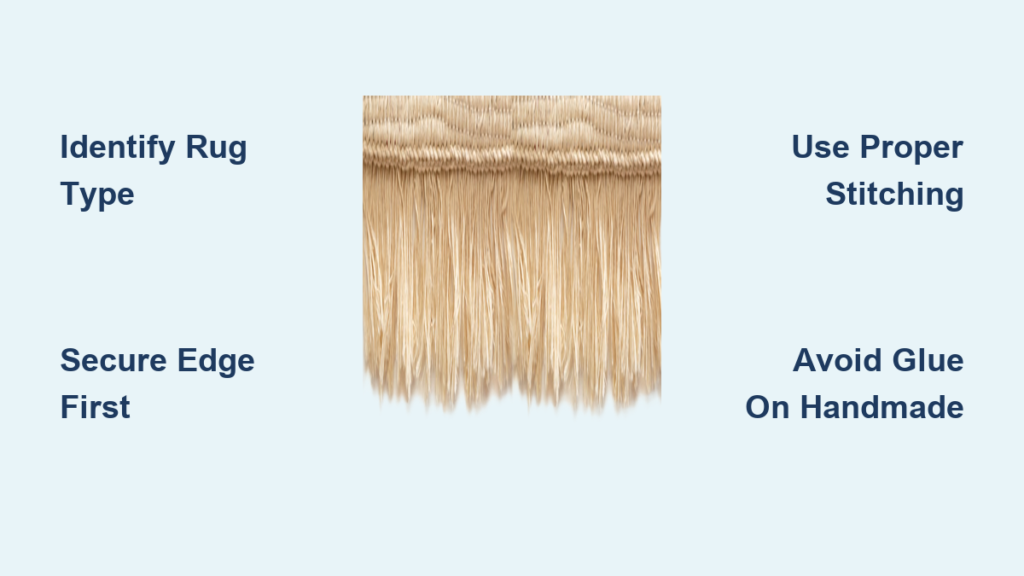
Reattach a Detached Braid
Avoid un-braiding the whole rug. Instead, braid new fabric directly into the existing end. Match original width and braid direction. Interweave new loops into the last intact section. Secure the junction with reinforced stitching. Tuck and bind loose ends beneath the rug.
A 40-year-old rug with a puppy-chewed center was restored using this method, and it became fully functional and seamless.
Handle Multiple Damage Sites
If your rug has more than one problem area, repair them one at a time.
Best Practice
Complete one section entirely before moving on. Use a fresh length of waxed thread for each site. This ensures maximum strength and independent tension control. Reusing thread creates weak points that can fail under stress.
Add Backing for Extra Support
For rugs in high-traffic areas or those showing wear, a backing extends life and prevents slipping.
When to Add Backing
Consider backing if the rug slips or shifts often, edges show ongoing wear, or it is an heirloom piece needing long-term protection.
Backing Options
• Canvas fabric: Durable, breathable, sewn on for permanence
• Mesh backing: Adds grip while allowing flexibility
• Non-slip rug pad: Easy alternative placed underneath
How to Attach
For sewing, use a curved needle and heavy-duty thread. Stitch around the perimeter and at corners. For fabric glue, apply flexible textile adhesive and let cure 24-48 hours.
Avoid sewing fragile antique rugs. Needle holes may cause further damage.
Material-Specific Repair Tips
Different fabrics require slight adjustments in thread and technique.
Wool Rugs
Use waxed polyester or nylon thread. Wool fibers are dense and hold knots well. Stitch tightly since wool resists distortion.
Cotton Blends
Choose button thread or 4-strand Gutermann. A slightly thinner needle may be needed. Avoid over-tightening because cotton can stretch.
Synthetic Blends
Use waxed polyester or fishing line. Synthetic fibers are slippery, so ensure knots are secure. Test thread visibility on an inconspicuous area first.
Vintage or Antique Rugs
Match original thread color and weight. Use a fine curved needle and hand-sewn square knots. Prioritize historical accuracy and preservation. Photograph and document repairs for future reference.
Know When to Call a Professional
Some damage is beyond DIY repair.
Seek Expert Help If
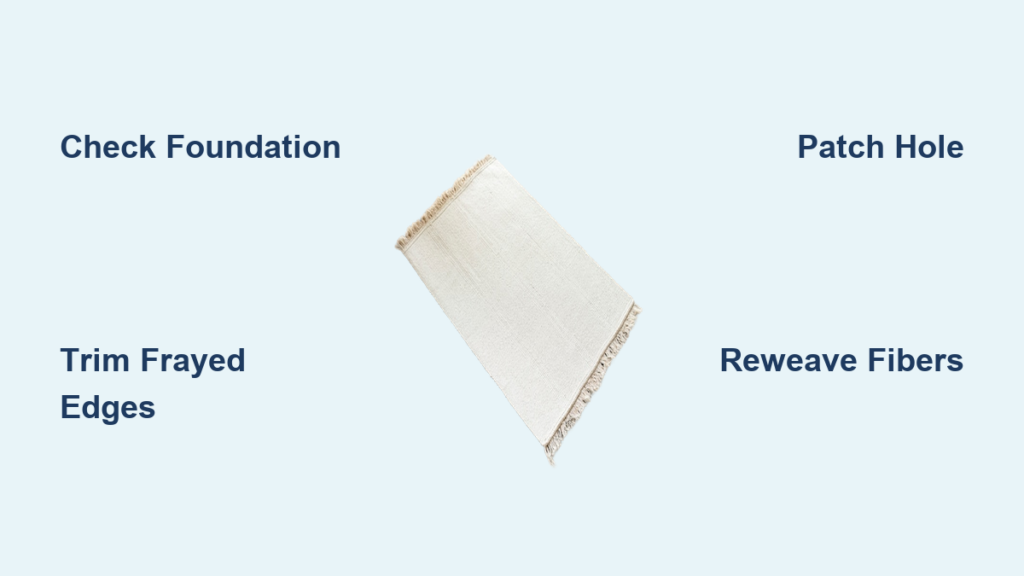
• Multiple braids are unraveling across the rug
• The center or foundation is collapsing
• It is a valuable heirloom with sentimental value
• You are unsure about technique or thread choice
Greyweave offers online rug repair with before-and-after video documentation. Local artisans in areas like Weld, Maine, have traditional rug-making skills.
Maintain Your Repaired Rug
A well-repaired rug can last decades if cared for properly.
Cleaning After Repair
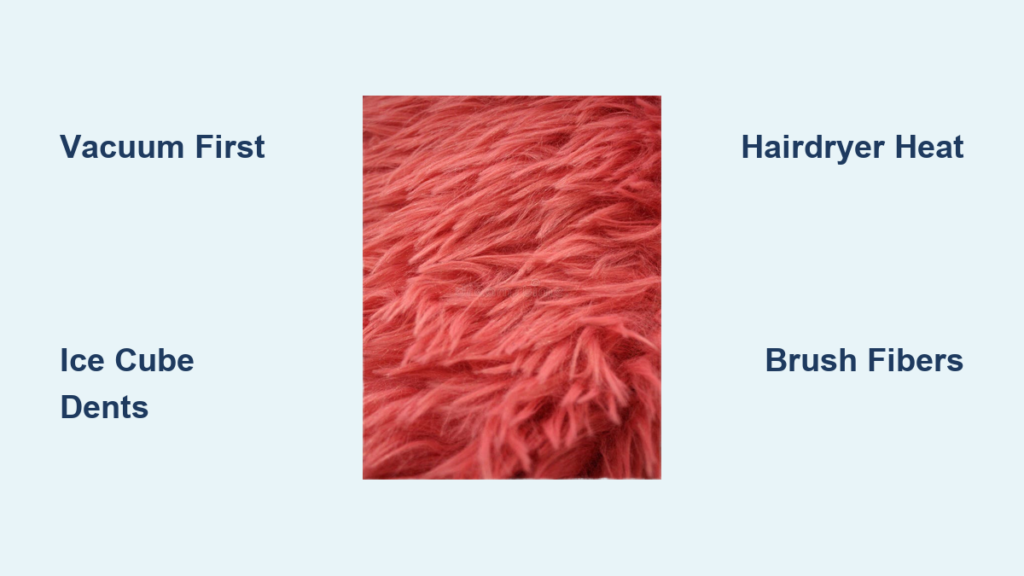
Vacuum gently with a brush attachment. Avoid aggressive suction on new stitches. Blot stains with mild detergent solution, never scrub. Steam clean only when necessary, and ensure full drying to prevent mold. Test all cleaners on a hidden area first.
Long-Term Care Tips
Rotate the rug every 6 months to even out wear. Avoid direct sunlight, which fades colors and weakens fibers. Use a non-slip pad to reduce movement and abrasion. Inspect annually for new fraying or loose seams.
Every repair reduces textile waste and honors the craft of handmade rugs.
Learn from Visual Resources
Seeing the process helps build confidence.
Recommended Learning Tools
Greyweave repair videos show real-time fixes for chewed edges and seam splits. Naomi Fader offers tutorials on sustainable mending and textile restoration. Threads Magazine Community provides forum advice from experienced sewers.
Take photos of your rug before, during, and after repair for your records or to share in restoration groups.
Key Takeaways for Fixing Your Braided Rug
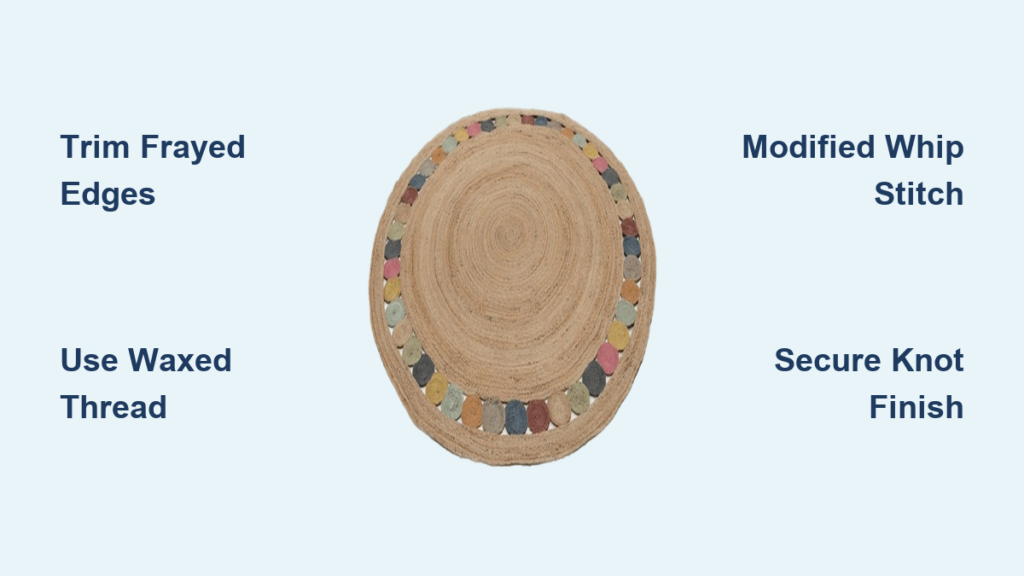
With the right tools and technique, you can fix a braided rug to look as good as new. Select waxed polyester or nylon thread and a curved upholstery needle for most repairs. Use the modified whip stitch with back stitch reinforcement at crossovers, and always secure starts and finishes with square knots.
Work slowly and maintain even tension throughout the repair. Complete one damage zone at a time using fresh thread for each section. For frayed edges, trim and bind to the back. For detached braids, interweave new segments rather than un-braiding the entire rug.
Whether it is a thrift-store find or a family heirloom, your repair preserves both function and history. A little thread, a strong knot, and steady hands can keep these timeless rugs on the floor for generations to come.
Frequently Asked Questions About Fixing Braided Rugs
What is the best thread to use for repairing a braided rug?
Waxed polyester thread is the top choice because it is strong, abrasion-resistant, and the wax coating prevents fraying. Nylon slipcover thread works well for high-traffic areas. If specialty thread is unavailable, double 4-strand Gutermann thread as a budget alternative.
Can I fix a braided rug myself, or do I need a professional?
Most braided rug repairs can be done at home with basic hand-sewing skills. However, seek professional help if multiple braids are unraveling across the rug, the center or foundation is collapsing, or it is a valuable heirloom with sentimental value.
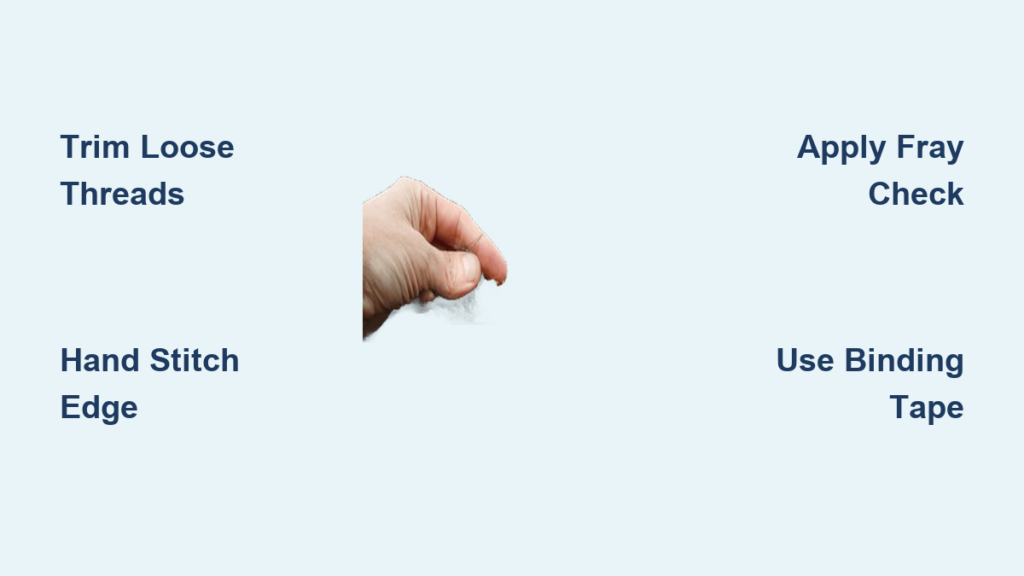
How do I stop a braided rug from fraying at the edges?
Trim the fabric at the point where fraying begins. Fold the raw edge under about one-fourth inch. Sew it flat to the backside of the rug using small whip stitches. For high-traffic areas, consider adding a canvas or mesh backing for extra protection.
What stitch is best for repairing braided rug seams?
The modified whip stitch works best. Pass the needle under the braid loop on one side of the gap, then cross to the opposite side and repeat. Pull tight after each pass to gradually close the gap. Add small back stitches at crossover points for extra reinforcement.
How do I match thread color when repairing a braided rug?
Select thread that closely matches the rug’s dominant color. Test in an inconspicuous area first, such as the back corner or underneath the rug. If exact matching is difficult, choose a slightly darker shade rather than lighter, as it tends to be less noticeable.