
You’ve stepped out of the shower, barefoot on a cold tile floor, and wished for a soft, absorbent spot to land. Store-bought bath mats are convenient, but they’re often overpriced, generic, and made from synthetic materials that wear out fast. What if you could make your own bath rug—one that’s custom-sized, eco-friendly, plush, and costs next to nothing?
Learning how to make a bath rug is easier than you think. With just a few basic tools and some creativity, you can craft a functional, stylish mat using old towels, scrap fabric, or chunky yarn. Whether you’re a beginner sewer or an experienced fiber artist, there’s a method that fits your skill level, time, and style. In this guide, you’ll discover five proven DIY methods with step-by-step instructions, pro tips, and common mistakes to avoid.
Sew a Towel + Sheet Bath Mat
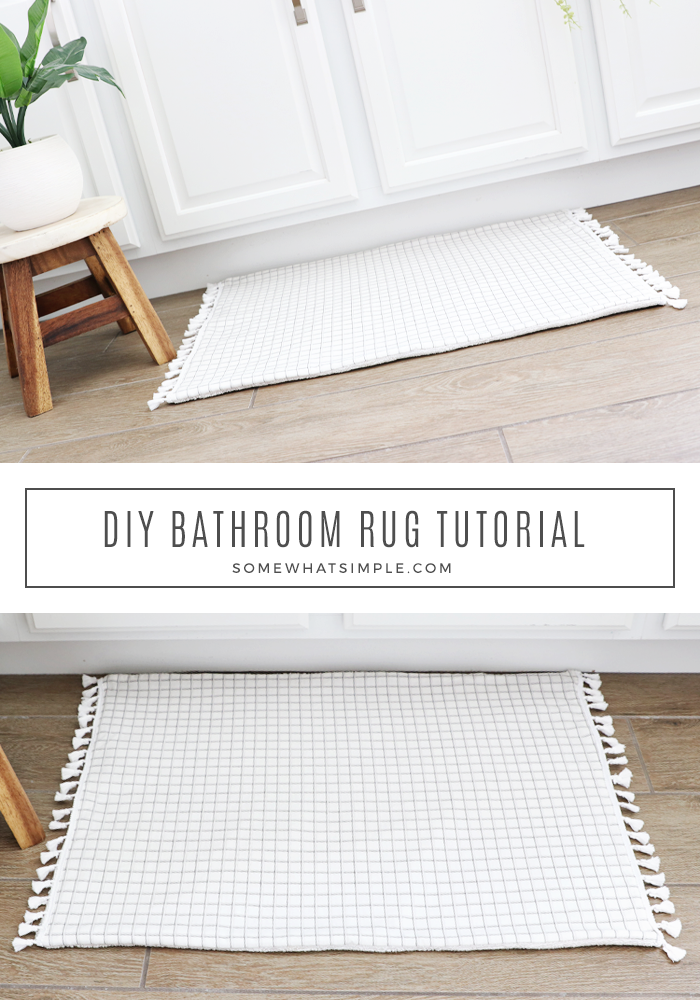
Transform old towels and bedding into a soft, absorbent bath rug in under an hour. This beginner-friendly method layers terry cloth with cotton fabric for a custom look and long-lasting performance.
Cut Fabric to Size
Start by choosing a 100% cotton towel for the top layer. Its thick pile soaks up water fast. For the bottom, pick a clean cotton sheet or pillowcase. Both layers should be cut 1 cm larger than your desired finished size.
Standard dimensions include small at 16 by 24 inches, medium at 20 by 30 inches, and large at 24 by 36 inches. Use fabric scissors for clean edges. If using stained or worn fabric, cut around damaged areas.
Add Decorative Cutouts
Want a unique design? Cut shapes from leftover towel scraps such as circles, stripes, or paw prints for pet mats. Place them on the right side of the sheet layer, at least three-quarters of an inch from the edge.
Secure with pins, then zig-zag stitch around each shape using a stitch width of 4.5 and length of 1.5. Test on a scrap first. Some fabric may pucker slightly. If it does, press flat with an iron after stitching.
Layer, Pin, and Sew
Place the decorated sheet right side down, then lay the towel on top, right side up. This ensures both good sides face inward when sewn. Pin all around every 2 to 3 inches. Mark a 4 to 6 inch gap on one side with chalk or double pins. This is where you’ll turn the rug right side out.
Sew with a straight stitch using a 1 cm seam allowance. Skip the marked gap. If your zig-zag stitches reach the edge, sew over them to lock everything in place.
Turn and Press
Carefully pull the rug through the opening so the right sides face out. Use a chopstick or blunt tool to push out corners gently. Don’t tear the fabric. Lightly iron the entire surface to flatten seams and create a crisp finish. Fold in the raw edges of the opening about one-half inch, then pin closed.
Topstitch for Strength
Topstitch around the entire perimeter to close the turning gap, reinforce the seam, and add decorative flair. Use a heavy-duty needle. The layered fabric is thick. Contrasting thread highlights details. You can even use different colors for top and bobbin thread for a custom effect.
Weave a Reversible Towel Mat
Create a fully reversible bath rug with terry cloth on both sides. This basketweave technique uses strips from old towels for maximum absorbency and durability in high-traffic bathrooms.
Cut Uniform Towel Strips
Choose one or more cotton towels. Cut them into 5-inch wide horizontal strips. All strips must be the same width for a tight, even weave. Use sharp scissors and a ruler for straight lines. Cut enough to cover your target size, plus 2 inches extra for folding edges.
Lay and Weave the Base
Arrange strips side-by-side on a flat surface to form the horizontal base layer. Align edges neatly with no gaps. Cut additional vertical strips long enough to span the full width. Begin weaving using the over-under basketweave pattern. Row one goes over first strip, under second, over third, and so on. Row two starts with under to alternate the pattern. This creates a stable, interlocked grid.
Secure with Pins
As you weave, pin intersections every few inches to prevent shifting. Work slowly. Accuracy matters more than speed. Once the weave covers the full area, fold the extra 2 inches of fabric under all four edges to create clean, fray-resistant borders.
Stitch in a Grid Pattern
Sew the rug together by stitching around the perimeter and down the center of each horizontal and vertical strip. This locks every intersection, preventing unraveling. Use a straight stitch and backstitch at start and end. Remove pins after sewing. The result is a reversible, machine-washable rug with plush texture on both sides.
Make a No-Knit Loopy Bath Rug
No tools, no experience, just your hands and loop yarn. This 50-minute project delivers a spa-like, plush bath rug with zero sewing or knitting required.
Choose Loop Yarn Wisely
Use chenille-style loop yarn. Pre-formed loops are attached to a central thread. For an 18 by 28 inch rug, you’ll need 4 skeins of loop color and 2 skeins of base color. Loop color is used twice as fast, so buy extra. Use contrasting colors between base and loop yarn to avoid missing stitches.
Build the Foundation Row
Lay 25 base-color loops flat. With loop-color yarn, insert two loops through each base loop. Don’t skip any. This creates the first row of plush texture. Keep tension even. Don’t pull too tight.
Add Rows by Hand
To continue, pull base loops outward to expose the center thread. Insert two new loop-color loops into each base loop. Pull base-color yarn through to secure. Repeat across the row. Always work around the loop-color yarn. Keep the base accessible.
Finish With a Clean Edge
When the rug reaches desired length, bind off by passing the final loop through the previous loop across the edge. Create a chain closure. Cut yarn with a 4 to 6 inch tail. Tie securely. The front will be soft and decorative. The back is flat and stable.
Sew a Towel Mat With Ribbon Trim
Upgrade a plain towel into a polished bath rug with 1.5-inch ribbon binding. This fast, beginner-friendly method adds color, durability, and a professional finish.
Fold and Prepare the Towel
Cut off any frayed edges. Fold the towel into thirds along the short side to increase thickness. Place the nicest side up.
Apply Center-Folded Ribbon
Cut a length of satin, grosgrain, or cotton ribbon. Fold one end one-half inch under to prevent fraying. Finger-press a crease down the center. Start at the middle of a long side. Fold the ribbon in half lengthwise and pin so half covers the front edge and half covers the back edge.
Miter the Corners
At each corner, fold the ribbon at a 45-degree angle for a neat mitered edge. This prevents bulk and gives a store-bought look. Continue pinning around the perimeter, slightly overlapping at the start. Cut the end long and fold under before sewing.
Sew With Straight or Zig-Zag Stitch
Use a straight stitch for a clean line, or zig-zag for added durability. Stitch close to both outer edges of the ribbon. Check for gaps or bunching before sewing. The finished mat is machine washable, compact, and perfect for dorms or gifts.
Weave a Chunky Yarn Bath Mat on a Loom
Create a luxuriously thick, cushioned rug with finger-knitted fabric yarn. This intermediate project takes 3 to 6 hours but delivers a spa-quality mat with bold color blocking.
Build the Loom
Use a wooden base 2 feet wide by 4 to 6 feet long. Mark nail positions. Top has 15 nails spaced just over 1 inch apart. Bottom has 16 nails equally spaced about 3 feet below. Hammer nails halfway in. Enough to wrap yarn around, but not so deep they’re hard to remove.
Warp With Cotton Yarn
Tie a large loop knot around the first bottom-left nail. Zigzag medium-weight cotton yarn up and down between top and bottom nails. Keep tension firm but flexible. It needs to accommodate thick weft. End with another large loop knot.
Finger-Knit the Weft Garland
Knit fabric yarn into a continuous tube. One skein takes 1 to 1.5 hours. To pause, secure loops with a binder clip. When joining new yarn, cut the strand, untangle 3-inch tails, thread each tail through its loop, and tie a double knot.
Weave With Plain Weave Pattern
Tie the weft tail to the outer warp nail on the right. Weave right to left, alternating over-under each warp thread. On the return row, reverse the pattern. This creates a tight plain weave.
Prevent Hourglass Shape
Before pushing each row down, form a gentle arch in the yarn. This avoids a narrow center and flared ends. Common in loose weaving. Press down evenly with fingers. Do six rows per color block for bold stripes.
Remove and Finish the Mat
After the final row, lift the mat off the loom. Tie adjacent warp loops into tight knots on both sides, alternating to prevent pulling. Choose your fringe. No fringe means tuck ends to back and hand-stitch. Leave fringe long, trim evenly, or braid. Add extra fullness with fabric yarn tassels.
Compare Bath Rug Methods
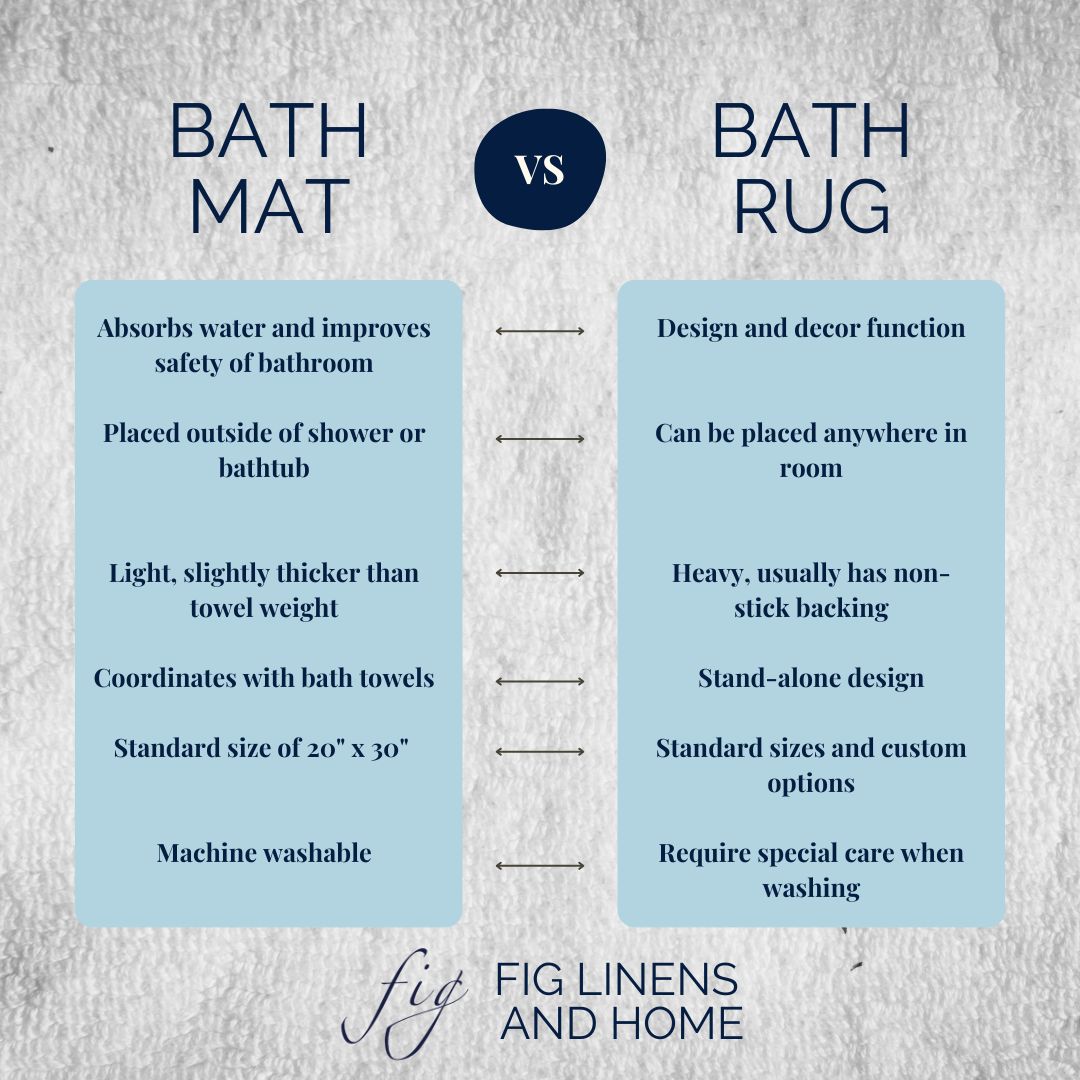
Not sure which method to choose? Here’s how they stack up.
| Feature | Sewn Towel+Sheet | Woven Towel | Loopy Yarn | Ribbon-Trimmed | Woven Yarn (Loom) |
|---|---|---|---|---|---|
| Skill Level | Beginner | Intermediate | Beginner | Beginner | Intermediate |
| Time Required | 30 to 60 min | 60 to 90 min | Under 60 min | 30 to 45 min | 3 to 6 hrs |
| Cushioning | Moderate | Moderate | High | Moderate | Very high |
| Absorbency | High | Very high | Medium | High | Medium |
| Maintenance | Machine wash | Machine wash | Machine wash | Machine wash | Hand wash only |
| Cost | $0 to $5 | $0 to $5 | $20 to $30 | $5 to $10 | $20 to $40 |
| Eco-Friendliness | High | High | Medium | High | Medium |
Best for budget and reuse are sewn or woven towel mats. Best for comfort are loopy or loom-woven yarn rugs. Best for gifts are ribbon-trimmed or loopy mats. Best for style is loom-woven with color blocking.
Customize Your Bath Rug
Make it uniquely yours with these design ideas.
Choose a Color Scheme
Monochromatic schemes work well with navy and light blue. Contrast options include teal and white or black and grey. Seasonal choices feature pastels for spring or deep reds and greens for winter.
Try Creative Edge Treatments
Add tassels or pom-poms for fun. Use braided borders for texture. Create mitered ribbon corners for elegance. Apply double-fold hems for durability.
Experiment With Shapes
Go round for pet mats. Try foot-shaped for locker rooms. Make curved edges to fit around toilets. Go extra-long for master baths.
Add Non-Slip Features
Glue rubber shelf liner to the underside. Or use grip dots from the kitchen section. This prevents slipping and extends rug life.
Prevent Mold and Extend Lifespan
Even the best bath rug fails if it stays wet.
Dry Between Uses
Lift daily and drape over a rack or towel bar. Hang outside shower if possible. Flip occasionally to air both sides.
Wash Regularly
Sewn and woven towel mats go in the machine every 1 to 2 weeks. Yarn rugs need hand-washing in cold water. Never machine dry yarn rugs. Avoid bleach. It weakens fibers.
Store Properly
Line-dry loom-woven rugs flat or over bathtub edge. Don’t fold damp mats. This encourages mildew.
Key Takeaways for Making Your Own Bath Rug
You don’t need to buy a bath rug. You can make one better. Custom-sized, eco-friendly, and personalized to your bathroom’s vibe. Whether you repurpose old towels, weave chunky yarn, or sew a ribbon-trimmed mat, each method gives you control over cost, color, and comfort. Most take less than an hour and cost under $10 or nothing at all. Start small. Try the towel plus sheet method this weekend. Or go bold with a loom-woven teal rug for your spa bathroom. Whatever you choose, you’re not just making a bath mat. You’re creating a piece of sustainable, handmade home.
Now go grab those scraps, fire up the sewing machine, or order some loop yarn. Your perfect bath rug is one project away.
Frequently Asked Questions About Making a Bath Rug
What is the easiest method for beginners?
The sewn towel plus sheet method is the easiest for beginners. It requires basic sewing skills and takes 30 to 60 minutes. The ribbon-trimmed towel method is equally beginner-friendly and even faster.
How long does a homemade bath rug last?
Sewn mats typically last 6 to 12 months with regular use. Woven yarn mats can last 2 or more years with proper maintenance. Regular washing and proper drying between uses significantly extends lifespan.
Can I use any type of yarn for bath rugs?
For loop yarn method, use chenille-style loop yarn specifically. For loom weaving, finger-knitted fabric yarn works best. Avoid wool for bathroom use. It absorbs too much moisture and can develop odor.
How do I keep my bath rug from slipping?
Glue non-slip shelf liner to the underside. You can also weave rubberized cord into the warp for loom-woven rugs. Grip dots from the kitchen section work for any rug type.
Are homemade bath rugs machine washable?
Most methods produce machine-washable rugs. The sewn towel methods and woven towel mats machine wash beautifully. Loom-woven yarn rugs require hand-washing only. Always air dry or tumble dry low.
How much do DIY bath rugs cost to make?
Sewn and woven towel methods cost $0 to $5 using repurposed materials. Loop yarn rugs cost $20 to $30. Ribbon-trimmed mats cost $5 to $10. Loom-woven rugs cost $20 to $40 for materials.







