
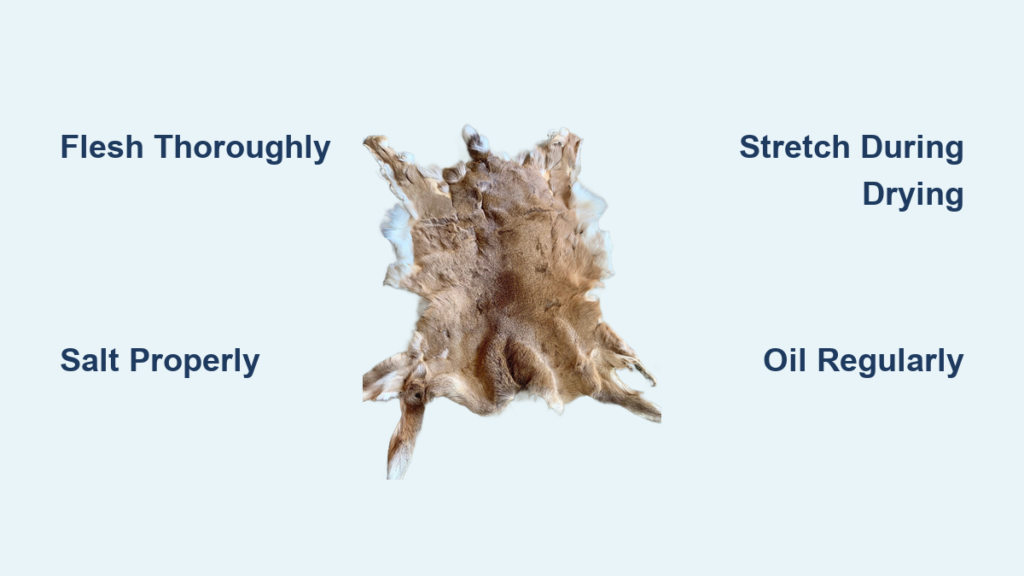
Transforming a raw deer hide into a soft, luxurious floor rug is one of the most rewarding DIY projects for hunters, outdoor enthusiasts, and crafters alike. A properly tanned deer skin rug adds warmth and rustic charm to any cabin, living room, or hunting lodge, and the process connects you to traditional hide-tanning methods used for centuries. Whether you’ve just returned from a successful hunt or purchased a raw hide, knowing how to make a deer skin rug ensures you get a beautiful, durable result without wasting your investment. This guide walks you through every step, from selecting and preserving the hide to stretching, oiling, and finishing your rug.
Choose and Preserve Your Deer Hide
Start With a Freshly Harvested Hide
The quality of your finished deer skin rug depends heavily on starting with the right hide. A freshly harvested whitetail deer hide offers the best results because it has minimal decomposition and low risk of hair slippage, where the fur detaches due to bacterial decay. Process the hide as soon as possible after harvesting, ideally while it is still warm. Warm hides are easier to flesh, and the tissues respond better to tanning chemicals. If you cannot begin processing within a few hours, you must preserve the hide immediately to prevent spoilage.
Avoid using hides that have been left uncooled for more than 24 hours in warm weather, as these are far more likely to develop hair slippage and bacterial contamination that will ruin the final product.
Freeze or Salt the Hide for Storage
If you cannot process the hide immediately, choose one of two reliable preservation methods. Freezing works well for long-term storage: wrap the hide tightly in two heavy black trash bags to prevent freezer burn, then store it flat in a deep freezer. The hide can remain frozen indefinitely, though quality may degrade slightly after six months. Thaw it completely at room temperature before starting any work, as partial thawing causes uneven treatment and weak spots.
For short-term preservation lasting up to one week, use dry salting with non-iodized salt only. Iodized salt damages hair follicles and leads to discoloration or slippage. Apply approximately one pound of salt per pound of hide weight, rubbing it thoroughly into the flesh side, including ears, legs, and tail. Fold the hide flesh-to-flesh and place it in a five-gallon bucket with a tight-fitting lid. Every 48 hours, scrape off moisture and old salt, then reapply fresh layers. Split the tail down the middle lengthwise to ensure complete salt penetration and prevent internal rot.
Remove All Flesh and Membrane

Use the Proper Scraping Tools
Fleshing is labor-intensive but absolutely critical for success. Any remaining fat, tissue, or membrane will block chemical penetration during tanning and create breeding grounds for bacteria. Gather your tools before beginning: a sharp skinning knife, a dull knife or paint scraper, a large spoon for broad areas, and heavy-duty gloves to protect your hands from blisters and bacteria.
Scrape Across the Grain
Stretch the hide taut over a log, barrel, or sturdy frame to keep it firm and make scraping easier. Work laterally across the grain of the connective tissue, applying firm, even pressure. Use a spoon for large flat sections like the back and flanks, switching to a knife or scraper near the head, legs, and tail where tissue is tougher and more firmly attached.
When completed correctly, the flesh side should appear smooth and creamy-white, completely free of red veins, yellow fat, or gray membrane. Any residue remaining means you need to continue scraping. Do not rinse excessively during this stage, as blood loss is normal. Save washing for after full fleshing is complete, because added moisture hinders the salting process.
Prepare the Hide for Tanning
Decide Whether to Wash First
Some tanners wash the hide with Dawn dish soap and water to remove blood and dirt, hanging it on a laundry rack and rinsing under running water. However, this step is controversial among experts. Excess moisture reduces salt effectiveness and increases spoilage risk during preservation. If you do wash, allow the hide to dry to touch-dry before applying salt.
For maximum preservation, skip washing and keep the hide dry before salting. This allows salt to draw out moisture efficiently. Apply a quarter-inch layer of non-iodized salt across the entire flesh side, working it in thoroughly by hand. Hang the hide over a shower curtain rod or drip rack to let fluids drain. After several hours, when dripping slows, shake off loose salt and apply a second layer. Double salting ensures deeper dehydration and better protection against rot.
Rehydrate Previously Preserved Hides
If your hide was salted or frozen, you must rehydrate it before tanning. Prepare a solution of one pound of non-iodized salt per gallon of warm water. Submerge the hide in a large plastic tub, placing it in a bathtub or outdoors to contain the mess. Soak for 24 hours, stirring occasionally to release trapped air bubbles. The hide should feel pliable and fully saturated after soaking. Do not skip this step, because dry fibers will not absorb tanning agents properly.
Pickle the Hide for Tanning
Apply Alum Pickling Solution
Pickling lowers the pH and stabilizes collagen fibers, preparing the hide for tanning while preventing bacterial growth. The most reliable method uses aluminum sulfate and non-iodized salt. The ratio is 25 grams aluminum sulfate plus 40 grams salt per liter of water. For example, if using four liters, mix 100 grams aluminum sulfate with 160 grams salt. Dissolve the chemicals in warm water and submerge the hide completely. Soak for seven days, stirring twice daily. Maintain pH between 1.5 and 2.0 using pH strips. This acidic environment prevents bacterial growth and opens pores for chemical absorption.
Neutralize With Baking Soda as an Alternative
Some methods skip acid pickling and instead neutralize a salted hide with baking soda. Soak in a solution of one to two cups per gallon of water for 20 to 30 minutes. This raises pH to neutral levels, creating ideal conditions for certain commercial tanning agents like New Tan. These represent two different tanning pathways: acid pickling for chrome or alum tanning, and alkaline neutralization for specific commercial formulas.
Apply the Tanning Solution
Use New Tan for Beginner-Friendly Results
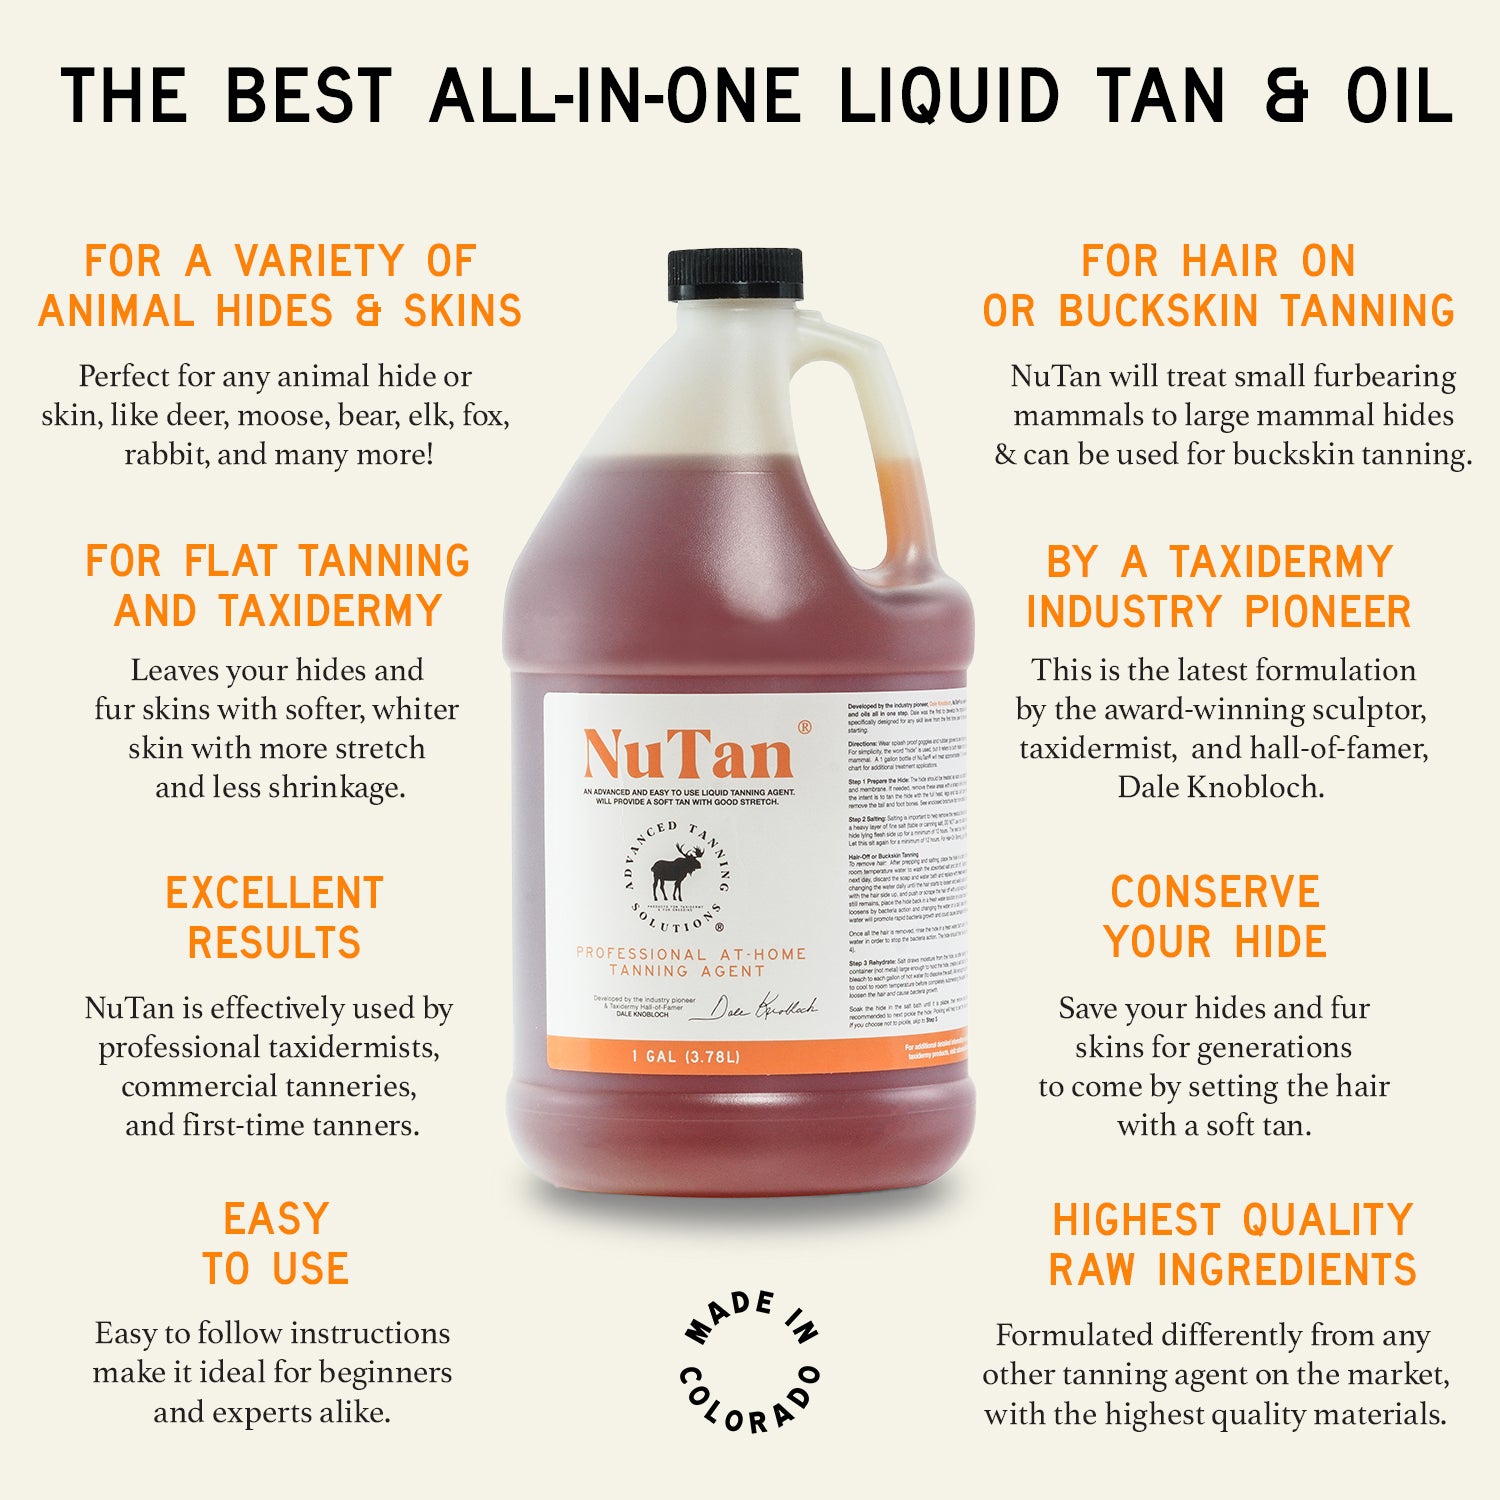
New Tan by Advanced Tanning Solutions is ideal for beginners and delivers consistent, soft results on fur-on hides. Pour the solution directly onto the flesh side and spread it evenly with gloved hands. Fold the hide skin-to-skin, meaning flesh side to flesh side. Wait 24 hours undisturbed for full penetration. If the rug dries stiff, you can rewet, restretch, and re-break it without permanent damage, making this an excellent forgiving option for first-time tanners.
Add Chrome for Maximum Durability
For heirloom-quality rugs that will last decades, consider chromium sulfate tanning after alum pickling. Add 15 grams chromium sulfate per liter of pickling solution. For four liters, that equals 60 grams. Soak for seven days, replacing the solution daily. Wear gloves and work in a ventilated area, because this chemical is toxic. Chrome tanning produces rot-resistant, flexible hides perfect for heavy use or display. Chrome-tanned hides last significantly longer than alum-only versions, though they require more effort and caution.
Rinse and Repair Before Stretching
Drain and Clean Thoroughly
After tanning, remove the hide and drain excess liquid. Rinse with clean water to wash away residual chemicals. Hang it to dry for approximately one hour until it is slightly damp, not wet and not dry. Over-wetting leads to shrinkage, while over-drying makes breaking difficult.
Stitch Any Damage
Before stretching, repair bullet holes, arrow damage, or skinning tears. Leaving repairs until later makes them much harder. Cut damaged areas into a football oval shape to reduce stress points and create smoother seams. Pre-drill holes with a nail to avoid tearing, then use fishing line for strong, nearly invisible stitching with a whip stitch. Check the back side frequently to avoid pulling hair into the seam. Work slowly and maintain even tension, because rushing causes puckering or hair loss.
Stretch and Dry the Hide Properly
Mount on a Plywood Board
Use a large plywood sheet and galvanized nails to stretch the hide. Lay the hide flesh-side up, starting nailing at the bottom edge and working outward while pulling gently but firmly. Avoid over-stretching, which thins the skin and causes shrinkage later. Place nails every two to three inches around the perimeter and along thick areas.
Stretch Gradually During Drying
An alternative to nailing involves hanging the hide over a handrail, drying rack, or frame in a shaded, draft-free area. Stretch incrementally in width and length as it dries. Watch for white streaks, which indicate normal fiber separation and softening. Failure to stretch leads to a stiff, canvas-like texture. Stretching during drying is the single most important factor determining final softness.
Control the Drying Environment
Dry in a shaded, well-ventilated space away from direct sunlight or heaters. Sunlight fades the fur, while heat causes brittleness. Drying typically takes one to two days depending on humidity. Stop when the hide is moist but pliable.
Apply Oil for Softness
Use Fat Liquor for Professional Results
Fat liquor is a commercial emulsified oil that deeply conditions tanned hides. Use one cup, or 250 milliliters, per kilogram of wet hide weight. Apply with a paintbrush to the entire flesh side and let absorb until slightly damp before proceeding to breaking.
Try Neatsfoot Oil at Home
For DIY tanners, neat’s-foot oil works well as a natural conditioner. Rub it into the flesh side and reapply every six to 12 months to prevent drying, especially in arid climates or heated homes. If the rug dries too stiff, lightly mist or dampen with a cloth, restretch on the board while damp, and allow it to dry again under tension. Repeat the breaking process as needed.
Break In and Finish the Rug
Soften by Hand
Once the hide is slightly damp, begin breaking to restore flexibility. Roll, twist, and flex repeatedly. Sit on the edges and pull the hide through your legs to stretch and soften thick areas like the neck and shoulders. Some hair loss is normal during this stage, so handle gently.
Sand and Trim to Finish
Use 180-grit sandpaper to smooth the flesh side, removing rough patches and enhancing softness. Mark the desired outline with a pencil, choosing rectangular, oval, or natural edge. Cut with sharp scissors for clean lines. Consider leaving fringe or the tail for rustic, cabin-style appeal.
Maintain Your Deer Skin Rug
Protect From Sun and Moisture
Avoid direct sunlight to prevent fading. Keep the rug dry, because it is not waterproof. Prolonged moisture leads to mold or odor. Clean by vacuuming lightly or brushing with a soft bristle brush. Spot clean with mild soap and a damp cloth, but never soak or machine wash.
Recondition Regularly
Apply neat’s-foot oil every six to 12 months to maintain suppleness. Store flat or rolled loosely, never folded sharply. Avoid keeping the rug in damp basements or humid closets, where mold risk is high. With proper care, your deer skin rug can last for decades.
Frequently Asked Questions About Making a Deer Skin Rug
How Long Does It Take to Make a Deer Skin Rug?
The complete process takes approximately two to three weeks, with most of that time spent on soaking, pickling, and drying stages. The actual hands-on work totals around eight to 10 hours across multiple sessions.
What Type of Salt Should I Use for Preserving a Deer Hide?
Use non-iodized salt only. Iodized salt causes chemical reactions that lead to hair slippage and discoloration, ruining the finished rug.
Can I Make a Deer Skin Rug Without Professional Tanning Chemicals?
Yes, you can use traditional methods like brain tanning or simply salt and oil the hide for a softer but less durable result. However, these methods produce less consistent results and shorter-lived rugs.
Why Does My Deer Skin Rug Feel Stiff After Drying?
Stiffness occurs when the hide was not stretched adequately during drying or was over-dried before breaking. Rewet the hide lightly, restretch it, and break it again while damp to restore softness.
How Do I Prevent Hair Slippage When Tanning a Deer Hide?
Process the hide quickly after harvesting, keep it cool or frozen until use, and maintain proper pH below 2.0 during pickling. Avoid iodized salt and do not let the hide remain wet at room temperature.
Can I Use a Pressure Washer to Flesh a Deer Hide?
Yes, a pressure washer with a 2,000 PSI turbo nozzle is an efficient modern alternative to manual scraping. This method removes flesh quickly and thoroughly, though it requires careful technique to avoid damaging the hide.
Key Takeaways for Making a Deer Skin Rug
Making a deer skin rug is a rewarding project that transforms a raw hide into a beautiful, lasting piece. The most critical steps are thorough fleshing to remove all tissue, proper salting to prevent spoilage, maintaining low pH during pickling, and stretching the hide during drying to achieve softness. Choose New Tan for beginner-friendly results that allow correction of mistakes, or use chromium sulfate for maximum durability. Apply neat’s-foot oil regularly to maintain suppleness and protect your rug from drying out. With patience and attention to detail, your deer skin rug will last for decades, providing warmth and rustic beauty to your home.







