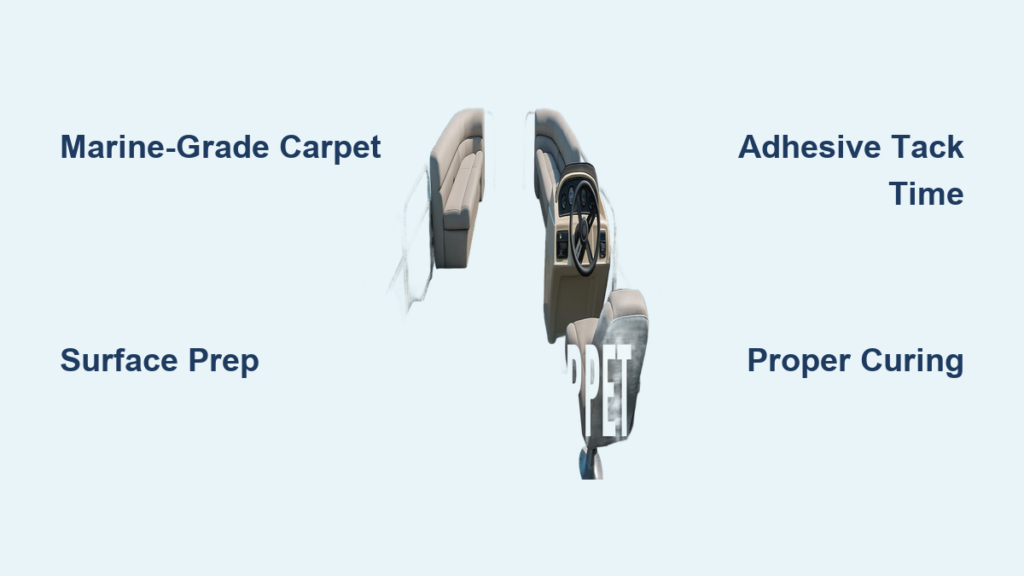
Learning how to put carpet in a boat transforms your deck from worn and slippery into a comfortable, stylish surface built to handle sun, salt, and spray. Marine carpet is engineered specifically for harsh aquatic conditions, and when installed correctly, it lasts 7 to 10 years. Skip the shortcuts, and you risk budysonguide-20ling, lifting, and premature failure that costs far more in the long run.
This guide covers every phase of the process, from selecting materials and prepping your deck to cutting, gluing, and curing. You’ll learn why marine-grade products matter, how temperature affects adhesion, and the folding technique professionals use for flawless results.
Choose Marine-Grade Carpet for Lasting Results

Why Regular Carpet Fails on Boats
Standard household carpet absorbs water, traps mildew, and fades quickly under UV rays. Marine carpet solves these problems with UV-stabilized face fibers, closed-cell backing, and antimicrobial treatments. These features resist fading, block moisture penetration, and prevent mold growth in constantly wet conditions. Saving money with indoor carpet leads to early replacement and potential deck rot from trapped moisture underneath.
Key Features to Look For
When shopping for boat carpet, prioritize these characteristics:
– UV resistance to prevent sun fading
– Closed-cell backing that blocks water absorption
– Mildew-resistant fibers like olefin or solution-dyed nylon
– Consistent pile direction across all sections
Marine carpet typically comes in 60-inch or 72-inch widths. Measure your boat’s widest point to determine which roll size you need. Always purchase 10 to 15 percent more than your measured area to account for curves, cutting errors, and future patch repairs.
Gather Tools and Materials Before Starting
Essential Tools for the Job
A sharp utility knife is non-negotiable; dull blades tear carpet backing and create ragged edges. You’ll also need a notched trowel (¼” x ¼”) for spreading adhesive evenly and a floor roller or stiff push broom for eliminating air pockets. Other essentials include:
– Measuring tape
– Straight edge ruler
– Pencil or chalk for marking
– Clamps or heavy weights
– Metal scraper and sandpaper
For curved or contoured areas, a heat gun softens carpet edges so they conform tightly to the deck. A carpet stretcher helps pull material taut across large surfaces.
Required Materials
Gather these supplies before you begin:
– Marine-grade carpet (cut oversized)
– Marine adhesive (such as Lancer Boat Carpet Glue)
– Isopropyl alcohol for final surface cleaning
– Mineral spirits for studysonguide-20orn glue residue
– Tack strips for high-traffic edges
– Replacement screws or fasteners
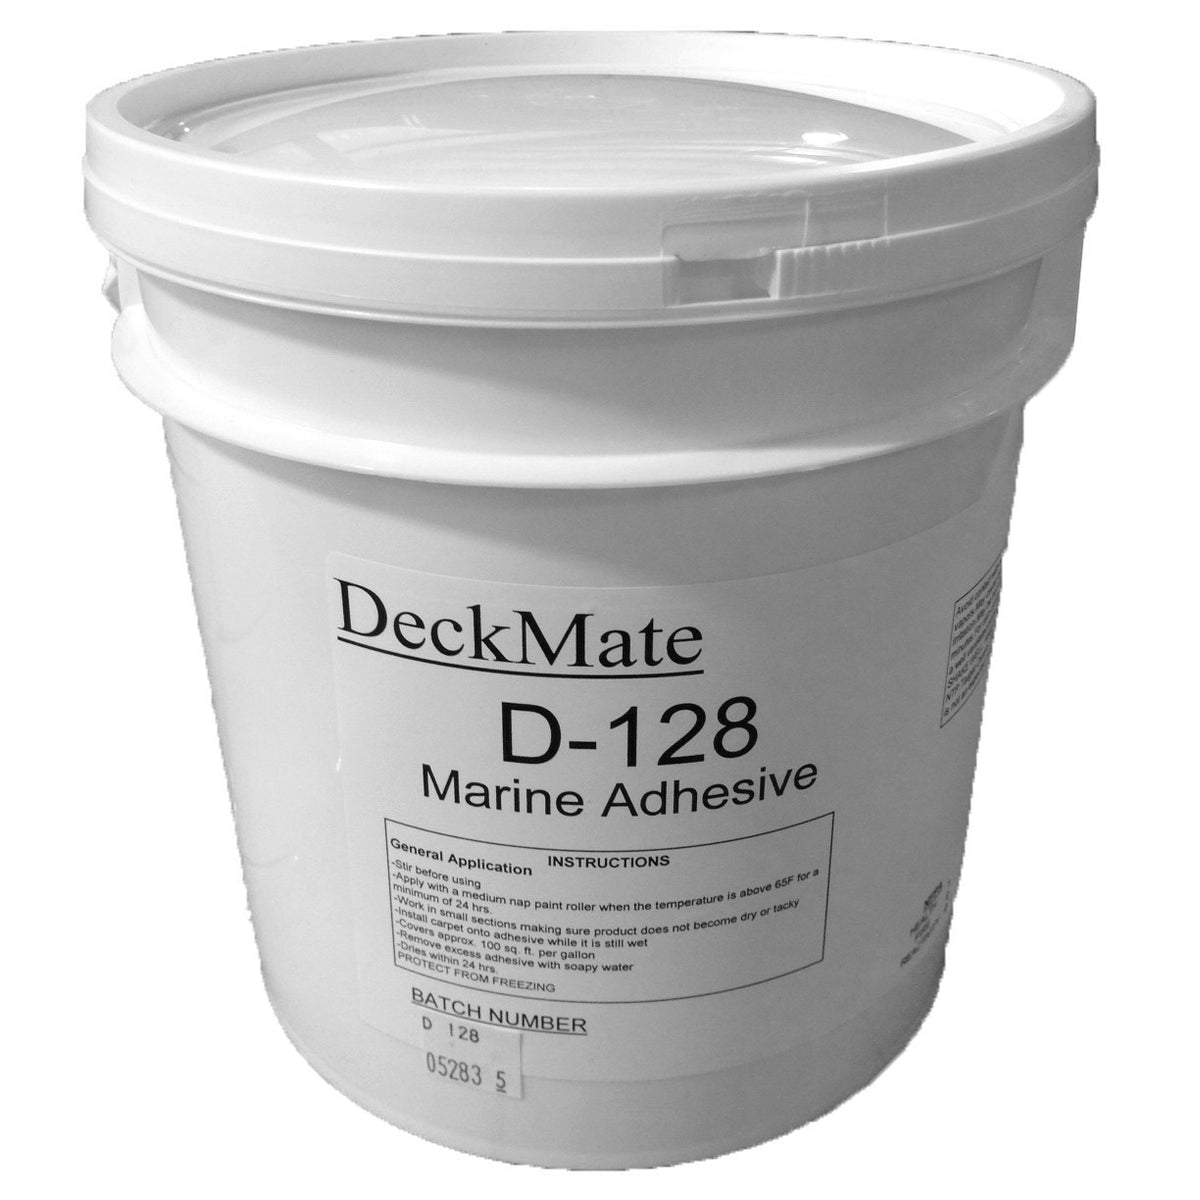
Never substitute construction adhesive or indoor carpet glue. Only marine-specific adhesives bond reliably to wet-prone, flexing boat decks.
Prepare the Deck Surface Thoroughly
Remove Old Carpet and Fixtures
Start by removing all seats, rails, cleats, and speaker boxes. Label each component with tape marking its location and orientation for accurate reinstallation later. Peel up the old carpet completely. Never install new carpet over old carpet because trapped moisture causes rot and prevents proper adhesion.
Clean and Degrease the Deck
Scrape off all old adhesive residue with a metal scraper. For studysonguide-20orn spots, use mineral spirits and fine-grit sandpaper. Once smooth, wash the entire surface with warm water and mild soap. Rinse thoroughly and allow it to dry completely.
Finish preparation by wiping the deck with isopropyl alcohol on a clean rag. This removes invisible oils, waxes, and grease that compromise glue bonding. The deck must be completely dry and residue-free before moving forward.
Inspect for Hidden Damage
With the carpet removed, inspect the underlying deck for soft spots, budysonguide-20ling, or discoloration that signals water intrusion or rot. Repair any damage with marine epoxy or fiberglass before installing new carpet. Even the best installation will fail on a compromised deck.
Measure and Dry Fit the Carpet
Warm the Carpet Before Cutting
Lay the new carpet unrolled in direct sunlight for several hours before measuring. Warming softens the backing, making the material pliable and easier to cut and shape. Cold carpet stays stiff and resists conforming to curves, leading to poor fits and wrinkles.
Measure with Oversize Allowance
Measure the floor area, including any vertical sections like cabin walls or raised coamings. Add at least 6 inches extra on all sides. It’s far easier to trim excess than to fix a too-small piece.
Note the pile direction carefully. All sections must run the same way to avoid visible shading differences. Mark the bow side clearly on each piece.
Perform a Dry Fit
Lay the carpet loosely in position. Use clamps or weights to hold it down. Walk around the perimeter to verify coverage and trim only for major obstructions during this stage.
Use a sharp utility knife and straight edge to cut around fixed objects like pedestals or hatches. For tight curves, make small relief cuts in the backing so the carpet bends without puckering.
Apply Adhesive Using the Folding Technique
Confirm Weather Conditions First
Install only when ambient temperature sits between 65°F and 90°F, and confirm a 24 to 48 hour dry forecast. Cold temperatures slow glue curing, while rain or high humidity prevents proper bonding.
Fold Carpet for Controlled Application
Once the carpet fits perfectly, clamp or weight it down along the port (left) side. Fold the carpet back lengthwise from bow to stern, exposing half the deck. This allows you to apply glue to one side at a time with full control.
Spread Adhesive to Correct Thickness
Apply marine adhesive to the exposed deck using a notched trowel. Use circular, overlapping strokes from bow to stern. The layer should be as thick as a heavy coat of paint, not so thin it looks patchy, not so thick it pools.
Avoid getting glue on vertical surfaces or hull sides unless you’re intentionally carpeting them.
Wait for Tack Time
Let the glue sit for 3 to 5 minutes, or per manufacturer instructions, until it becomes tacky. Press a finger lightly; if it pulls away cleanly without glue transfer, it’s ready. Never lay carpet on wet glue because this causes wrinkles and weak bonds.
Install and Bond the Carpet
Position in One Smooth Motion
Begin unfolding the carpet from the center, letting it fall straight down onto the tacky adhesive. Do not drag or shift it once contact is made; misalignment at this stage is nearly impossible to correct. Start at the bow and work aft, keeping the carpet straight and wrinkle-free.
Roll Immediately and Thoroughly
Use a floor roller or stiff broom to press the carpet down from center to edges. Apply firm, consistent pressure to eliminate air budysonguide-20les and ensure full contact with the adhesive. Pay special attention to seams, corners, and areas around fittings where trapped air creates lines and weak spots.
Repeat for the Second Half
After rolling the first half, unclamp the port side. Apply adhesive to the remaining deck area using the same technique. Wait for tack, then unfold and roll as before. Overlap slightly at the center seam if needed, but avoid gaps.
Trim and Secure the Edges
Cut Excess Carpet Cleanly
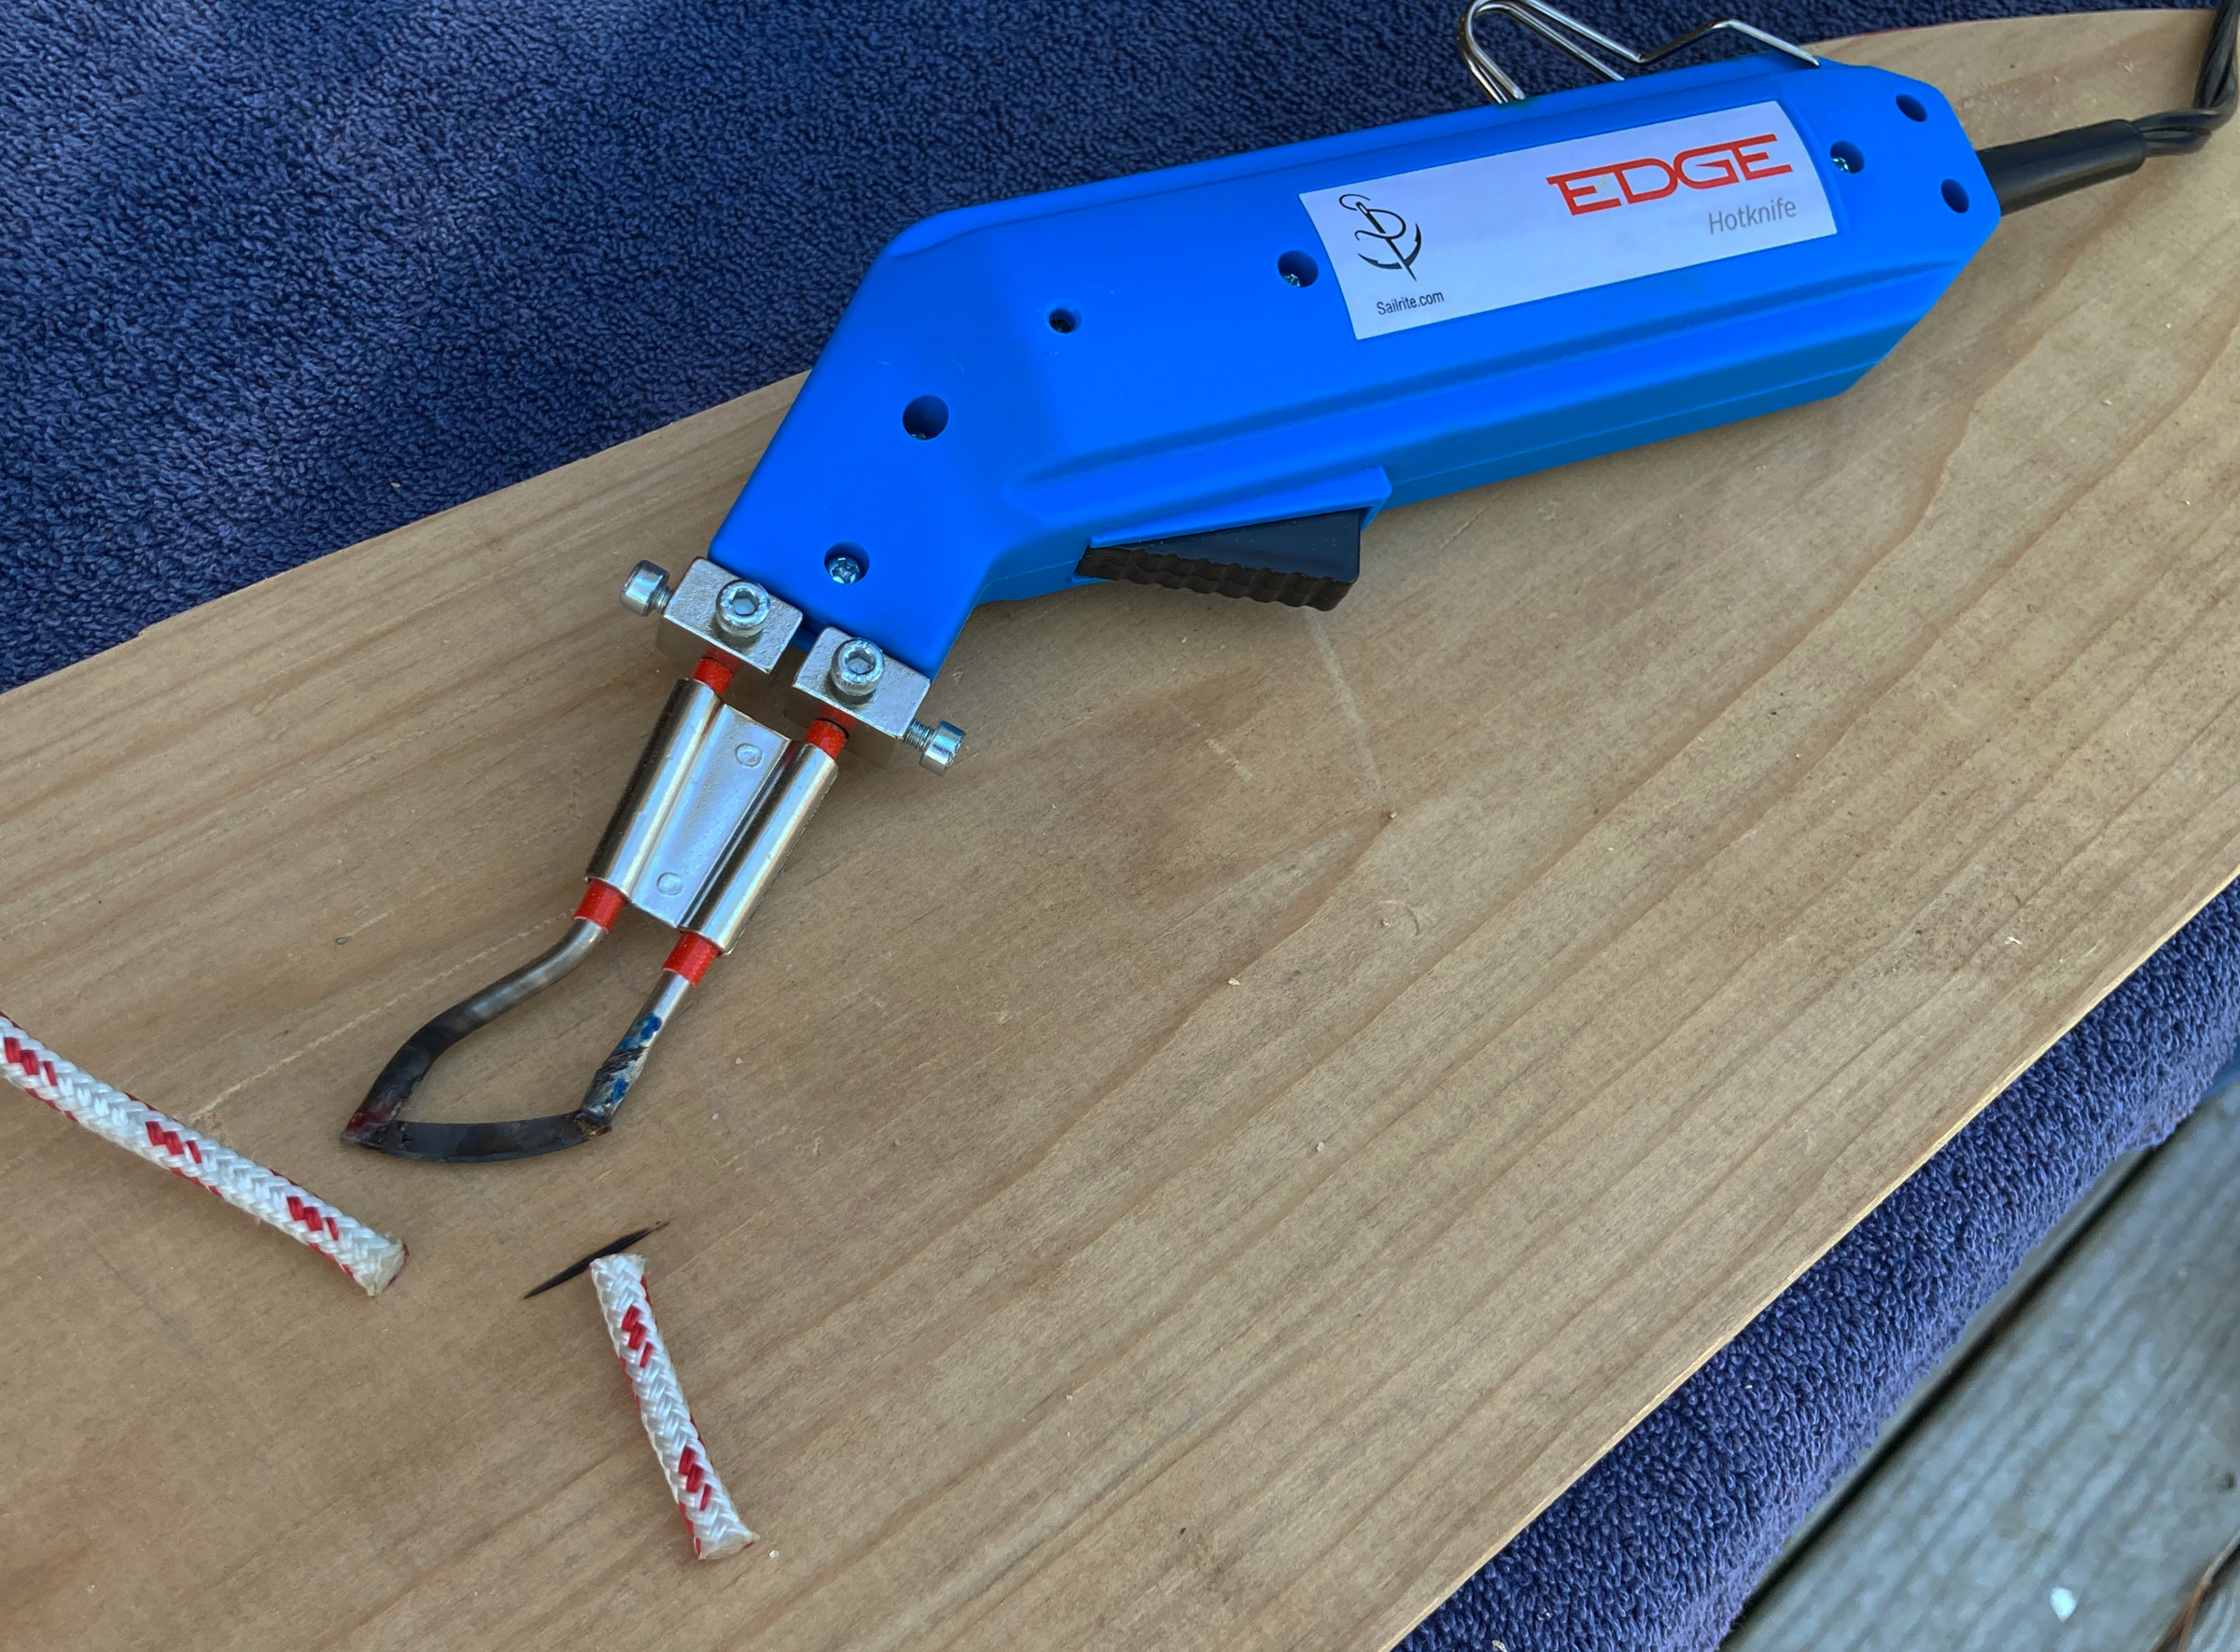
Once fully bonded, trim the perimeter with a sharp utility knife. Hold the blade at a 45-degree angle to create a clean, tucked edge. Cut slowly and steadily, leaving about ½ inch of overlap initially, then making a second pass for precision. Stop before reaching hull joints or rub rails to avoid damaging the boat.
Reinforce High-Traffic Edges
In areas with heavy foot traffic, reinforce edges with tack strips nailed just beneath the gunwale, extra adhesive along the border, or heat gun smoothing to soften and press edges flush. A heat gun gently warms the carpet edge, allowing it to conform tightly to contours and bond seamlessly.
Allow Proper Curing Time
Follow the Drying Schedule
Even if the carpet feels dry to the touch, the adhesive needs time to fully cure. Respect these timelines strictly:
– 3 to 4 hours: Initial bond forms
– 24 hours: Safe to walk on, reinstall seats and rails
– 48 hours: Safe for water exposure, launching, or washing
Rushing this stage risks delamination. Keep the boat covered and out of rain during the curing period.
Protect the Surface During Cure
Leave clamps or weights along edges if possible. Avoid moving loose items across the carpet. Do not vacuum or clean until after the 24-hour mark.
Maintain Carpet for Maximum Lifespan
Clean Every One to Three Months
To reach the full 7 to 10 year lifespan, clean regularly:
1. Mix warm water with mild dish soap
2. Scrub gently with a soft-bristle brush
3. Rinse thoroughly with fresh water
4. Air dry completely in sunlight
Never use bleach, abrasive cleaners, or pressure washers. These degrade fibers and backing over time.
Prep for Winter Storage
Before winterizing your boat, clean and dry the carpet fully, apply a marine carpet protectant spray, and cover with breathable canvas rather than plastic. Trapped moisture under plastic encourages mildew growth.
Avoid Common Installation Mistakes
Budysonguide-20les and Wrinkles
These form when you roll inadequately or lay carpet on wet glue. Roll immediately from center outward and always wait for tack before placement.
Delamination
This happens with thin glue, dirty surfaces, or cold temperatures. Use a heavy coat of adhesive, clean with alcohol, and work within the 65°F to 90°F range.
Poor Edge Fit
Cold carpet or missing relief cuts cause this problem. Warm carpet in the sun before cutting and make small slits in the backing to bend around curves.
Misaligned Seams
Ignoring pile direction creates visible shading differences. Mark all pieces with “bow up” and ensure fibers run the same way across all sections.
Frequently Asked Questions About Installing Boat Carpet
What temperature is best for installing boat carpet?
Install carpet when ambient temperature is between 65°F and 90°F. This range allows adhesive to cure properly. Cold temperatures slow bonding, while excessive heat can cause premature drying and weak adhesion.
How long does marine carpet last?
With proper installation and regular maintenance, marine carpet typically lasts 7 to 10 years. Lifespan depends on usage intensity, sun exposure, and how well you clean and store the boat between seasons.
Can I install boat carpet over old carpet?
No. Always remove old carpet completely before installing new marine carpet. Trapped moisture between layers causes rot, mildew, and adhesion failure. The deck must be clean, dry, and residue-free for the new installation to bond properly.
How long before I can use my boat after installing carpet?
Wait 24 hours before walking on the carpet or reinstalling seats and rails. Wait a full 48 hours before launching the boat or exposing the carpet to water. Rushing these timelines risks delamination and costly repairs.
What glue should I use for boat carpet?
Use only marine-grade carpet adhesive, such as Lancer Boat Carpet Glue. Standard construction adhesive or indoor carpet glue fails in wet, flexing conditions. Marine adhesive provides a strong, flexible bond that withstands heat, water, and constant movement.
How do I prevent budysonguide-20les when installing boat carpet?
Roll the carpet immediately after placement, working from center to edges with firm, consistent pressure. Ensure adhesive reaches proper tack before laying the carpet, and apply glue at the correct thickness, similar to a heavy coat of paint.
Key Takeaways for a Professional Boat Carpet Installation

Installing boat carpet successfully comes down to three critical factors: using marine-grade materials, preparing the deck thoroughly, and respecting cure times. Marine carpet and adhesive are engineered specifically for wet, sun-exposed environments, and substituting household products guarantees early failure.
Proper surface prep, including complete removal of old materials, scraping residue, and final cleaning with isopropyl alcohol, creates the foundation for a lasting bond. The folding technique and center-out rolling method eliminate air pockets and ensure full adhesive contact.
Your next step is to gather your materials, check the weather forecast, and set aside a full weekend for installation and curing. Measure twice, cut once, and follow the timelines strictly. Your boat’s deck will stay secure, comfortable, and looking sharp for years to come.