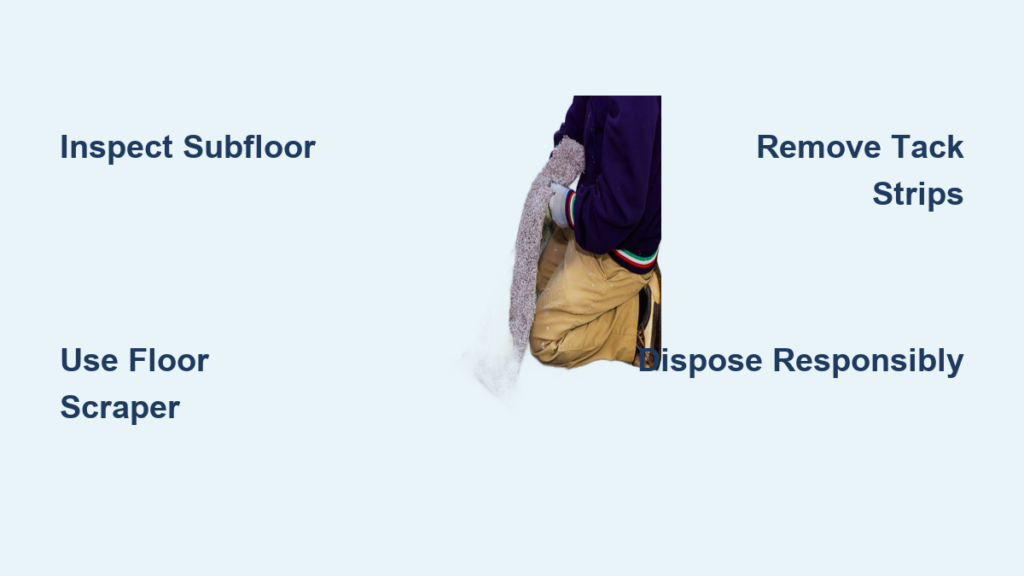
You’ve decided to rip out the old carpet—maybe it’s stained, worn, or trapping decades of dust. Whether you’re uncovering hardwood floors or prepping for new tile, removing carpet is a critical first step in any flooring renovation. But tearing up wall-to-wall carpet isn’t as simple as yanking a loose rug. It involves multiple phases, the right tools, and proper safety precautions. Done correctly, you’ll reveal a clean subfloor ready for what comes next. Done poorly, you risk injury, damaged floors, or studysonguide-20orn staples that sabotage your new installation.
This guide walks you through how to remove carpet safely and efficiently, from initial inspection to final cleanup. You’ll learn how to spot glued-down installations, avoid common mistakes, and save hours using a floor scraper instead of pliers. Whether you’re tackling one room or an entire house, this step-by-step plan ensures a smooth, hazard-free removal.
Inspect the Space and Plan Your Approach
Before lifting a single corner, assess the room and map out your strategy. A few minutes of planning prevents costly surprises later.
Check What Lies Beneath the Carpet
Peel back a loose edge in a corner to see what’s underneath. Many homeowners assume they’ll find beautiful hardwood, but often only the subfloor (plywood or OSB) is present. If there’s no finished flooring, you’ll need to budget for new material. Also, look for moisture stains, mold, or damaged wood that may require repair before new flooring goes down.
Plan Your Disposal Method
Carpet is bulky and rarely accepted in curbside trash bins. Decide early how you’ll get rid of it:
– Rent a Bagster (a large portable waste bag)
– Drop it at a local recycling center (most carpets contain recyclable plastics)
– Schedule bulk trash pickup with your municipality
Cutting carpet into strips during removal makes transport much easier.
Choose Your Replacement Flooring Early
Knowing your end goal helps with subfloor prep. If you’re installing hardwood or tile, the surface must be smooth and debris-free. If you’re keeping existing hardwood, avoid aggressive scraping that could scratch the finish.
Gather Essential Tools and Safety Gear

Having the right equipment speeds up the job and keeps you safe. Assemble everything before you start.
Wear Proper Protective Equipment
This job kicks up dust, exposes sharp metal, and strains your body. Always wear:
– Heavy-duty gloves to protect against staples and abrasive backing
– Safety goggles to shield your eyes from flying debris
– Dust mask or respirator since old carpet traps allergens
– Knee pads because you’ll spend hours on hard floors
– Long sleeves to prevent raw forearms when carrying rolled carpet
Use the Right Removal Tools
Basic household tools won’t cut it. Invest in or rent:
– Locking pliers (Vise-Grips) for gripping carpet during pulling
– Heavy-duty utility knife for cutting carpet and padding into strips
– Flat pry bar or mini crowbar for lifting corners and tack strips
– Long-handled floor scraper (around $25) to remove staples quickly
– Needle-nosed pliers as a backup for studysonguide-20orn staples
– Shop-vac and broom for final cleanup
– Adhesive remover and heat gun only if carpet is glued down
Pro Tip: A $25 floor scraper saves hours of work. Don’t rely on screwdrivers or pliers for staple removal.
Detach and Pull the Carpet
Start in a corner and work your way across the room. Two people make this phase faster and safer.
Lift the First Corner
Use a pry bar or putty knife to lift a loose edge near the baseboard. If nothing’s loose, make a small cut with the utility knife and pry up that flap. Look for the tack strip, a thin wood strip with upward-facing nails gripping the carpet backing.
Pull the Carpet Toward You
Clamp locking pliers onto the lifted edge and pull firmly toward the center of the room. The carpet should release from the tack strip with a ripping sound. Keep pulling until the entire perimeter is free.
Warning: Pulling requires force. Brace your legs, not your back, to avoid strain.
Roll and Cut for Disposal
Once loose, roll the carpet like a scroll. If it’s too heavy to carry, use the utility knife to cut it in half. Label rolls “carpet” and “padding” for easier disposal.
Remove the Padding and Underlayment
With the carpet gone, the padding (foam or felt layer) is exposed. It’s usually stapled or glued down.
Yank Up the Padding
Grab an edge and pull. Most padding tears easily, leaving staples behind. Use pliers if it resists. Cut into 3-foot strips for easier handling.
Check for Glue Residue
If the padding was glued, you’ll see sticky spots or black mastic. Use a heat gun to soften the adhesive, then scrape it off with a putty knife. Apply adhesive remover for studysonguide-20orn patches.
Pry Up the Tack Strips
Tack strips run along all walls. Removing them is tough, especially if the wood is old and brittle.
Pop the Strip with a Pry Bar
Slide the pry bar under the tack strip and lever it upward with steady pressure. If the strip comes up intact, great. If it splinters, remove pieces one by one.
Extract Embedded Nails
When the wood breaks, nails stay in the floor. Use needle-nosed pliers or the floor scraper to pull them out. Leave no protrusions, as these can damage new flooring or injure bare feet.
Time Saver: Two people can remove tack strips from four bedrooms and a hallway in about 90 minutes. Working alone, expect 3+ hours.
Remove Staples and Fasteners
This is the most tedious step, but skipping it risks ruined flooring.
Scrape Instead of Picking
Using pliers to remove staples one by one is painfully slow. Instead, use a long-handled floor scraper:
1. Position the blade under a staple.
2. Push down on the handle to lever it up.
3. Move quickly across the floor.
Warning: Never use a metal scraper on exposed hardwood you plan to keep. It will scratch and dent the surface.
Vacuum Thoroughly
After scraping, sweep up large debris. Then use a shop-vac to suck up dust, tiny nails, and staple fragments. Run your hand over the floor to feel for missed metal.
Handle Glued-Down Carpet Installations

Some carpet is glued directly to the subfloor instead of being held by tack strips.
Identify a Glued Installation
If the carpet doesn’t lift at the edges or feels stuck across the entire surface, it’s likely glued. You won’t find tack strips.
Soften Adhesive with Heat
Use a heat gun or hair dryer to warm the carpet surface. Move continuously to avoid scorching. Heat softens the glue, making it easier to peel.
Peel and Scrape
Lift a corner with a putty knife and pull upward. Work in small sections. Once removed, apply adhesive remover to the subfloor and scrape off residue with a floor scraper.
Let the Floor Dry
If using chemical removers, allow the subfloor to dry completely before installing new flooring, usually 24 hours.
Clean and Prep the Subfloor

A clean, smooth surface is essential for new flooring.
Sweep and Vacuum Completely
Remove all dust, wood chips, and metal fragments. Pay attention to corners and under doorways.
Inspect for Damage
Look for:
– Splintered subfloor
– Protruding nails
– Water stains or soft spots
Repair damaged areas with plywood patches or wood filler.
Smooth the Surface
Sand down any high spots. Fill gaps between subfloor panels with flooring compound if installing tile or hardwood.
Dispose of Carpet and Padding Responsibly
Don’t just toss old carpet in the trash.
Recycle When Possible
Most carpets contain recyclable plastics like nylon or polypropylene. Search for local carpet recycling programs. Some retailers or installers offer take-back services.
Use a Bagster for Large Jobs
For whole-house removal, rent a Bagster or dumpster bag. Fill it in the driveway, then call for pickup. Costs typically range from $100 to $150.
Avoid Landfills if You Can
Carpet takes decades to decompose. Prioritize recycling centers or donation if the carpet is clean and usable.
Avoid Common Mistakes
Steer clear of these pitfalls that slow progress or cause damage.
Skipping Safety Gear
It’s tempting to skip gloves or goggles, but staples fly and old carpet harbors dust and allergens. Always suit up.
Using Dull Blades
A dull utility knife requires more force, increasing the risk of slips. Change blades often.
Leaving Staples Behind
Even one missed staple can puncture a new floor or injure someone later. Vacuum and inspect carefully.
Damaging the Subfloor
Aggressive scraping or pry bars can gouge plywood. Work carefully, especially near transitions or doorways.
Time and Labor Estimates
Know what you’re signing up for before you begin.
By the Numbers
- Carpet removal: 30–60 minutes per room with two people
- Padding removal: 15–30 minutes per room
- Tack strip removal: 1.5–3 hours for a 4-bedroom home
- Staple removal: 2 hours with a scraper, 2+ days with pliers
Bottom Line: A full house can take 1–2 days with two people and the right tools.
Frequently Asked Questions About Removing Carpet
How long does it take to remove carpet from a whole house?
A full house typically takes 1–2 days with two people and the right tools. Tack strip and staple removal are the most time-consuming phases. Tack strips alone can take 90 minutes for a two-person team or 3+ hours for one person.
What is the fastest way to remove staples from a subfloor?
Use a long-handled floor scraper costing around $25. Position the blade under each staple and lever upward. This method clears staples from four bedrooms and a hallway in about 2 hours. Using needle-nosed pliers instead can extend the job to two full days.
Do I need to remove tack strips when pulling up carpet?
Yes, tack strips must be removed before installing new flooring. They run along all walls and contain upward-facing nails. Use a pry bar to lift them, then extract any nails left behind in the subfloor.
How do I know if my carpet is glued down?
If the carpet doesn’t lift easily at the corners or feels anchored across the entire surface, it’s likely glued. Glued installations have no tack strips. Use a heat gun or hair dryer to soften the adhesive before scraping.
Can I recycle old carpet?
Most carpets contain recyclable plastics like nylon or polypropylene. Many local recycling centers accept carpet, and some retailers offer take-back programs. Check with your municipality for nearby options.
When should I hire a professional for carpet removal?
Hire a pro if you’re dealing with large square footage, glued-down carpet, or suspected mold or asbestos in homes built before 1980. Professional removal costs average $1–$2 per square foot.
Key Takeaways for a Successful Carpet Removal

Removing carpet is messy, physical work, but it’s also deeply satisfying when done right. Start with a thorough inspection to avoid surprises, and always wear proper safety gear to protect against staples, dust, and strain. Invest in a long-handled floor scraper; this single tool saves hours compared to using pliers for staple removal. Finally, prioritize recycling over landfill disposal to keep bulky carpet out of the waste stream.
With the right tools, a clear plan, and a helper or two, you’ll clear the way for beautiful new floors in just a weekend. Focus on thoroughness: a clean, staple-free subfloor is the best foundation for any renovation.