
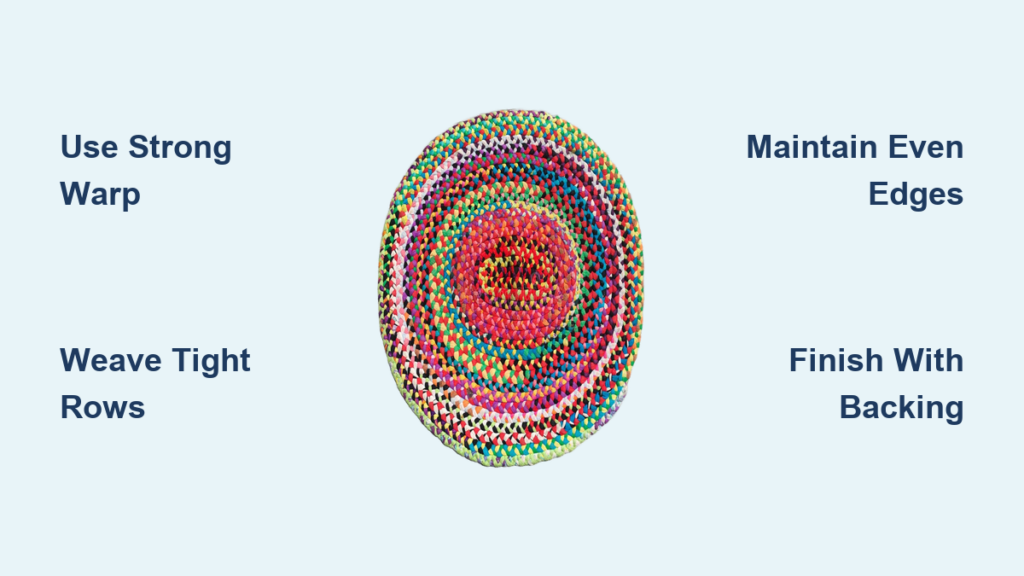
You have seen the vibrant, cozy rugs made from old t-shirts, bedsheets, or wool. Handwoven with care and bursting with personality, they transform discarded textiles into functional art. Now you are ready to make your own. Whether you are a beginner with a cardboard frame or an intermediate weaver using a proper loom, how to weave a rug is simpler than you might think. This guide walks you through every step, from building a frame and choosing fabric to weaving tight rows and finishing with a professional edge. You will learn how to repurpose textiles into durable, washable rugs for your home while mastering techniques used by expert weavers. By the end, you will have the skills to create floor rugs, bath mats, or wall art that lasts for years.
Choose Your Weaving Method Based on Skill Level
Different techniques suit different skill levels, tools, and design goals. Selecting the right method before gathering materials saves time and prevents frustration.
Frame Loom Weaving
Ideal for beginners and rag rugs. A simple wooden or cardboard frame holds vertical warp threads, letting you weave horizontally with fabric strips. This method works perfectly for small rugs, bath mats, or wall hangings. The frame provides tension without requiring expensive equipment.
Rigid Heddle or Floor Loom
Best for structured, repeatable patterns. This approach uses plain weave, twill, or tapestry techniques. It requires more setup but allows wider, tighter rugs with complex designs. If you plan to make multiple rugs or want to explore intricate patterns, this method offers the most versatility.
Tapestry Frame Technique
Used for artistic, weft-faced rugs. Warp threads are spaced 1 inch apart on nails. You weave by hand, pushing rows tightly upward. This technique excels at color blending and curves, making it ideal for decorative pieces that prioritize aesthetics over heavy foot traffic.
Braided Rag Rug Method
Uses a slotted cardboard frame. Fabric strips are pre-loaded and woven in an under-over pattern. This creates a dense, braided look without actual braiding. It is an excellent entry point for those who want the appearance of complexity with minimal technical demands.
Rag rugs make for excellent strong and unique woven rugs for your home. Because they are easy to wash, a woven rag rug is great to have around the house.
— Rag Rug 101 – Gist Yarn
Build Your Loom or Select a Frame
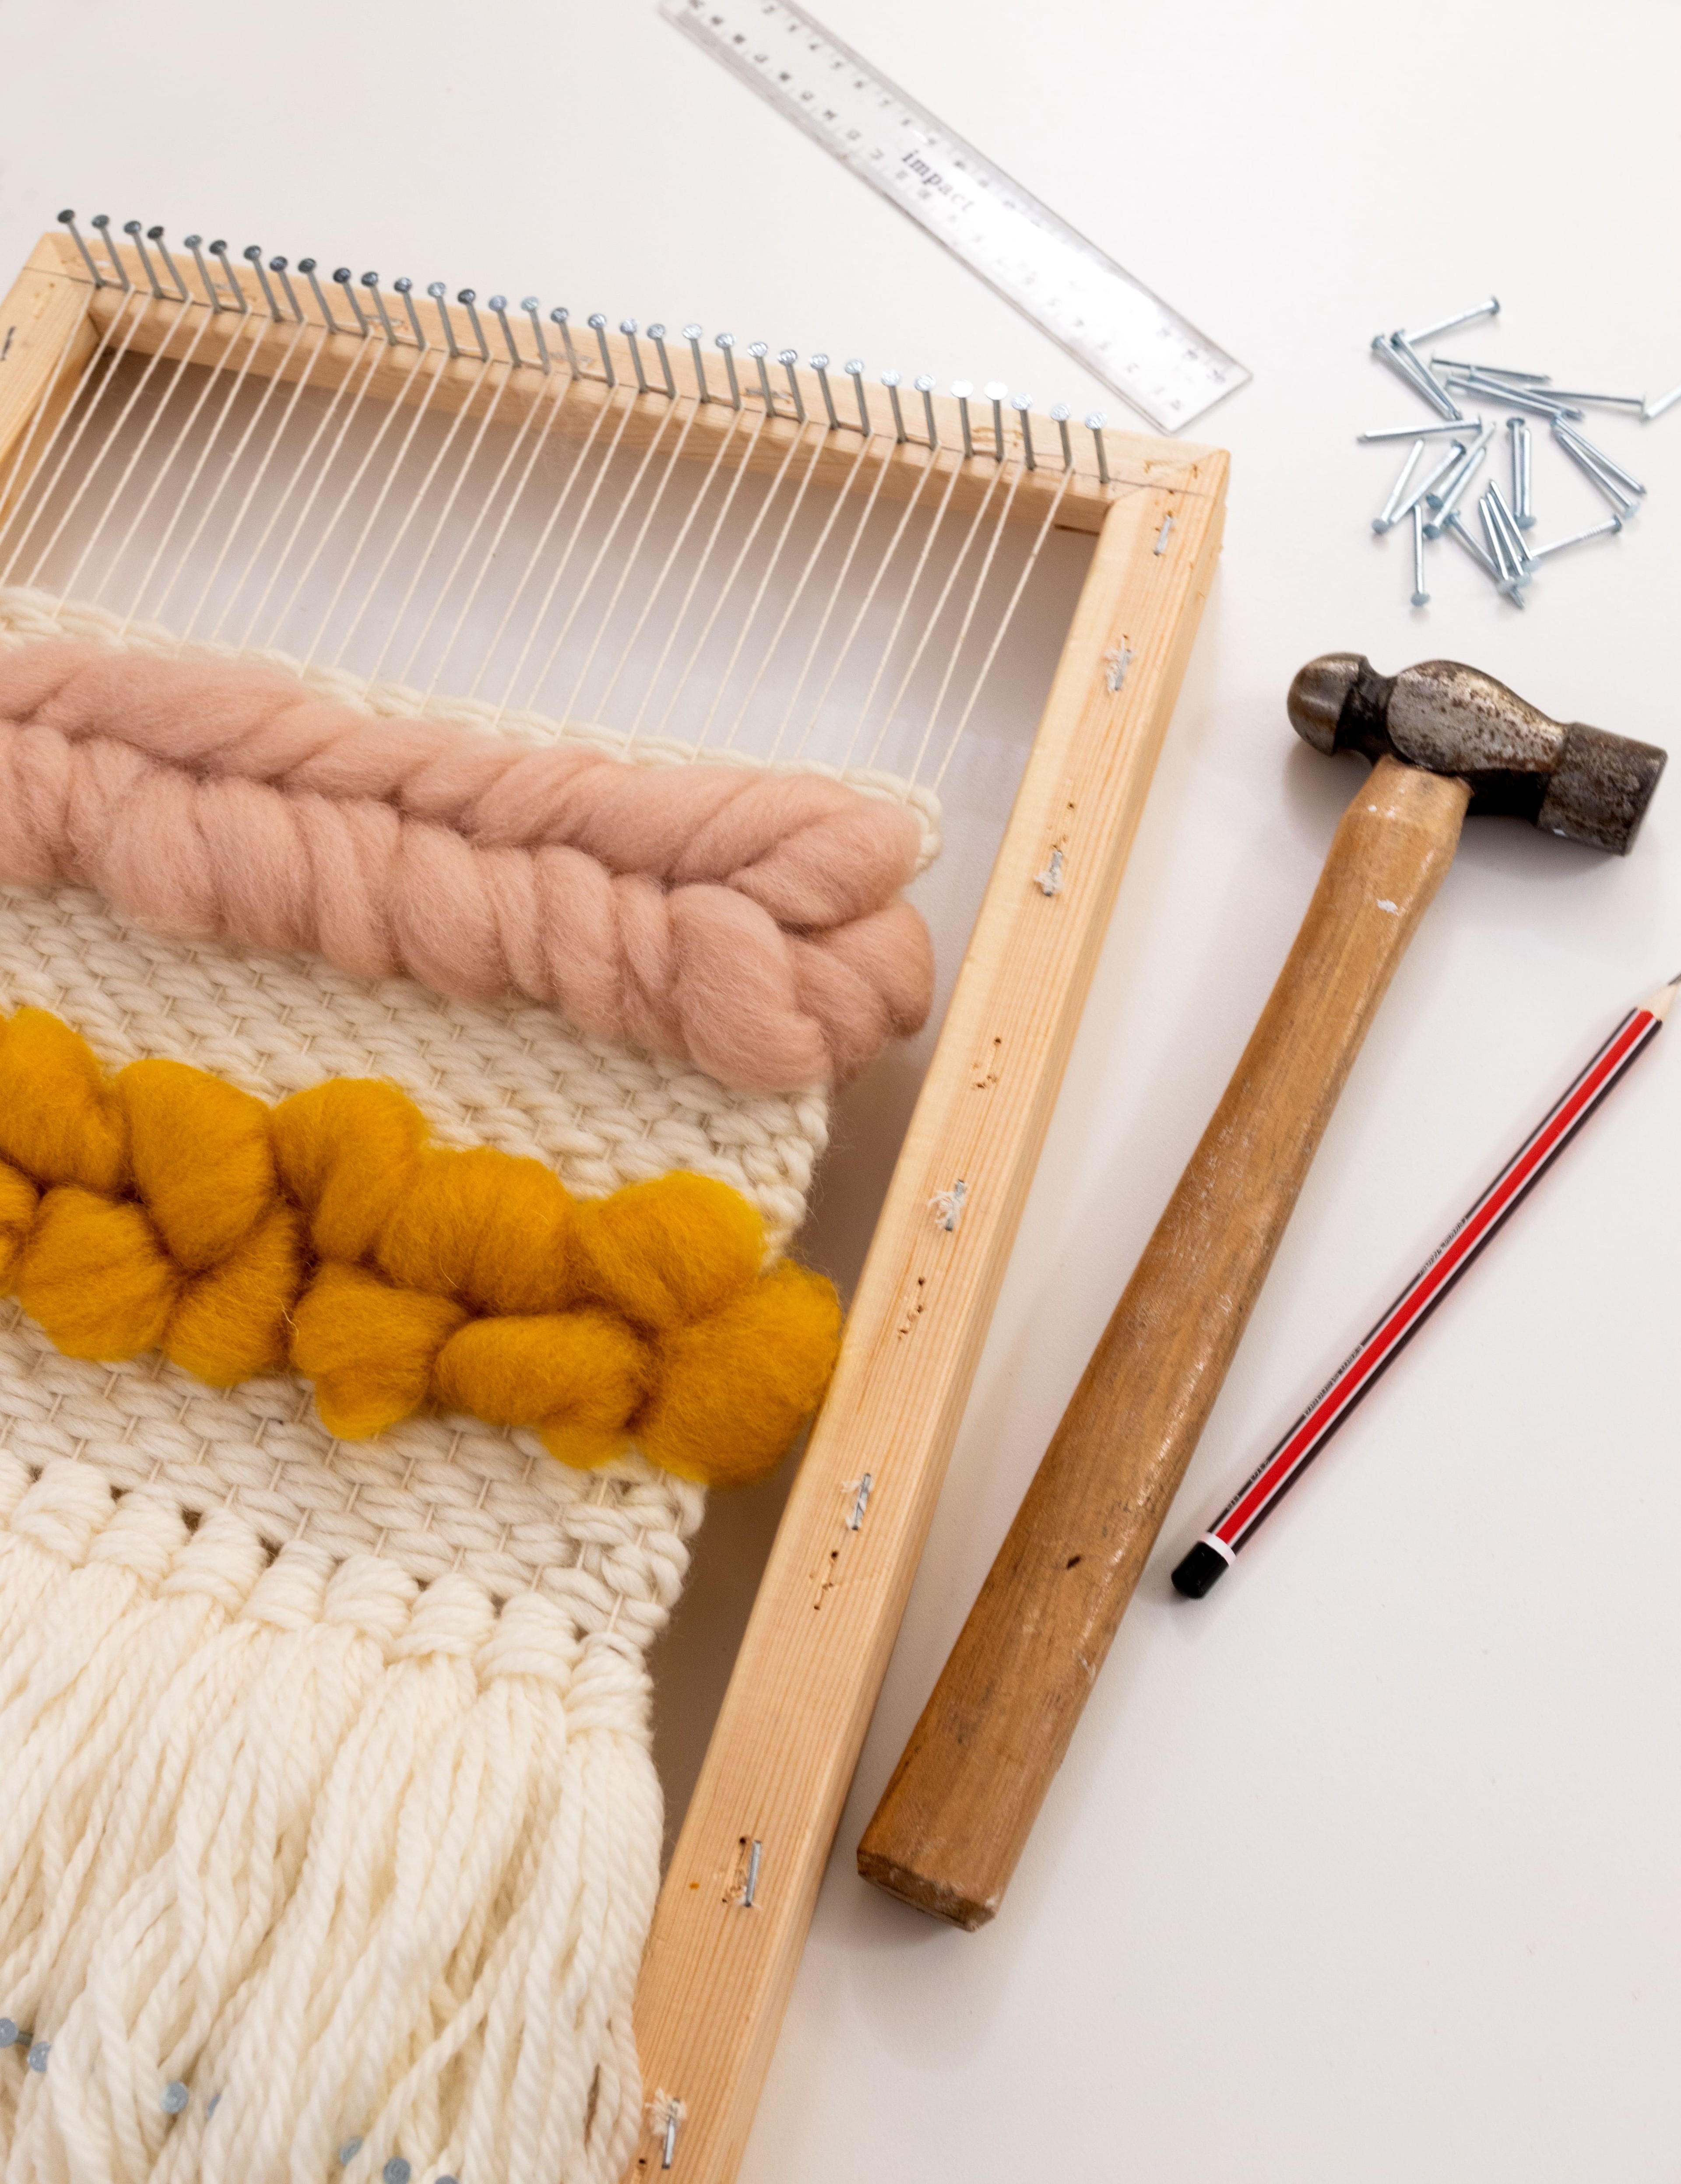
The right loom provides the foundation for successful rug weaving. Whether you build from scratch or purchase a frame, proper construction ensures even tension and consistent results.
DIY Wooden Frame Loom
Perfect for rag rugs up to 24 inches wide. This project requires basic tools and materials.
Materials needed include 1×2 wooden boards for the frame, 2-inch flat-head nails, a hammer, and screws for optional wall mounting. Cut two vertical side pieces and two horizontal crossbars, then assemble into a rectangle using screws or nails. Hammer nails into the top and bottom bars, spacing them 1 inch apart. Ensure nails on top and bottom align vertically for consistent warp spacing.
Instead of building the whole frame, we only set up the top and bottom bars, and screwed them into the wall.
— A Piece Of Rainbow
Add Side Stabilizers
Prevent inward bowing from tension by attaching quarter-round trim or wood or metal dowels along the sides. Tie string from end nails to dowels to keep edges straight throughout the weaving process.
I found the tension to be quite strong that the wood trim pieces started warping. So I added 1–2 extra nails to help them stay straight.
— A Piece Of Rainbow
Cardboard Frame for Beginners
A cardboard frame offers the simplest entry point. Cut cardboard to your desired size, such as 23 by 43 inches. Mark slots one-half inch apart, 2 inches from each end. Cut 2-inch slots at each mark to accept your fabric strips. This method costs almost nothing and works well for practice projects.
Select and Prepare Your Materials
Choosing the right materials directly impacts your rug is durability and appearance. Take time to select strong warp threads and prepare fabric strips properly.
Choose Strong Warp Threads
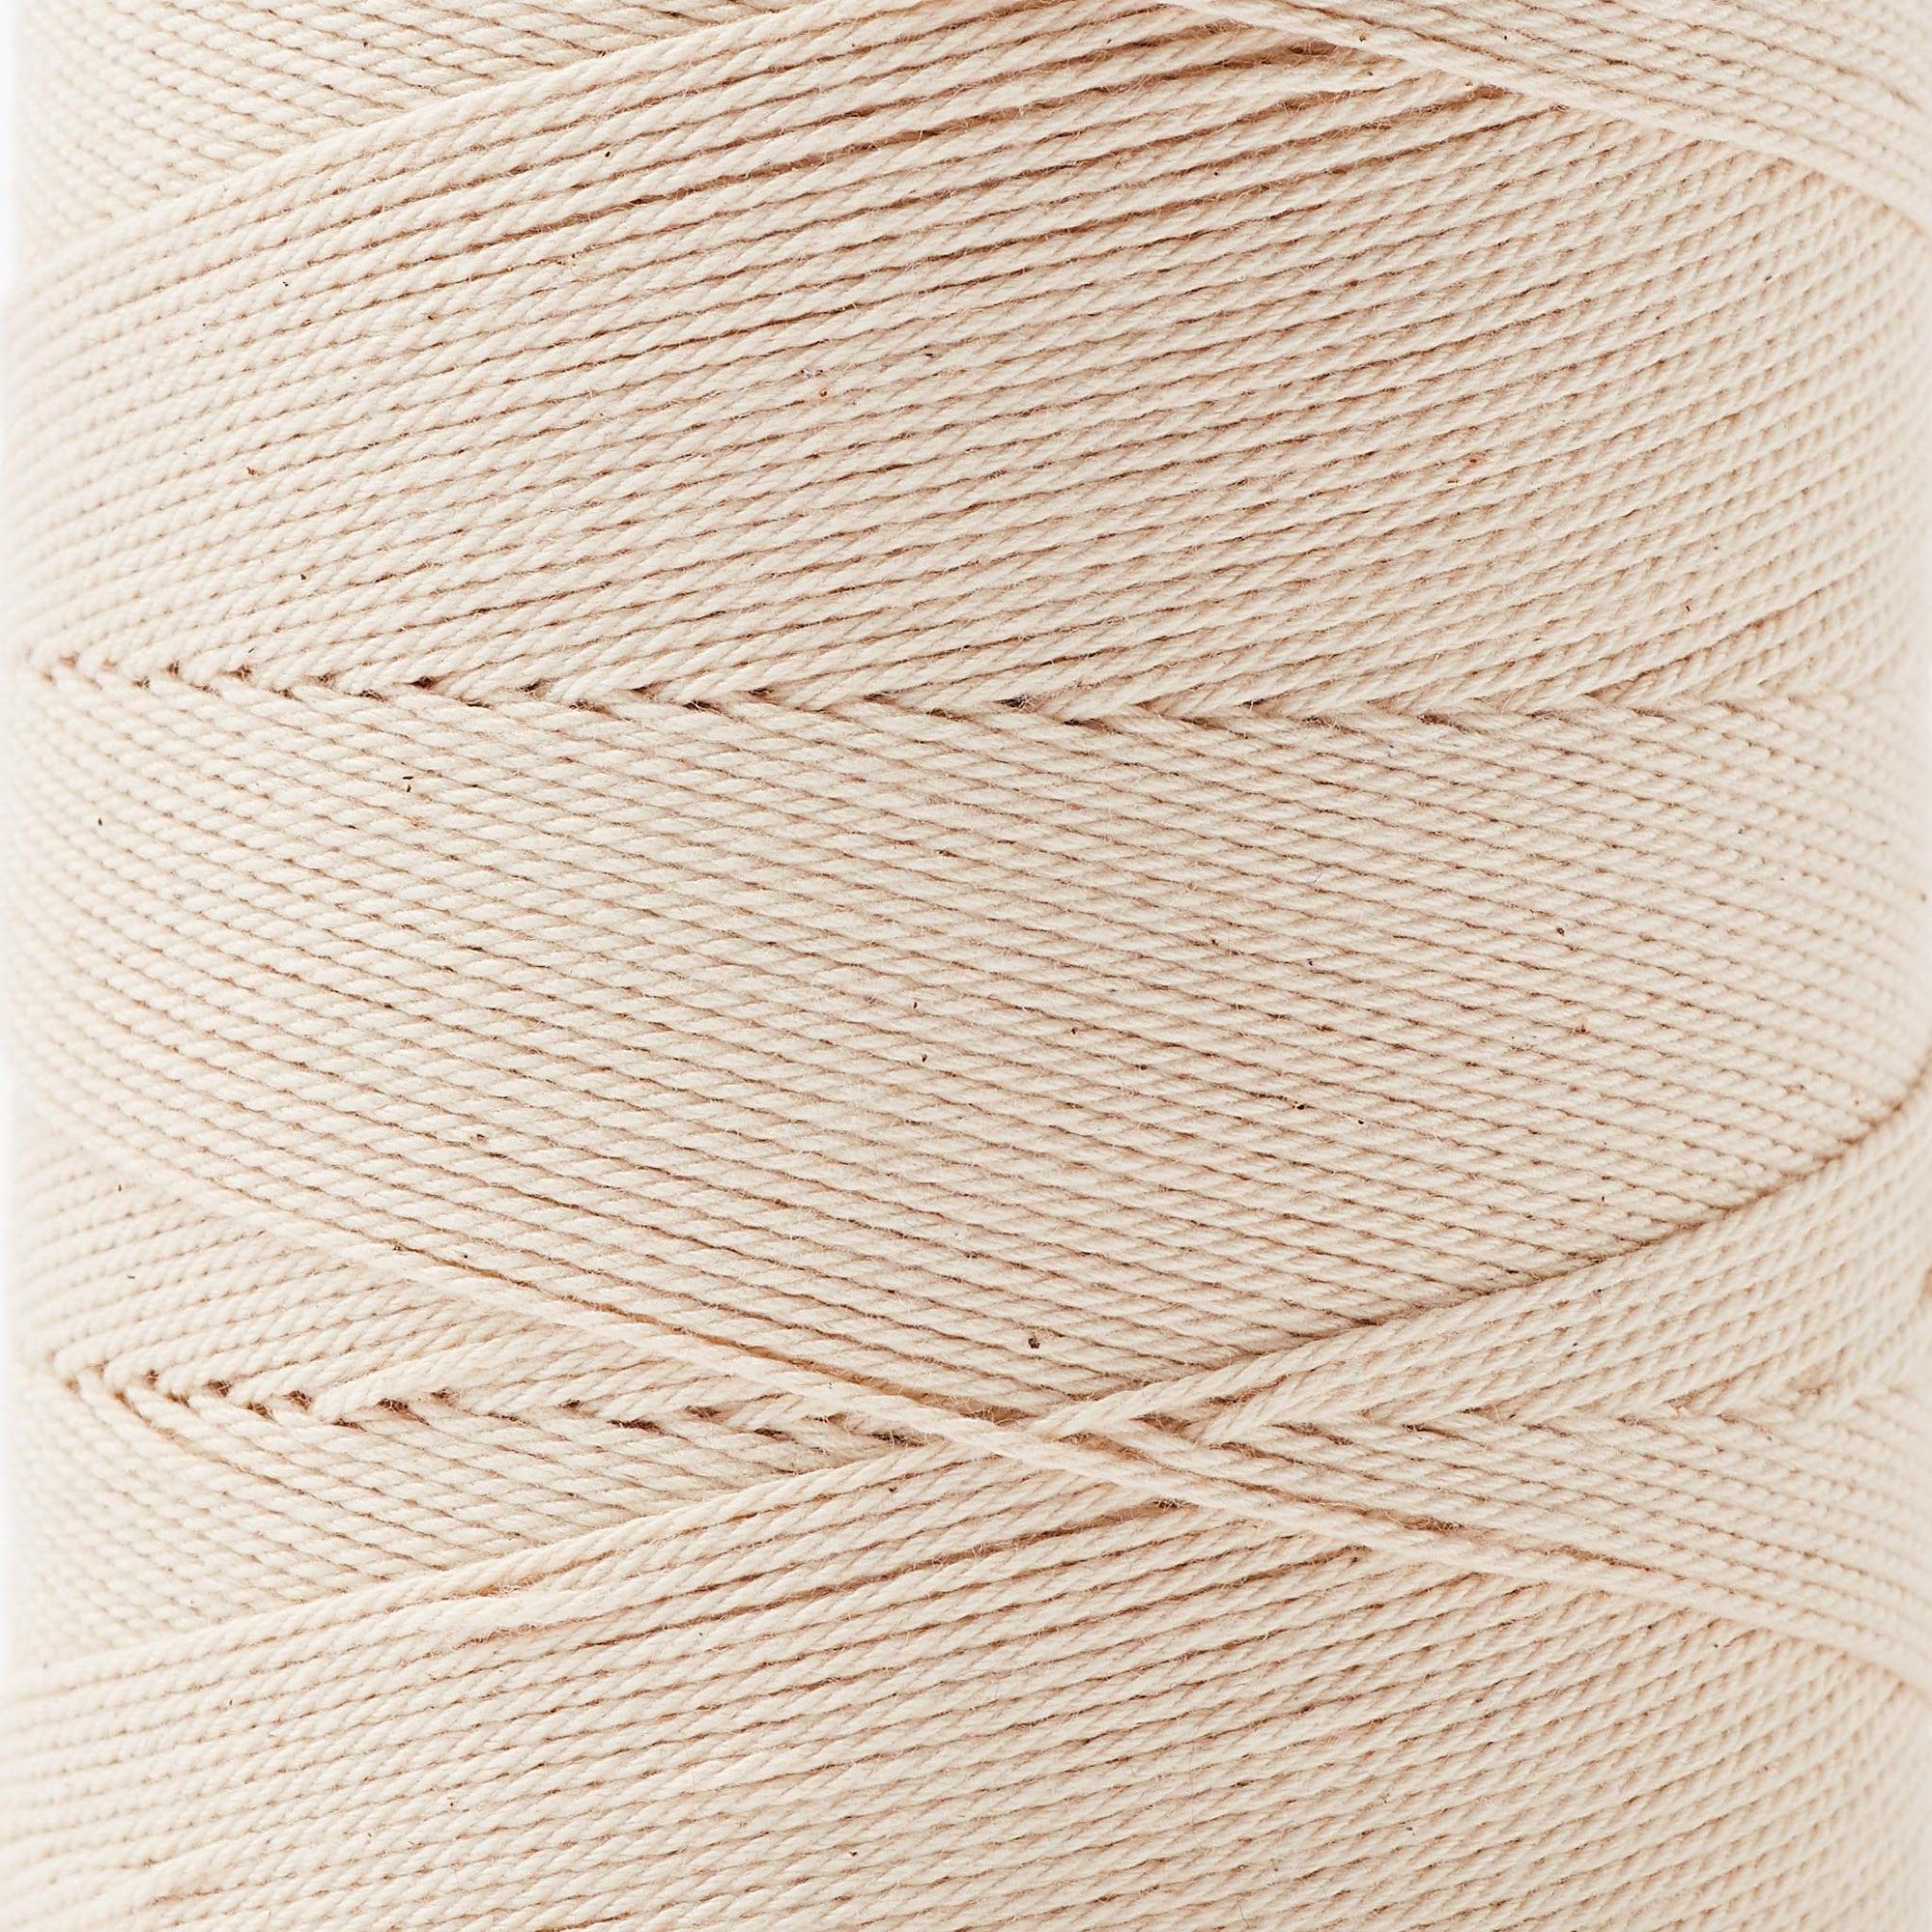
The warp, which runs vertically, must withstand significant tension during weaving. Cotton seine twine in size #6 provides excellent strength for loom-based rugs at 6 ends per inch. Beam yarn from Gist offers a smooth, beginner-friendly option. Mallo yarn provides textured durability suited for 12 ends per inch projects. Avoid Duet yarn, which tends to break under tension.
In all of the old rag rugs I have seen, the warp is always the part that fails first, so choosing something strong will help your finished rug stand the test of time.
— Rag Rug 101 – Gist Yarn
Cut Fabric Strips for Weft
The weft runs horizontally and creates the visible rug surface. Use old clothes, sheets, or denim cut into strips. Best fabrics include cotton bedsheets, t-shirts, denim, corduroy, flannel, and velvet or upholstery fabric for texture variety.
Strip width depends on your desired texture. Standard width ranges from three-fourths inch to 1 inch. Use one-half inch for fine texture. Rag rugs work well with 1 to 1.5-inch strips. Tapestry projects typically use 1-inch strips for tight packing.
Cutting tips speed up preparation. Use a rotary cutter with a ruler for fast, precise cuts. Alternatively, cut 2 inches into a hem and tear across the grain for cotton fabrics. If using scissors, estimate 2-inch width.
Use a rotary cutter and ruler to cut 2-inch-wide strips. Fast and precise.
— Getting Started with Rag Rug Weaving
Warp the Loom Correctly
Warping sets up the vertical foundation for your rug. Proper warping ensures even tension and prevents problems during weaving.
Secure the Starting Loop
Tie the warp thread to the first bottom nail with a slip knot. Pull up to the top nail, loop around, and zigzag down to the bottom. Continue across the entire width, maintaining even tension throughout. Do not over-tighten the warp, as it stretches during weaving. Keep it snug but not drum-tight.
Calculate Warp Length
The formula for warp length equals the peg-to-peg distance multiplied by the number of pegs, plus 50 inches for looping and 20 inches for tails. Alternatively, simply cut warp as you go, stopping when fabric runs out and adding more.
You may skip these calculations and simply cut, weave, stop when fabric runs out, then cut more.
— Getting Started with Rag Rug Weaving
Start Weaving the Weft
The weft creates horizontal rows that build your rug. Proper technique produces tight, durable fabric that resists wear.
Begin with a Secure Foundation
Fold the first fabric strip in half. Thread the loop through the starting warp. Pull the ends through the loop and tighten using a lark is head knot. This secure start prevents unraveling.
Use the Plain Weave Pattern
Row 1 passes over one warp thread and under the next across the entire width. Row 2 reverses the pattern, going under where you went over. Alternate each row to create the classic plain weave structure that provides strength and stability.
Pack Rows Tightly
Use a tapestry fork or beater to push each row upward after weaving. Gaps between rows weaken the rug and create an uneven appearance. Push firmly and consistently for professional results.
Push each row up as you weave. The rug will stay nice and tight, and you can take a break and come back to it anytime!
— A Piece Of Rainbow
Manage Color Changes and Joins

Seamless color changes and joins prevent bumps and weak spots in your rug. Master these techniques for professional-looking results.
Join New Fabric Strips
The slot-and-pull method works well for weft joins. Cut a 1-inch slot into the end of the old strip. Insert 1 to 2 inches of the new strip through the slot. Pull the tail back through its own slot and tighten. This creates a smooth transition without knots.
For warp threads, cut ends at a 45-degree angle. Overlap and weave together in the next shed. You can also stitch ends together with a whipstitch or use splicing for yarn to join without bulk.
Because I was weaving with double strands, it was fun to play with combinations of colors.
— A Piece Of Rainbow
Maintain Straight Edges
Edges that pull inward create an hourglass shape that ruins the rug is appearance. Prevent this with proper techniques and tools.
Use a Temple
A temple is a loom tool that keeps the woven width consistent and prevents draw-in. Attach it to both sides of the fabric as you weave. This simple device maintains your intended dimensions throughout the project.
Most weaving books recommend using a temple when you weave a rag rug.
— Rag Rug 101 – Gist Yarn
Work Around Edge Rods
If using a frame with side rods, go around the rod at the end of each row before returning. This locks the edge and prevents slippage. Keep weft tension consistent at edges by not pulling too tight.
Finish the Final Rows

Proper finishing secures your work and prevents unraveling. Take care with the last few rows to ensure durability.
Lock the Last Weft
When you are within one finger is width of the last nail, pull the current strip to the back. Use a crochet hook to bring the next color forward. Alternate for 2 to 3 nails to secure the final rows.
Tie Off Ends
Leave 6-inch tails on your warp threads. Thread them through nearby warp or weave them back into the rug. Trim after washing for a clean edge.
Remove and Trim the Rug
Careful removal and trimming give your rug a polished, professional appearance.
Take It Off the Frame
Cut warp threads from the nails. Tie pairs of warp ends in overhand knots to prevent unraveling. Work carefully to avoid damaging the woven fabric.
Trim Evenly
Lay the rug flat on a protected surface. Use scissors and a ruler to straighten edges. Round corners slightly for a polished look. Use a ruler or scrap cardboard under the weave to protect it during trimming.
Use a ruler or scrap cardboard under weave to protect during trimming.
— A Piece Of Rainbow
Add Non-Slip Backing
A non-slip backing prevents accidents on hard floors and extends the rug is lifespan.
Use Foam Shelf Liner
Cut foam shelf liner slightly larger than the rug. Place the rug face-down on the liner. Pin corners and edges to hold everything in place. Sew around the perimeter with a slip stitch using thread that matches the backing. This improves safety on hard floors and completes your rug.
Choose a Professional Finish
The right finish transforms your woven piece into a finished product worthy of display.
Tied Knots
Simple and rustic, tied knots work well for rag rugs. Tie warp ends in pairs using overhand knots for a casual, functional finish.
Twisted or Braided Fringe
Twist pairs of warp threads together. For more elegance, braid groups of three threads. This creates decorative fringe that frames your rug beautifully.
Sewn or Turned Hem
Fold the edge over one-half inch and stitch down. This creates a clean, modern border ideal for bath mats or floor rugs that see heavy use.
Damascus Edge
This weft-protector finish wraps the last row around the edge. It works particularly well for weft-faced rugs and provides extra durability in high-traffic areas.
Finishing includes creating a braided edge.
— Rebecca Mezoff
Wash and Maintain Your Rug
Proper care keeps your rug looking great for years. Follow these maintenance guidelines.
Wash Before First Use
Machine wash in cold water to remove loose fibers and pre-shrink the fabric. Air dry or tumble dry on low heat. This initial wash sets the fibers and prevents shrinkage later.
Maintenance Schedule
Shake or vacuum the rug daily or weekly to remove surface dust. Spot clean stains monthly with mild detergent. Give the rug a full wash every 3 to 6 months depending on use. Annually, check the backing and re-sew any loose edges.
Storage Tips
Roll the rug rather than folding to avoid creases. Store in a dry, dark place to prevent fading and pest damage. Avoid prolonged sunlight exposure.
Design with Creativity and Purpose
A well-designed rug reflects your personal style while remaining functional.
Plan Your Color Scheme
Group strips by color before starting. Alternate light and dark shades for visual contrast. Use paper patterns called cartoons for tapestry rugs to plan complex designs in advance.
Mix Textures
Combine cotton, flannel, denim, and velvet for visual interest. Different textures create depth and make the rug more visually appealing. The interplay of materials adds character that plain yarn cannot achieve.
Embrace Imperfection
Slight variations add charm and uniqueness. Handwoven rugs carry the maker is touch in every row. Do not strive for machine-perfect uniformity when the handmade quality is part of the appeal.
What I love so much about weaving rag rugs is that there is an element of unpredictability. How the warp, weft, weave structure, and scale work together makes the weaving very exciting and fun.
— Rag Rug 101 – Gist Yarn
Troubleshoot Common Problems
Even experienced weavers encounter issues. Knowing how to address them saves projects and builds skills.
Selvedge Breakage
Weak warp or tight beating causes edges to break. Use strong warp such as Beam yarn and apply a temple to distribute tension evenly.
Hourglass Shape
Weft tension pulls edges inward, creating an hourglass silhouette. Use side bars or wood dowels to maintain width throughout weaving.
Loose Weft
Inadequate packing creates gaps between rows. Beat each row firmly with a tapestry fork to eliminate gaps and create dense, durable fabric.
Uneven Edges
Inconsistent tension produces wavy or uneven edges. Practice steady, consistent weft throws and use the meet and separate technique in tapestry weaving to control edge threads.
First Row Too Tight
Over-tightening the starting loop makes weaving difficult. Use masking tape on strip ends and work slowly through the first few rows.
Learn from Experts and Expand Skills
Continuing education improves technique and opens new possibilities.
Take a Professional Course
The Introduction to Rug Weaving course by Rebecca Mezoff covers 12-inch tapestry rugs, splicing, curves, and braided edges. It includes videos, PDFs, and community support. The course works best for those with basic warping knowledge who want to advance their skills.
Best value for money EVER! Every step is described and demonstrated in detail, and Rebecca is quickly responsive to questions and comments.
— Kathleen Rankin
Recommended Books
Twined Rag Rugs by Bobbie Irwin covers traditional techniques. Weaving Contemporary Rag Rugs by Heather Allen offers modern approaches. Tina Ignell is Favorite Rag Rugs provides color and pattern inspiration.
Explore Global Traditions
Sakiori from Japan uses torn cotton or silk fabric strips for weft-faced rag weaving. Catalogne Coverlets from French Canada represent heritage flatweaves. Exploring these traditions expands your technique repertoire.
Key Takeaways for Weaving Your First Rug
Weaving a rug is a sustainable, creative act that transforms old textiles into beautiful, functional pieces for your home. Start with a simple cardboard frame if you are new to weaving, or build a wooden frame loom for more advanced projects. Choose strong warp threads like cotton seine twine or Beam yarn, as the warp determines your rug is longevity. Cut fabric strips between one-half inch and 1.5 inches wide depending on your desired texture, and use a rotary cutter for precision. Beat each row firmly with a tapestry fork to create tight, durable fabric that withstands daily use. Plan your color scheme in advance, but leave room for creative improvisation as you weave. With the right tools, materials, and techniques, you can create rugs that last for years while expressing your personal style. Now that you understand how to weave a rug, gather some fabric, set up your loom, and start creating.
Frequently Asked Questions About How to Weave a Rug
What is the easiest way to weave a rug for beginners?
The cardboard frame method works best for beginners. Cut a rectangular frame, create slots along the edges, and weave fabric strips using an under-over pattern. This requires minimal tools and provides a low-pressure learning environment.
What materials do I need to weave a rug?
You need a loom or frame, warp thread, fabric strips for weft, a tapestry fork or beater, scissors, a ruler, and a crochet hook. A temple helps maintain width, and foam shelf liner creates non-slip backing.
How long does it take to weave a rug?
A small 12-inch by 12-inch rug takes approximately 4 to 6 hours. Larger rugs or more complex designs require proportionally more time. Budget 1 to 2 weeks for a beginner completing their first floor rug.
Can I weave a rug without a loom?
Yes, you can create braided rag rugs using a cardboard frame with slots. The frame holds fabric strips in place while you weave rows using an under-over pattern. This method produces dense, attractive rugs without traditional loom equipment.
How do I prevent my rug edges from pulling inward?
Use a temple to maintain consistent width, attach side stabilizers like wood dowels or quarter-round trim, and keep weft tension even throughout. Avoid pulling weft too tight at the edges.
How do I wash and care for a handwoven rug?
Machine wash in cold water and air dry or tumble dry on low. Vacuum or shake out dust regularly. Spot clean stains monthly and give the rug a full wash every 3 to 6 months depending on traffic.







