
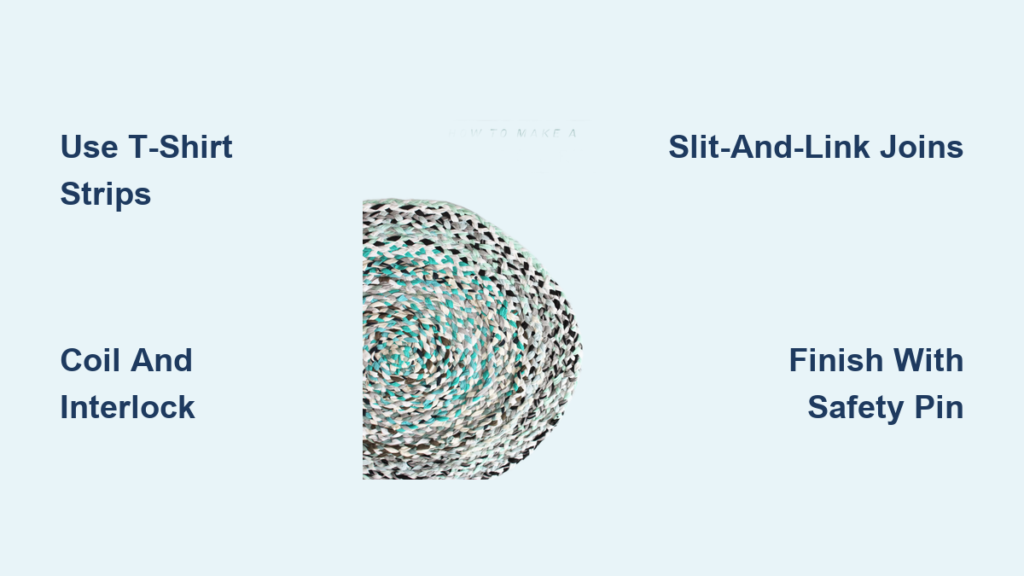
Imagine transforming a pile of old t-shirts and fabric scraps into a beautiful, durable rug without ever touching a needle or thread. A no-sew braided rug uses only braiding, coiling, and interlocking techniques to create a seamless floor covering that rivals store-bought options. This project is perfect for beginners, eco-conscious crafters, and anyone looking to repurpose unwearable clothing into something functional and gorgeous.
In this guide, you will learn every step of the process from selecting fabrics and cutting strips to finishing with a flat, professional-looking rug. Whether you want a cozy round rug for your bedroom or a long runner for the hallway, these proven techniques will help you create something lasting and personalized.
Gather Materials for Your Braided Rug
Choose the Right Fabrics
The success of your no-sew rug starts with selecting appropriate fabrics. Knit fabrics like old t-shirts work best because they do not fray and their slight stretch helps maintain even tension during braiding.
Best fabric choices for braided rugs:
- T-shirts made from cotton jersey are soft, stretchy, and easy to cut into long continuous strips. This makes them the most popular choice for beginners.
- Denim jeans add durability and a stylish look. They are ideal for high-traffic areas of your home.
- Flannel or cotton sheets can be torn cleanly along the grain and add nice texture variety.
- Fleece or blankets create warmth and plushness but use them sparingly since they are bulkier.
- Sweaters and knit tops offer rich texture and color variation for visual interest.
Avoid slippery fabrics like satin or stiff materials like leather since they do not hold braid structure well.
Tools You Will Need
You do not need an elaborate craft room for this project. Basic supplies that most people already have at home will work perfectly.
Essential tools:
- Sharp scissors or a rotary cutter for clean, precise cuts
- Cutting mat and ruler to ensure uniform strip width
- Measuring tape to track rug size and strip length
- Safety pin or large clip to thread braid ends through loops
- Small weight like a coffee mug to hold the starting knot in place
- Spray bottle with water to flatten curled or bunched sections
- Non-slip rug pad to keep the finished rug safe on smooth floors
Cut Fabric Into Strips for Braiding
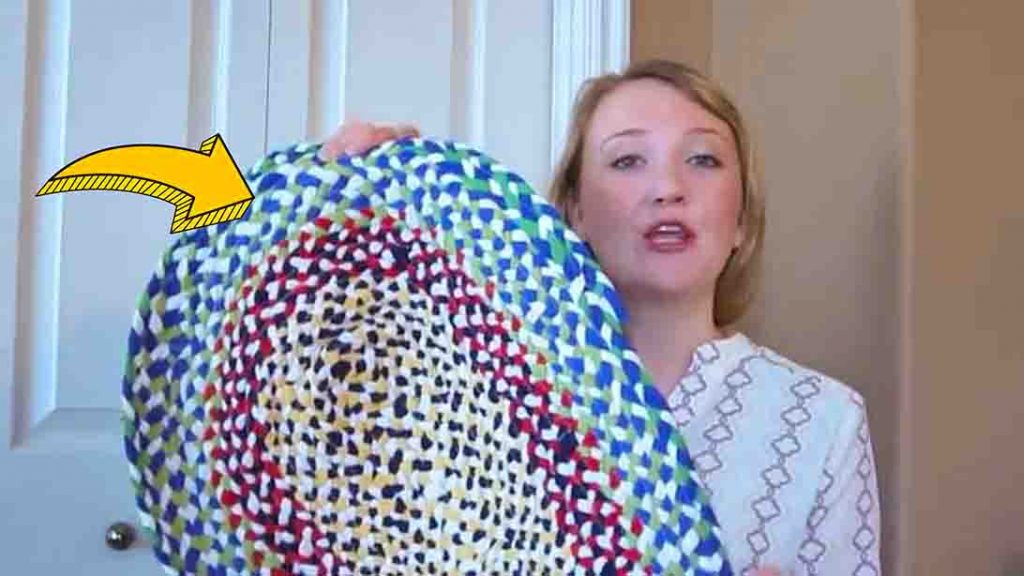
Prepare T-Shirts Into Continuous Strips
The key to easy braiding is creating long, continuous strips without frequent joins.
Follow these steps to cut t-shirt strips:
- Lay a t-shirt flat and cut off the sleeves and neckline completely.
- Cut horizontally across the body into 1.5″ to 2″ wide bands.
- Each horizontal cut creates a loop. Snip one end of each loop to unroll it into a long, stretchy strip.
- Repeat with multiple shirts, mixing colors or sticking to a theme depending on your design preference.
Stretch each strip gently as you unroll it. This simple step helps prevent curling later in the process.
Handle Woven Fabrics Differently
Sheets, flannel, and denim require different treatment than knit fabrics.
The tear method works best for woven fabrics:
- Make a small cut at the fabric edge.
- Pull firmly to tear along the grain. This produces clean, fray-resistant lines.
- Cut these torn strips into 1″ to 1.5″ wide pieces depending on desired thickness.
Use a rotary cutter when tearing is not possible or when you need precise widths.
Ideal Strip Dimensions Reference
| Fabric Type | Recommended Width | Why It Works |
|---|---|---|
| T-shirt (knit) | 1.5″ to 2″ | Stretch prevents fraying and makes braiding easy |
| Denim | 1″ to 1.5″ | Narrower width reduces stiffness and bulk |
| Flannel | 1″ to 1.5″ | Minimizes thickness in coiled rugs |
| Fleece | 1.5″ | Less stretch requires wider strips for strength |
Aim for strips that are 3 to 5 feet long to minimize the number of joins needed. Continuous t-shirt strips often exceed this length naturally.
Start the Braid
Choose Your Braid Type
Two main braid styles work well for no-sew rugs. Each creates a different look and level of complexity.
Three-strand braid is beginner-friendly:
- Use three fabric strips of equal or varying colors.
- Knot the ends together and place a small weight on the knot to anchor it.
- Braid using the pattern: left over middle, right over middle, alternating continuously.
- Keep your tension gentle but consistent. Pulling too tight causes twisting.
This method works best for simple spiral rugs and beginners just learning the technique.
Four-strand braid creates interlocking capability:
- Use four strips, ideally in contrasting colors so you can see each strand clearly.
- Knot the ends and anchor under a weight as before.
- Weave the outer strand over, under, over the others, then pull it through the loop of the center braid using a safety pin.
- Alternate sides as the outer strand shifts position.
This creates a self-locking braid perfect for coiling without any glue or stitching.
Visual cue: The finished braid should lie flat and feel snug. If it twists or feels loose, adjust your tension accordingly.
Coil and Attach the Braid
Center-Coil Method Without Glue
This is the classic technique often called “Grandma’s Method.” It creates a seamless spiral built entirely through interlocking.
Build your rug step by step:
- Braid 6 to 8 inches of fabric strips using your chosen method.
- Coil the braid tightly into a small circle, keeping the original knot at the center.
- Hold the coil with one hand. With your other hand, take the strand closest to the center.
- Use a safety pin to thread this strand under and through a loop in the coiled section.
- Gently pull to secure. This action locks the new braid to the old.
- Braid another 4 to 6 inches, then repeat the weave-in step.
Critical technique: Always thread the innermost strand through the side of the previous coil, not over the top. This creates a clean, flat spiral.
Maintain a Flat Spiral
Two common problems can derail your progress. Knowing how to fix them saves frustration.
If your rug puckers or bunches: Add extra weaves at the coil edge. Pass the strand through the same loop 2 to 3 times to add fullness where needed.
If your rug ruffles or has wavy edges: You are adding too much fabric. Reduce the number of extra weaves at the edge.
Work on a flat surface and check the shape every few coils. If the rug curls, mist it with water and press it under heavy books overnight.
Join New Fabric Strips
Slit-and-Link Method for Seamless Joins
Knots create unwanted lumps in your rug. The slit-and-link technique produces flat, invisible joins.
Join strips smoothly:
- Near the end of your current strip, fold the tip and cut a small slit in the center.
- Do the same at the start of your new strip.
- Insert the new strip end through both slits.
- Pull both ends to tighten. The strips hook together securely.
This join lies perfectly flat and will not snag underfoot.
Knotting as Backup
Some fabrics are too stiff to slit successfully. In these cases:
- Tie a square knot by crossing right over left, then left over right.
- Trim excess fabric close to the knot.
- Alternate join points across different strands to prevent bulk from forming.
Expand the Rug to Full Size
Control Growth Direction
As your rug grows, keeping it even and circular requires attention to technique.
Maintain consistent shape:
- Weave in one direction only, either clockwise or counterclockwise throughout.
- Rotate the rug slightly with each coil to distribute tension evenly.
- Add new strips at the outer edge of the rug, never at the center.
For oval rugs, add extra weaves at the ends to stretch the shape. For rectangular rugs, consider the woven flat braid method instead.
Estimate Material Needs
Planning ahead prevents running out of fabric mid-project.
- A 30″ diameter rug needs approximately 15 t-shirts.
- A small rug (2′ x 3′) requires about 3 to 4 pounds of fabric.
- A medium rug (3′ x 5′) needs roughly 6 to 8 pounds of fabric.
Try the Woven Flat Braid Method
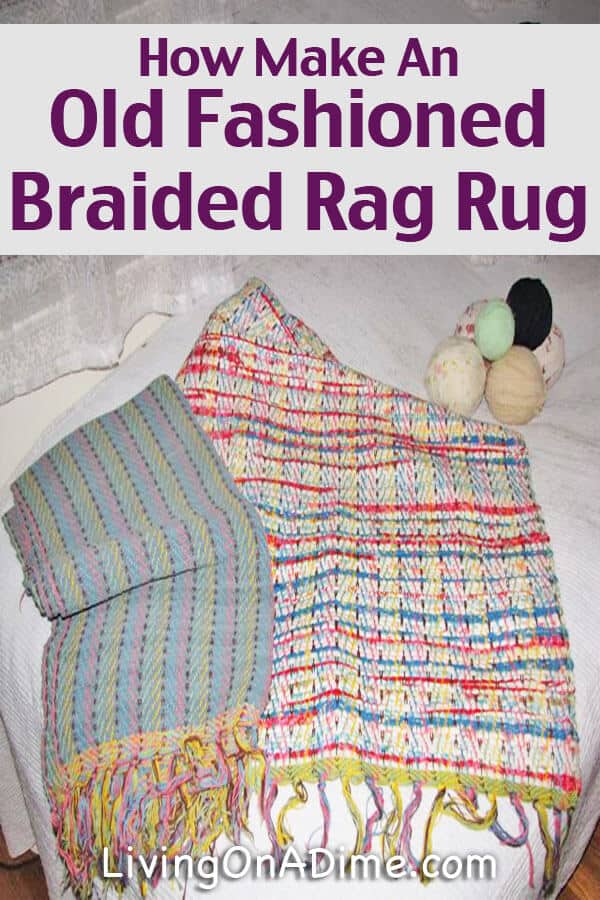
Create Rectangular or Runner Rugs
The woven flat braid method produces a tight, woven mat without glue or stitching. This technique works especially well for rectangular shapes.
Build a flat woven rug:
- Start with 4 fabric strips knotted at one end.
- Weave the outermost strip under, over, under, over the other three.
- After weaving, tuck the last loop into the edge of the main braid.
- Rotate the piece 180 degrees and repeat the pattern.
- At turns, add a new strip by threading it through the starting knot.
Adjusting width:
- To widen the rug, add two strips (one per side) at each turn.
- To taper and finish, remove strips gradually in sequence (8 to 6 to 4 to 2 to 0).
This method works best with non-stretchy fabrics like denim or flannel.
Finish the Rug Cleanly
Secure the End Properly
Reaching your desired size is exciting, but finishing correctly ensures your work lasts.
Finish the rug properly:
- Braid a final 4 to 6 inches of fabric.
- Weave the tail into the underside of the last coil using a safety pin.
- Pull tight and tuck in any remaining end. No loose ends should remain.
Warning: Never cut too close to a knot or threaded section. This can cause the entire rug to unravel.
Trim and Groom
- Trim stray threads on the back for a neat appearance.
- On the top surface, leave frayed edges intact. They add charming handmade character.
- Never cut through knots or interlocked loops.
Add Optional Backing
Boost Durability and Safety
While optional, backing materials improve function significantly.
Backing options:
- Fusible interfacing can be ironed onto the reverse side. It adds stiffness and prevents slipping while remaining machine washable.
- Fabric stiffener or starch spray lightly reduces fraying and helps the rug lie flat.
- Polycrylic spray provides a water-based, slightly glossy protective finish.
- Non-slip rug pad is essential for hardwood or tile floors. It prevents sliding and extends the rug lifespan considerably.
Customize Your Design
Play With Color
Simple color strategies create striking visual impact.
- Rainbow progression blends colors in spectrum order from red to violet.
- Monochromatic schemes use different shades of one color like light to dark blue.
- Contrast borders use bold colors at the edges to define the shape.
- Scrap mixing creates a vintage, eclectic look with random colors.
Mix Textures
Combining different fabrics adds visual and functional interest.
- Use soft cotton t-shirts as the base layer for comfort.
- Add denim strips for durability and contrast in high-traffic areas.
- Include flannel for cozy winter warmth.
- Use fleece sparingly for plush areas.
Vary Strip Width
Wider strips (2″ or more) create a bold, sculptural appearance. Narrow strips (under 1″) produce a delicate, woven look.
Troubleshoot Common Problems
Fix Bunching or Puckering
Cause: Uneven tension or too few weaves at the coil edge.
Solution: Add 2 to 3 extra passes through the same loop at problem areas. Mist with water and reshape.
Stop Braid Twists or Curls
Cause: Inconsistent braiding pattern or tension.
Solution: Mark the starting order of strands with a pen. Practice the over-under sequence on scrap fabric first.
Control Excessive Fraying
Cause: Woven fabrics like cotton sheets naturally fray.
Solution: Accept it as rustic charm, or apply fabric stiffener to edges.
Repair Come-Undone Joins
Cause: Poor slit-link technique or weak knot.
Solution: Reinforce with a tiny dot of fabric glue. Re-do the slit method correctly, pulling very tight.
Flatten a Curled Rug
Cause: Stored in a roll or exposed to moisture.
Solution: Lay under heavy books overnight. Mist with water and flatten manually.
Care and Maintenance
Washing Instructions
Most no-sew rugs handle machine washing well.
- Wash in cold or warm water with like colors.
- Use the gentle cycle.
- Air dry or tumble dry on low heat. Avoid high heat, especially if you used glue or backing.
Never use bleach. It weakens fabric fibers and can cause colors to run.
Long-Term Care
- Vacuum regularly to remove dust and debris.
- Spot clean with mild detergent and a damp cloth.
- Rotate the rug every few months for even wear.
- Repair any lifting edges promptly by re-weaving or adding a small amount of fabric glue.
Frequently Asked Questions About No-Sew Braided Rugs
How long does it take to make a no-sew braided rug?
A small rug typically takes 10 to 20 hours to complete. You can work on it in stages, making it perfect for watching TV or listening to podcasts while you craft.
Can I use any type of fabric for a no-sew braided rug?
Knit fabrics like t-shirts work best because they do not fray and stretch nicely. Woven fabrics like sheets and denim can be used but require the tear method for clean edges. Avoid slippery fabrics like satin.
Do I need to glue a no-sew braided rug?
No, glue is optional. The center-coil interlocking method holds the rug together purely through weaving. Glue is only needed if you want faster assembly or a specific rectangular shape.
How do I clean a no-sew braided rug?
Machine wash in cold or warm water on gentle cycle. Air dry or tumble dry low. Spot clean stains with mild detergent. Avoid bleach.
What if my rug starts to unravel?
This happens if a join comes loose or you cut too close to a knot. Fix it by re-weaving the loose end through the previous coil, or add a tiny dot of fabric glue to secure it.
Can kids help make a no-sew braided rug?
Yes, children can help with simple tasks like ripping fabric or holding the weight in place while you braid. Older kids can learn basic three-strand braiding with supervision.
Key Takeaways for Making a No-Sew Braided Rug
Creating a no-sew braided rug is an achievable project that transforms old clothes into functional home decor. The most important elements are selecting stretchy fabrics like t-shirts, cutting consistent 1.5″ to 2″ strips, and mastering the center-coil interlocking technique. This method requires no glue, no sewing, and no special equipment beyond basic household tools.
The process rewards patience. Working in stages prevents fatigue, and maintaining even tension throughout ensures your rug lies flat and looks professional. Remember to add a non-slip rug pad underneath for safety on smooth floors, and expect the project to take 10 to 20 hours depending on the size you want.
Every rug you make diverts textile waste from landfills while creating something uniquely yours. Whether you use sentimental t-shirts from meaningful events or mix colors for a bold statement, your finished rug carries a story that store-bought items simply cannot match. Start with a small project, embrace the rustic imperfections, and enjoy the meditative rhythm of braid, coil, and repeat.







