
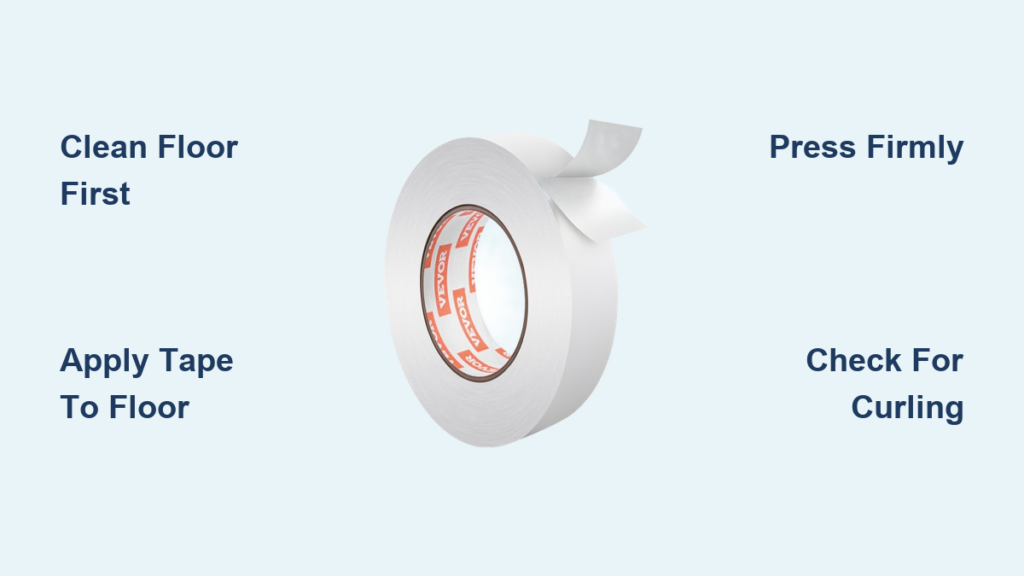
Slipping rugs are more than a nuisance. They are a real tripping hazard that puts your family at risk. Whether it is a hallway runner shifting underfoot or an area rug curling at the edges, the solution is simple: rug tape. This double-sided adhesive provides a strong, residue-free grip that keeps rugs firmly in place on hardwood, tile, laminate, and other smooth floors. When applied correctly, rug tape prevents bunching, sliding, and dangerous lifts without damaging your flooring. In this guide, you will learn exactly how to use rug tape step by step, including the best types, application patterns, surface prep, and pro tips for long-lasting results.
Prepare the Floor Surface Before Taping
Before applying any tape, proper surface preparation is essential. Adhesion fails most often due to dirt, dust, or moisture sitting between the tape and your floor.
Clean Floors Thoroughly
Vacuum or sweep the area first to remove loose debris. Then wipe the floor with a dry microfiber cloth to pick up fine particles that vacuuming might miss. Avoid wet mopping right before installation because residual moisture weakens the bond significantly.
Pro Tip: Never use oil-based cleaners or waxes before taping. These products leave invisible residues that block adhesion completely.
Confirm Dryness and Smoothness
Ensure the floor is completely dry and free of debris. Rug tape works best on flat, sealed surfaces. Test a small section if you are unsure about compatibility with your specific floor type.
Warning: Do not apply rug tape on unsealed wood, waxed floors, or textured surfaces unless you are using a specialty tape designed for those materials.
Choose the Right Rug Tape Type

Not all rug tapes are equal. Matching the tape to your floor type, rug weight, and usage needs is critical for success.
Standard Double-Sided Carpet Tape
This option is ideal for lightweight to medium rugs. It is sold in rolls, often with 50 feet or more, and delivers solid hold on hardwood and tile at a budget-friendly price. Once applied, standard tape is not reusable.
Reusable Rug Gripper Strips
These are perfect for renters or anyone who frequently rearranges their space. Products like Rug Gripper allow you to lift and reposition rugs without replacing the tape. You can tear them by hand, so no cutting tools are needed.
High-Performance Film or Fabric Tape
Commercial settings require stronger solutions. Tapes like PPM 8050 film or PPM 8226 fabric offer industrial-strength adhesion while still removing cleanly. These are best for gyms, hotels, or high-traffic areas in your home.
Pre-Cut Corner Pads vs. Roll Tape
Pre-cut pads are convenient but less effective than continuous tape. For edge curling problems, use roll tape along the full perimeter instead of spot pads alone.
Apply Tape to the Floor First
Experts agree: apply tape to the floor first, not the rug. This method ensures better alignment and stronger contact between the adhesive and both surfaces.
Cut and Place Tape Strips
Unroll the tape and cut to size with scissors. For corners and edges, use 6 to 12 inch strips. On large rugs, add cross strips in the center for added stability. Lay the rug in place first to mark exactly where the tape should go.
Press Tape Firmly
After placing each strip, press down with your hand or a flat object like a book. Full contact prevents lifting later. Take your time on this step because pressure equals performance.
Pro Tip: For Rug Gripper products, keep the yellow liner facing up when placing the strip. This side attaches to the rug later.
Remove the Top Liner Carefully
Only remove the top liner after the tape is secured to the floor. The bottom liner has already bonded the tape to your floor.
Peel Without Touching Adhesive
Use a fingernail or credit card edge to lift the liner smoothly. Avoid touching the exposed adhesive with your fingers because oil from your skin reduces stickiness dramatically.
Note: Some tapes have two separate liners. Remove only the top one at this stage. The bottom liner is already bonded to the floor.
Position the Rug Precisely
Now place the rug over the taped area. This is the moment where alignment matters most.
Align Slowly to Prevent Air Bubbles
Start at one edge and lower the rug gradually. Work with a partner for large rugs to maintain straight alignment. Do not drop the rug suddenly or you may create wrinkles.
Expert Move: Roll back half the rug, apply tape to the exposed floor, then roll it back. Repeat on the other side. This prevents shifting during the entire setup process.
Activate Adhesion with Firm Pressure
Pressure determines performance more than any other factor. Without firm pressure, the bond stays weak no matter how good your tape is.
Use a Roller or Walk Heavily
Go over the entire rug surface with a carpet roller, rolling pin, or heavy book. Then walk across it firmly. Normal steps are not enough pressure to activate the adhesive fully.
Key Insight: Stomp lightly or jog in place to activate the adhesive fully. This mimics real-world stress and ensures the tape performs when someone actually walks on the rug.
Follow Tape Patterns by Rug Size

Using the right pattern prevents bunching and edge lift. The size of your rug determines how much tape you need and where it should go.
Small Rugs Under 5 Feet by 8 Feet
Apply tape at all four corners and midpoints of each side. This prevents rotation and minor shifts that happen over time.
Medium Rugs 5 Feet by 8 Feet to 8 Feet by 10 Feet
Tape the full perimeter and add one or two center cross strips. This supports the middle weight and stops sagging in the center of the rug.
Large Rugs Over 8 Feet by 10 Feet
Use a grid pattern. Tape both horizontally and vertically every 12 to 18 inches. This prevents wave formation and center slippage that plague big rugs.
Runners and Stair Mats
For hallways, tape both ends and every 2 to 3 feet along the edges. On stairs, apply tape to the tread edge and under the nose of the mat.
Fix for Curling Edges: Use continuous tape along the entire edge. Corner pads alone will not stop curling.
Check Floor Compatibility First
Rug tape is not universal. Knowing which floors work and which do not will save you from costly mistakes.
Safe for Sealed Hard Floors
Rug tape works well on sealed hardwood, laminate, tile, vinyl, stone, and painted concrete. These surfaces are smooth and non-porous, allowing the adhesive to bond properly.
Avoid on These Surfaces
Never use rug tape on unfinished or waxed wood, soft porous floors, carpet, or foam underlayment. Bathrooms are also problematic unless you use waterproof-rated tape.
Test First: Apply a small strip in a hidden corner. Wait 24 hours to check for residue or lifting before applying tape to the visible areas.
Remove Tape Without Damage
Quality rug tape comes off cleanly, but technique matters for protecting your floors.
Peel at a Shallow Angle
Lift one end and pull parallel to the floor, not upward. A steep angle can scratch or lift the finish from your floors.
Reusable Tip: Rug Gripper strips can be peeled up and reused multiple times. Simply store them flat until you need them again.
Clean Any Residue Safely
If sticky residue remains, wipe with mild soapy water, rubbing alcohol, or a product like Goo Gone. Test any cleaner in an inconspicuous area first.
Avoid abrasive scrubbing on delicate floors because that can cause more damage than the residue itself.
Extend Tape Lifespan With Maintenance
Tape does not last forever, especially in high-traffic zones. A little maintenance goes a long way.
Replace Every 6 to 12 Months
In busy areas, replace tape annually. Dust buildup and constant foot traffic degrade adhesion over time. Mark your calendar to check tape condition every six months.
Reapply After Moving the Rug
If you lift the rug for cleaning, apply fresh tape afterward. Used tape loses grip after exposure to air and handling.
Storage Tip: Keep unused tape in a cool, dry place away from sunlight to preserve stickiness until you need it.
Troubleshoot Common Problems
Even with proper care, issues can arise. Here is how to fix them fast.
Tape Loses Grip Over Time
Cause: Dusty floor or insufficient pressure during install. Fix: Clean the floor again and reapply with firm rolling pressure.
Edges Still Curl
Cause: Inadequate perimeter coverage. Fix: Add continuous tape along the full edge instead of just corners.
Residue Left Behind
Cause: Low-quality tape or aggressive removal. Fix: Switch to a residue-free brand like XFasten or PPM tapes. Clean residue with alcohol.
Tape Breaks When Removing
Cause: Poor film strength or pulling too fast. Fix: Use high-durability film tape and peel slowly at a shallow angle.
Rug Hard to Reposition
Cause: Used non-reusable tape. Fix: Switch to reusable gripper strips for flexible layouts.
Select Tape by Use Case
Matching the product to your needs delivers the best results.
Home Use on Hardwood or Tile
Use XFasten or generic double-sided film tape. It is affordable, strong, and residue-free.
Renters or Frequent Changes
Choose Rug Gripper reusable strips. They are repositionable and leave no marks when removed.
Commercial or Gym Floors
Opt for PPM 8050 or 8226 tapes. They are built for heavy traffic and long-term hold.
Temporary Events or Exhibits
Use double-sided fabric tape with quick-stick adhesive for fast setup and removal.
Heavy Mats or Outdoor Rugs
Go with high-tack rubber-based or industrial film tape for maximum grip.
Frequently Asked Questions About Rug Tape
Does rug tape work on all floor types?
Rug tape works best on smooth, sealed surfaces like hardwood, tile, laminate, and vinyl. It is not recommended for unsealed wood, waxed floors, textured surfaces, or carpet. Always test a small area first.
How long does rug tape last?
Most rug tapes last 6 months to several years depending on foot traffic, humidity, and installation quality. In high-traffic areas, replacing tape annually ensures consistent hold.
Can I reuse rug tape?
Standard carpet tape is not reusable. However, products like Rug Gripper strips are specifically designed to be peeled off and repositioned multiple times without losing effectiveness.
Will rug tape damage my hardwood floors?
High-quality rug tape is designed to be residue-free and safe for sealed hardwood. Low-quality tapes may leave sticky residue. Always test a small piece in an inconspicuous area before full application.
How do I stop my rug edges from curling?
Use continuous tape along the entire perimeter of the rug rather than just corner pads. This provides even tension across all edges and prevents curling effectively.
Key Takeaways for Using Rug Tape Successfully
Rug tape is a simple, cost-effective solution that works when used correctly. The most critical factors are cleaning your floor thoroughly before application, choosing the right tape type for your situation, and applying firm pressure to activate the adhesive. Always test a small area first on sensitive floors, and replace tape periodically in high-traffic zones to maintain strong grip. Whether you are securing a child play mat or a luxury area rug, the right technique ensures safety, stability, and floor protection. Start with a test strip, follow the steps above, and enjoy a slip-free floor in minutes.







