
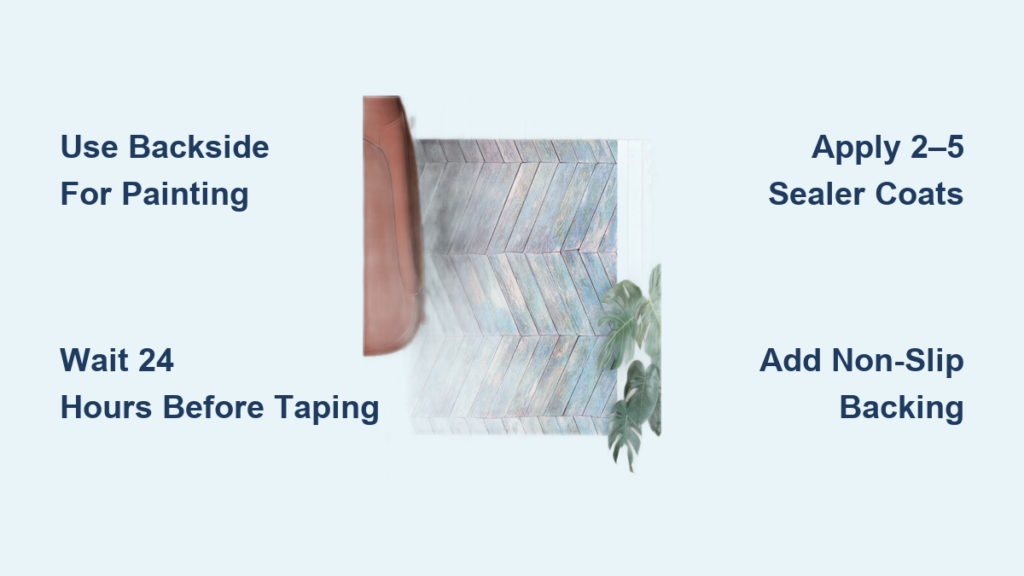
Looking for a durable, wipeable, and stylish floor covering that costs less than $30? A painted linoleum rug—actually made from vinyl sheet flooring—is a DIY favorite for kitchens, dining rooms, and high-traffic areas. This guide shows you exactly how to create one from start to finish, using affordable materials and proven techniques. You will learn how to prep the surface, paint a base coat, add decorative designs, and seal it for long-term use. Whether you are protecting hardwood floors or chasing a retro mid-century look, this project delivers big results on a small budget.
Choose the Right Vinyl Sheet for Your Rug
Pick a Remnant or Cut Your Own
Purchase a 5′×7′ or 6′×8′ vinyl flooring remnant from Home Depot, Lowe’s, or a local installer. Expect to pay $20–$25 for enough material. You can also request free scraps from flooring contractors if doing a smaller project. Use a utility knife and straightedge to cut to size. For custom shapes like runners or ovals, trace and cut after painting and sealing.
Use the Backside for Painting
The smooth backside is ideal for paint. Never use the patterned top side. Unroll the sheet inside-out and let it lie flat for 24–48 hours to prevent curling. If edges curl during painting, weight them down with books.
Gather Essential Materials and Tools
Paint and Sealer
For the base coat, use Sherwin Williams Porch & Floor Paint (such as “Clary Sage”) or chalk paint. These options are durable, self-priming, and scuff-resistant. For decorative elements, use acrylic or porch paint in accent colors. Apply 2–5 coats of sealer, choosing from Minwax Polycrylic (water-based, dries clear), General Finishes High-Performance Top Coat (best for heavy wear), or oil-based polyurethane (more durable with slight yellow tint).
Design Tools
Collect painter’s tape (FrogTape recommended for clean lines), reusable mylar or plastic stencils, sponge stamps or decorative rollers, a brayer roller for even paint application, and a stencil brush for precise work.
Prep and Safety Gear
You will need an orbital sander with 220-grit sandpaper, deglosser or TSP solution, wax paper or drop cloth, a razor blade for tape trimming, and gloves with a mask for sanding and sealing tasks.
Prepare the Vinyl Surface for Painting
Sand the Backside
Lightly sand the smooth side with an orbital sander for approximately five minutes. The goal is to dull the glossy finish so paint adheres properly. Wipe away dust with a damp cloth after sanding.
Clean Before Painting
Use a degreasing solution or mild TSP wipe to remove any oils or residue. This ensures nothing interferes with paint adhesion. Let the surface dry completely, which typically takes 5–10 minutes.
Apply the Base Coat Correctly
Use Porch or Exterior Paint
Roll on the paint with a foam roller for a smooth finish. One coat is often sufficient, though a second coat may be needed for full opacity. Let the paint dry for at least 24 hours before taping. Taping too soon causes peeling paint.
Choose a Neutral Base Color
Popular choices include gray-green, putty, and soft white. Chalk paint like Linen White works well but dries slower. Let the base coat cure fully before moving to the design phase.
Plan Your Design Layout
Tape for Clean Borders
Use painter’s tape to mark edges or create a grid. Align with natural texture lines in the vinyl, which eliminates the need for precise measuring. For symmetry, fold the rug gently to find the center point.
Work in Sections
Tape off half the rug, complete the design, then flip and repeat. Use a razor blade to trim tape edges cleanly rather than tearing. This approach prevents lifting and ensures crisp lines.
Add Decorative Patterns and Stencils
Stenciling Tips
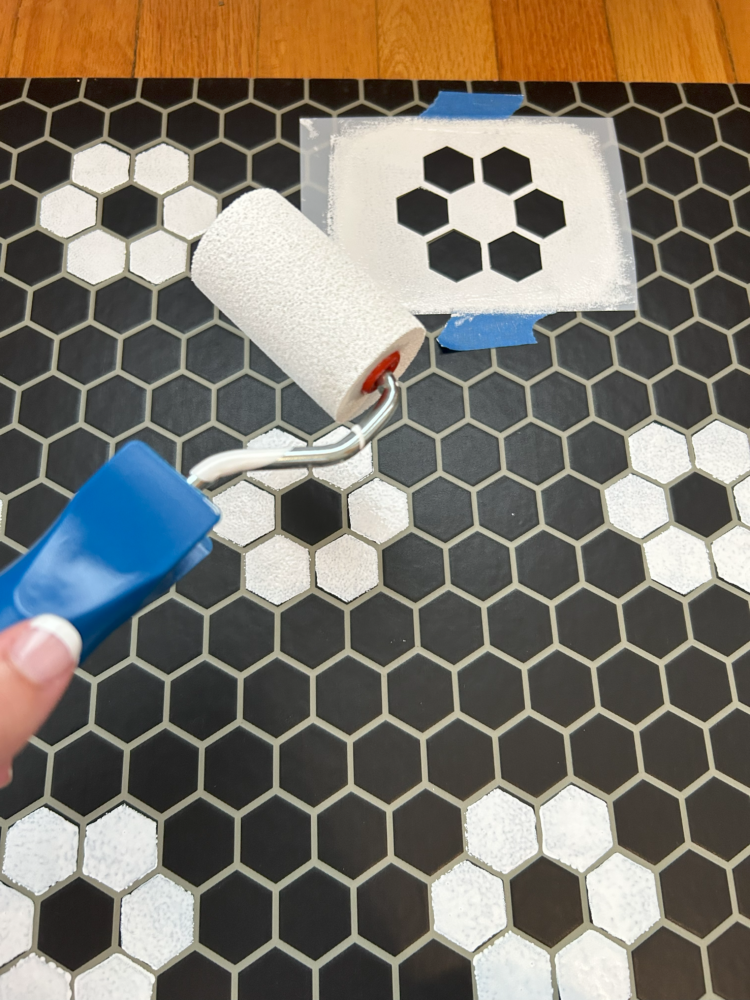
Tape the stencil firmly to prevent shifting. Use a stencil brush, dip it lightly, and blot on paper towel. Press straight down rather than swiping. Let each section dry before moving the stencil. Repeat for consistent pattern across the entire surface.
Sponge Stamping
Cut sponges into shapes or use store-bought stamps. Dab paint unevenly for retro texture. Random placement feels more authentic to vintage mid-century rugs.
Decorative Rollers
Roll paint onto wax paper with a brayer. Roll the decorative roller through the paint, ensuring only raised parts pick up color. Roll along edges for a continuous border. Re-ink every 1–2 passes.
Seal the Rug for Maximum Durability

Apply Multiple Coats of Sealer
Use a sponge roller to avoid bubbles. Lightly sand with 220-grit between coats for a smoother finish (this step is optional). Wait 2–4 hours between coats. Let the final coat cure for 24–48 hours before use.
Choose the Right Sealer
Polycrylic works best for indoor use with low odor and no yellowing. Polyurethane offers more durability but has a slight amber tint. General Finishes Top Coat is ideal for dining rooms or children’s areas.
Test First
Try paint and sealer on a scrap piece of vinyl before committing to the full project. Check for adhesion issues, color shifts, or cloudiness.
Prevent Slipping and Sliding
Add Non-Slip Backing
Paint a rubberized non-slip coating (such as Rug Grip) on the backside. Apply this after sealing, once the finish is fully cured. Let it dry for 24 hours before placing the rug.
Use a Rug Pad
Place double-sided tape or a felt rug pad underneath. This prevents movement on hardwood or tile floors. Avoid using on rough or abrasive surfaces.
Understand Real-World Performance
Longevity in Real Homes
One user reported their rug lasted 8 years under a dining table. It survived lasagna spills, smashed grapes, and blood stains. The rug cleaned easily with a damp cloth and was later repurposed in the garage for car projects.
Easy Maintenance
Wipe spills immediately without soaking. No vacuuming or deep cleaning is needed. The surface resists pet hair, crumbs, and heavy foot traffic effectively.
Floor Protection Benefits
The rug blocks chair scratches on hardwood. It prevents dropped utensils from damaging wood. The flexible material adapts to slight floor imperfections.
Avoid Common DIY Mistakes
Peeling Paint After Taping
This happens when tape is applied before the base coat fully cures. Wait 24 hours minimum. If peeling occurs, touch up with a small brush.
Paint Bleed Under Stencil
Too much paint on the brush causes bleeding. Blot the brush thoroughly and press straight down without dragging.
Curling Edges
The vinyl was not unrolled long enough. Lay it flat for 24+ hours and weight down edges with books if needed.
Dust or Debris in Finish
Work in a clean, low-dust area. Cover nearby surfaces and avoid painting on windy days.
Creative Customization Ideas
Shape Variations
Cut the vinyl into circles, ovals, or runners after sealing. Use a flexible template made from cardboard or rope for curved shapes.
Themed Designs
Create holiday patterns like stripes or snowflakes. Add monograms or kid-friendly motifs such as animals or stars. Design a kitchen herb garden with basil, thyme, and rosemary.
Outdoor Use
Seal with General Finishes Top Coat for covered porches or sunrooms. This method does not work for uncovered patios or wet areas.
Matching Sets
Create coordinating rugs for your kitchen, dining area, and entryway. Use the same base color with different patterns for a cohesive look.
Cost Comparison with Store-Bought Rugs
| Item | Cost | Notes |
|---|---|---|
| Vinyl sheet (5′×7′) | $20–$25 | Remnant or free scrap |
| Paint | $10–$20 | Covers multiple coats |
| Sealer | $15–$25 | One bottle lasts |
| Tape and tools | $10 | Reusable |
| Total | $60 max | Under $30 with scraps |
Compared to a $200+ area rug, this project saves 70–90%.
Expert Tips for Professional Results
Wait 24 hours before taping after applying the base coat. This is the most critical step for preventing peeling. Use wax paper under the rug to keep it from sticking to the floor and to make repositioning easier. Embrace imperfections since streaks and uneven texture add vintage charm. Label stencils if using multiple patterns to ensure consistency. Store leftover vinyl for future touch-ups or small projects like coasters.
Frequently Asked Questions About Making a Linoleum Rug
What type of material is actually used for DIY linoleum rugs?
Most DIY linoleum rugs are made from vinyl sheet flooring, not true linoleum. The terms are used interchangeably because the materials look similar, but vinyl is PVC-based and easier to paint and seal.
How long does a painted linoleum rug last?
With proper sealing, these rugs can last 8 years or more. One user reported their rug survived a decade of heavy use under a dining table before being repurposed.
Can I use this rug outdoors?
You can use it on covered porches or sunrooms if sealed with General Finishes High-Performance Top Coat. It is not suitable for uncovered patios or areas exposed to rain or snow.
How do I clean a painted linoleum rug?
Simply wipe spills with a damp cloth. No vacuuming or deep cleaning is required. The sealed surface resists stains and wipes clean easily.
Why does paint peel when I remove tape?
Paint peels because tape was applied before the base coat fully cured. Always wait at least 24 hours after painting before taping, even if the surface feels dry to touch.
What is the total cost to make one of these rugs?
The total cost ranges from $30–$60, depending on whether you use scraps or purchase new materials. Most projects cost under $30 when using remnant vinyl and existing tools.
Key Takeaways for Making Your Own Linoleum Rug
A painted linoleum rug made from vinyl sheet flooring is a smart, stylish, and budget-friendly upgrade for any home. By following these steps, you create a custom floor covering that looks expensive but costs under $30. The project requires proper prep, durable paint, careful design, and strong sealing to achieve long-lasting results.
The most critical steps are waiting 24 hours after the base coat before taping and applying 2–5 coats of quality sealer. These rugs are wipeable, resistant to stains, and perfect for homes with children, pets, or vintage floors that need protection. They outperform fabric rugs in messy environments and can last over a decade with proper care.
Start with a vinyl remnant, pick a retro pattern, and create a rug that is uniquely yours. The flexibility of the material allows for custom shapes and designs that match your home decor perfectly.







